Table of Contents
This guide provides a clear, practical overview of steps to install Google assistant on Windows computer, with useful context, important details, and straightforward takeaways for everyday readers.
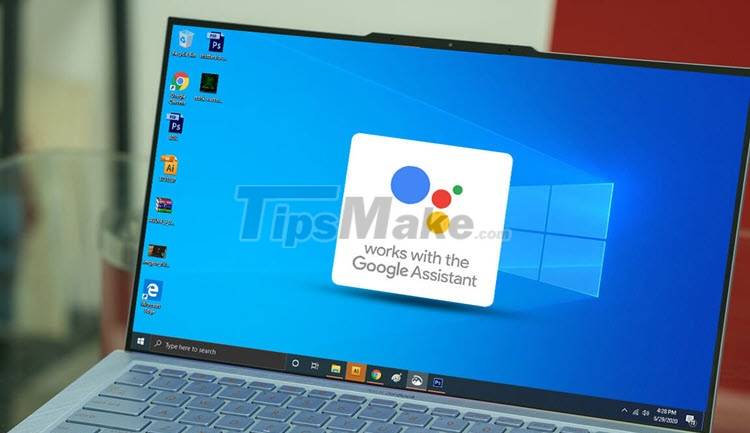
Windows is using Cortana virtual assistant, but in terms of work efficiency, Cortana is far from catching up with Google Assistant. Therefore, a lot of people intend to switch from Cortana to Google Assistant and they find ways to install Google Assistant on desktop computers and computers running Windows operating system. Here is a detailed way to install the Google Assistant virtual assistant on Windows computers, MacOS computers do the same.
1. How to download and install Google Assistant for Windows computers
To install Google Assistant, you will need to go to the Github source code sharing site and follow the steps guided inside the software maker.
Google Assistant download homepage here
Step 1: You proceed to visit the homepage and click on the latest version in the Releases section .

Step 2: This guide will install Google Assistant for Windows computers, so please choose the version with the extension '.exe'. If you install for MacOS computer, select the extension '.dmg' and select '.snap' if installed on Linux operating system.

Step 3: After downloading the installer to your computer, right-click and select Run as administrator to install them on your computer.

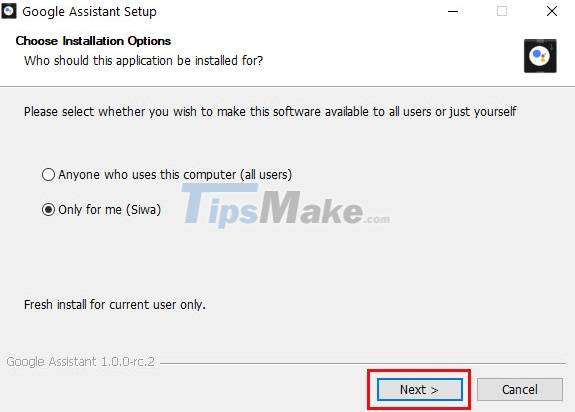
Step 4: When installing Google Assistant, the system will ask which Windows accounts you want to install on and you have the following options:
- Anyone who uses this computer: Settings for all accounts on the computer
- Only for me: Only install for the account in use.
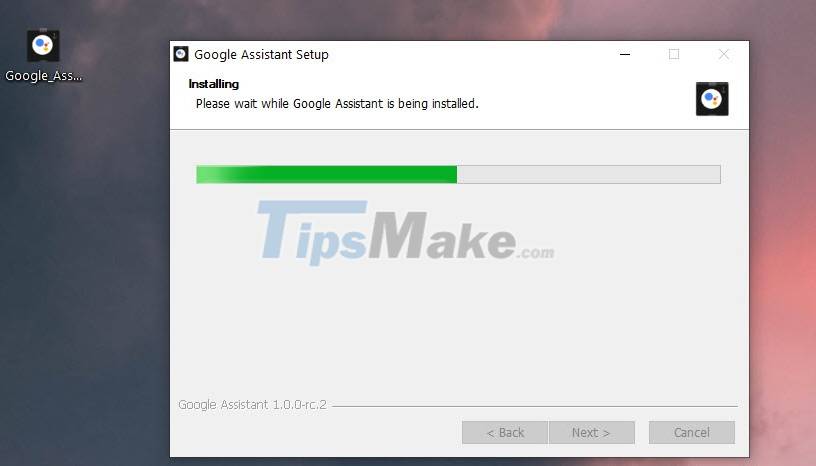
Step 5: Now, wait for the system to split the package and install the software for you to use.
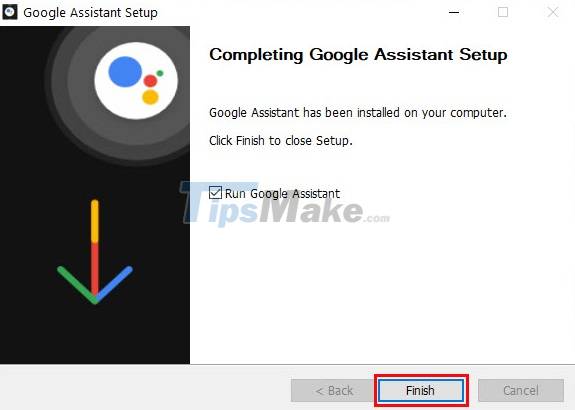
Step 6: After completion, you just need to select Finish to complete the installation.
2. How to use Google Assistant on a Windows computer
Once installed successfully, you just need to start Google Assistant by shortcut or manually to use. Here's how to call the Google Assistant on a Windows computer.
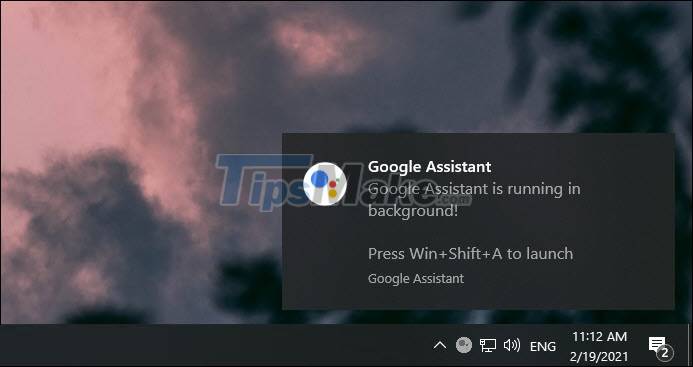
Step 1: The first time you start Google Assistant, you will have a notification window in the right corner of the screen with content like 'Google Assistant is running in the background, when you need to open them press Windows + Shift + A' .
Thus, to quickly call Google Assistant, you just need to press the combination Windows + Shift + A .
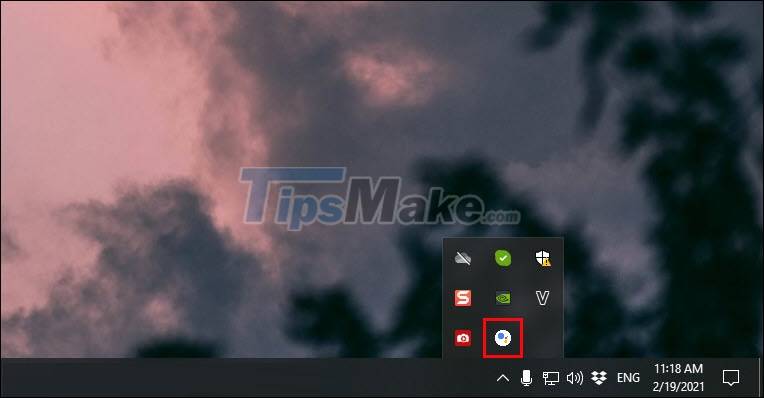
In addition to opening Google Assistant with a keyboard shortcut, you can also open it through the icon located in the Taskbar of the computer system.
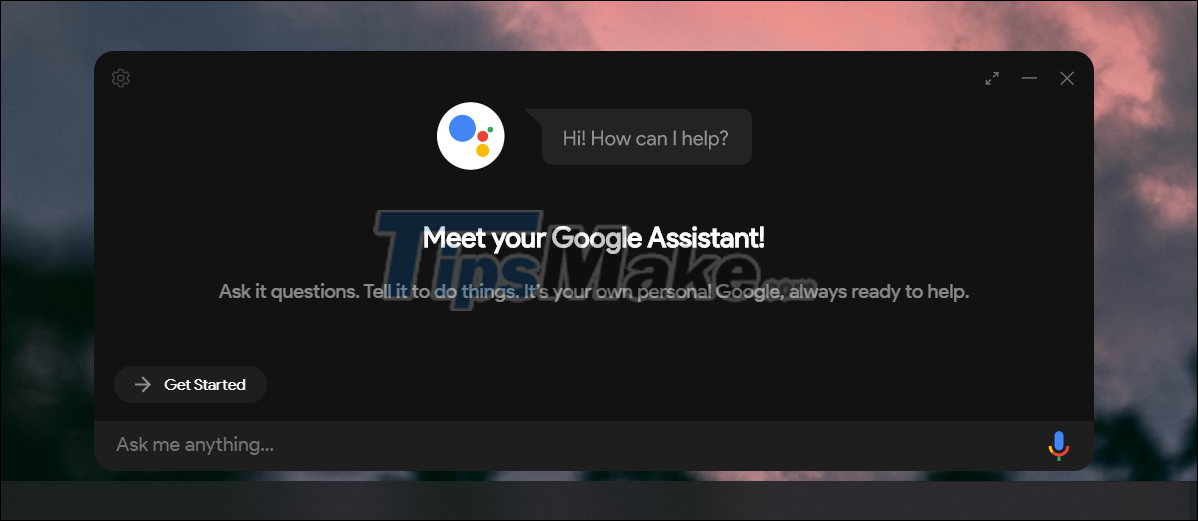
Step 2: When Google Assistant is started, you can enter questions by speaking in the microphone or typing text.
Step 3: Currently, Google Assistant on computers only supports English and some other languages.
Google Assistant on computers is built on Google Assistant for mobile devices, so all features are fully available, you can comfortably use.
In this article, TipsMake has shown you how to download and install Google Assistant on Windows computers. Have a nice day!
Key Takeaways
Use the information above as a practical reference for steps to install Google assistant on Windows computer. Review each step carefully, confirm any requirements, and choose the option that best fits your situation.
FAQ
What does this guide explain about Steps to Install Google Assistant on Windows Computer?
It explains the main concepts, practical considerations, and useful steps related to steps to install Google assistant on Windows computer without requiring advanced knowledge.
Who can benefit from learning about Steps to Install Google Assistant on Windows Computer?
This information is useful for readers who want a clear overview, practical guidance, and reliable steps related to steps to install Google assistant on Windows computer.
What should I check before applying this information?
Review the requirements, confirm that your device, software, or situation matches the instructions, and back up important data before making major changes.
Related Articles
 How to Install the Virtual Assistant Google Assistant on a8 minutes read
 Instructions for Installing Google Vietnamese Virtual Assistant on5 minutes read
 How to Use Google Assistant in Iot Projects5 minutes read
 How to Set Up and Use Routines in Google Assistant7 minutes read
 All Ways to Install and Set up Google Allo4 minutes read
 How to Use the Virtual Assistant Google Assistant Vietnamese on Android5 minutes read
Reader Comments 0
Sign in with email or Google to join the discussion.