How to use balanced photography mode on iPhone
Balanced photo mode on iPhone is a new feature in iOS 17 so you can take more balanced and beautiful photos..
Normally you can use grid mode to take photos on iPhone, but with this balance mode you can easily adjust how the camera is positioned to suit the subject. So you can combine with balance and grid modes when taking pictures. Here is a guide to using balanced photography mode on iPhone.
Instructions for using balanced photography on iPhone
Step 1:
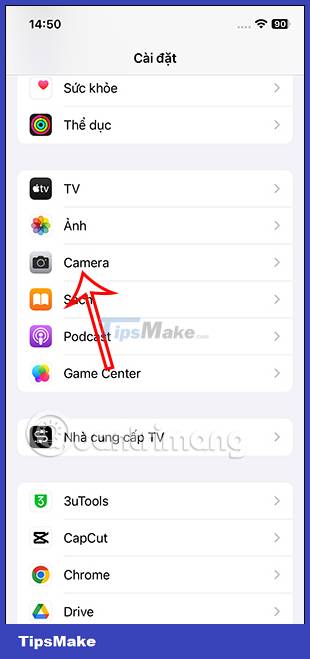
First, go to Settings on your iPhone, then scroll down to the list of installed apps on your phone below, click on the Camera app to adjust.
Step 2:
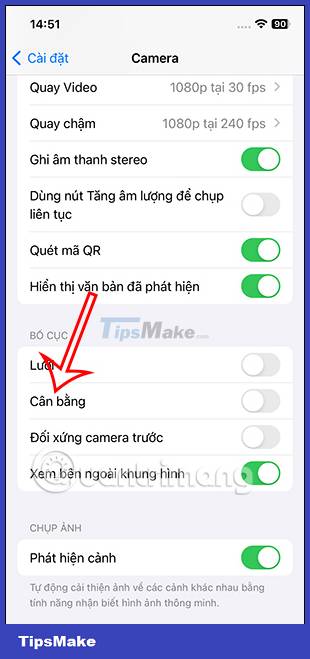
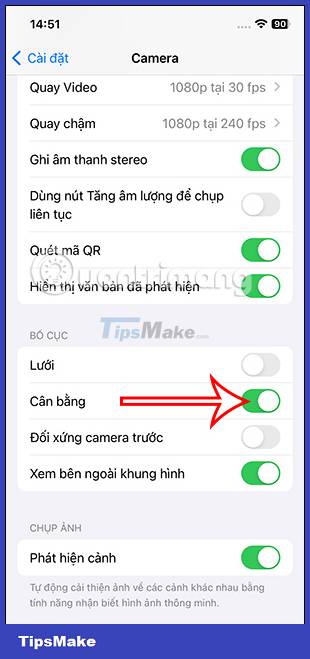
In the camera adjustment interface on iPhone, we scroll down to see the Balance item . Please enable this balance mode on iPhone to use the balanced photography feature on iPhone.
Step 3:
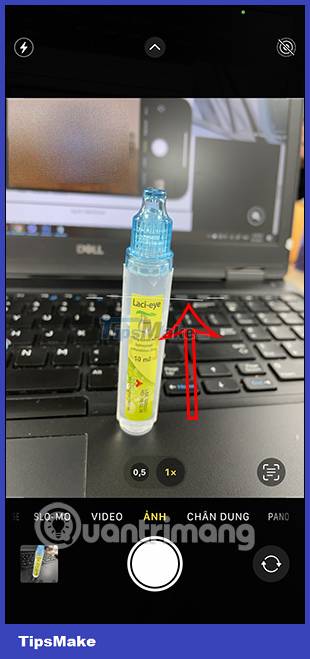
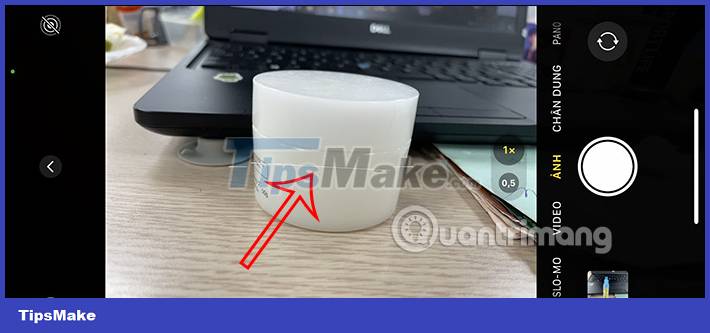
Then you proceed to take photos on iPhone. When we align the angle of the photo, we will see a straight line. If you align the shooting angle unbalanced , the white dashed line will be displayed as shown below.

Step 4:
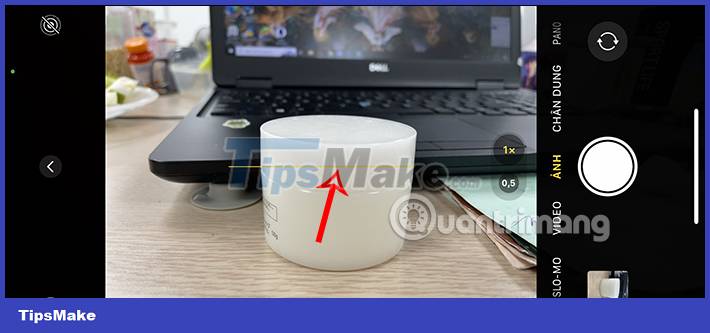
When you adjust the camera angle, if you have balanced the shooting angle and subject , it will display a yellow line like this. Then you just need to click take a photo.

With horizontal shooting mode, the leveling line also works stably. You just need to adjust the white dashed line to turn into a yellow line to take a photo.
So with the balanced photography mode on iPhone, your shooting angle is adjusted to better suit the subject. We can combine with grid lines when taking photos to get the photos we want.