How to Make a Blend in Microsoft Paint
Although Microsoft Paint is a relatively basic program, it has a surprising amount of functionality, especially when it comes to creating blends of color. If you're trying to create a stunning gradient or a variety of custom colors to give...
Table of Contents
Method 1 of 2:
Creating a Blend of Colors
-
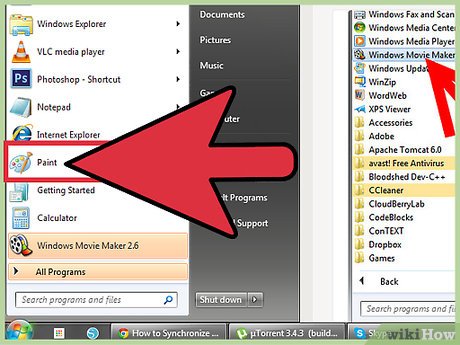
 Open Microsoft Paint. Microsoft Paint comes standard with any edition of Microsoft Windows, but depending on your settings and operating system, it can be located in a variety of different places. The quickest way to open Microsoft Paint is by opening your Start menu, finding the "search" function, and typing "Paint" into the search bar; this should locate Microsoft Paint for you, allowing you to click on the relevant icon.[1]
 -
 Familiarize yourself with your version of Paint. If you have a post-Windows Vista rendition of Microsoft Paint, your interface will look drastically different than on Vista, XP, or previous versions. Take a minute to browse through the various tabs of your interface with the "edit colors" function in mind. If you have Windows 7 or later, this option will be an icon next to your color palette.[2]
- For example, Windows XP has a row of six tabs in the upper left-hand corner: File, Edit, View, Image, Colors, and Help. The option to "Edit colors" should be under the Colors tab; you can also access the "Edit colors" menu by double-clicking any color in your default color palette.
-
 Select "Edit colors". Once you've located the "Edit colors" option, access it by either clicking on the pertinent tab or, on earlier operating systems especially, simply double-clicking a color in your palette. This will bring up a color gradient with every feasible color
- For example, if you want to create a blend of green and blue, you can position your cursor in between the green section of the gradient and the blue one, then click to anchor your selector. If you decide you want more blue than green or vice versa, you can move the selector in the direction of that color.
-
 Customize your color's shade. There should be a vertical slider next to your color gradient; this slider will have pure white at the top and pure black at the bottom, with a gradient of your color running the length of the slider. Once you've settled on an approximate color, you can change the light and dark settings thereof by moving the slider's arrow up or down by clicking and dragging your mouse.
 -
 Save your color. Once you're satisfied with your blend, you can add it to your "custom colors" bar by clicking the "add to custom colors" button. You can then close out of the gradient window, and your color will be waiting for you in your palette.
- Note that, while your custom color will be saved for the duration of your Paint session, you will have to reestablish your custom palette after you close out of Paint.
- If you wish to replicate a color at a later date, make note of the numerical values underneath the gradient; if you type these in exactly as they appear during a different session, you'll get the same custom color.
Method 2 of 2:
Creating a Visual Gradient
-
 Open Microsoft Paint. Microsoft Paint comes standard with any edition of Microsoft Windows, but depending on your settings and operating system, it can be located in a variety of different places. The quickest way to open Microsoft Paint is by opening your Start menu, finding the "search" function, and typing "Paint" into the search bar; this should locate Microsoft Paint for you, allowing you to click on the relevant icon.
 -
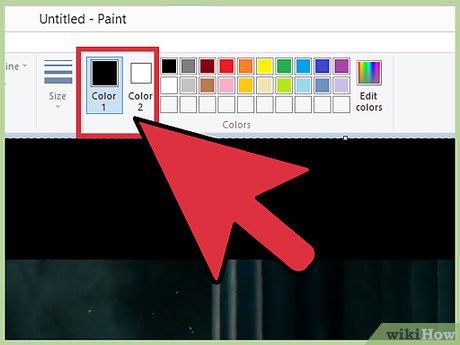 Choose two colors. For your gradient, you'll be blending two colors together, so pick two relatively well-paired colors, like green and blue.
 -
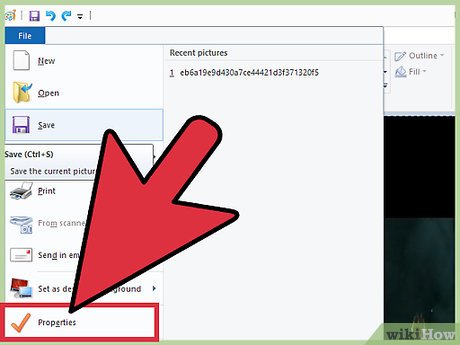 Open the Properties menu. Under the "File" tab, find Properties and click on it. This should bring up the image properties window. From here, you'll be able to resize your canvas.
- You can also press Ctrl+E to bring up the image properties menu.
-
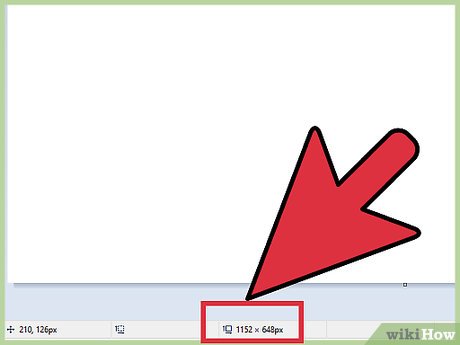 Resize your canvas. On the image properties menu, change your canvas' width to 100 and your height to 500. Make sure you have "Pixels" checked under the "Units" portion, and select "Color" under the "Colors" portion--otherwise you'll have a black-and-white gradient with skewed proportions!
 -
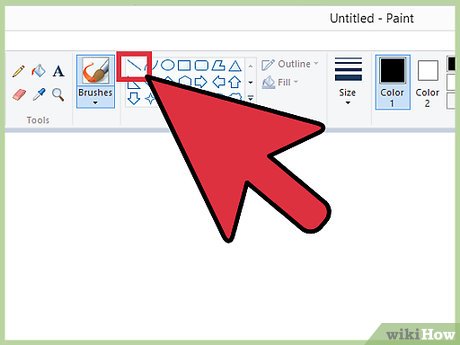 Split the canvas in half. Using the straight line tool from the tool bar, draw a line from the top left corner to the bottom right corner, making sure you don't leave any gaps. You'll want to draw using one of the two colors you chose earlier.
- Depending on the size of your screen, you may have to zoom out before connecting the corners. The zoom function is in the lower right-hand corner of the screen.
- You should use the thinnest line possible from the drop-down menu in the tool bar, since this will allow for the most accurate gradient.
-
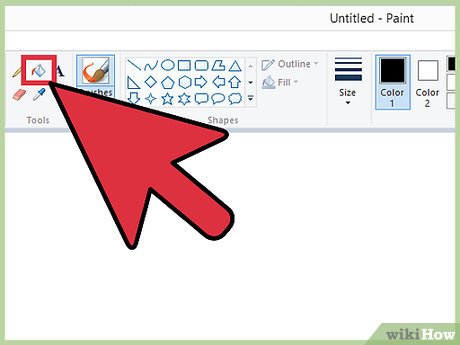 Fill in your sections. Select the bucket tool, then your first color. Click on the top slice of the canvas to fill it; for example, if your first color is blue, the upper right-hand corner half of your canvas should now be blue. Repeat this process with your second color and the other section of your canvas.[3]
 -
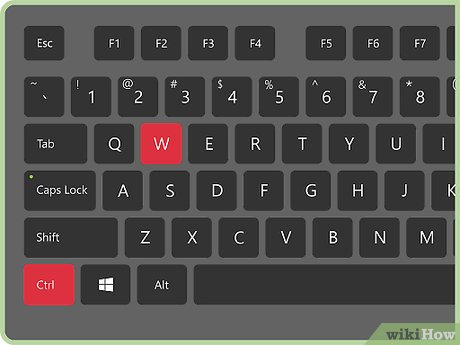 Open the "Resize and Skew" menu. Press Ctrl+W to bring up the "Resize and Skew" menu; this menu will allow you to stretch and pull your creation. Go to the resize section, make sure you uncheck "Maintain aspect ratio" and change the units from "Pixels" to "Percentage", and then change the horizontal value to "1".
- On older operating systems, this menu is called the "Stretch and Skew" menu; it can be found under the "Image" tab in addition to the same keyboard shortcut.
- If you don't uncheck "Maintain aspect ratio", both your horizontal and your vertical values will change when you input a number into one of their respective fields.
-
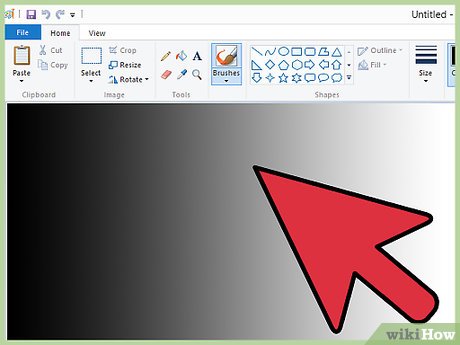 Exit the "Resize and Skew" menu, then re-open it. Your canvas' vertical value should have remained consistent, while your horizontal value should have shrunk considerably. Re-open the "Resize and Skew" menu, uncheck "Maintain aspect ratio" again, and change the horizontal value in the "Resize" section to 500. Your canvas should expand horizontally, and your gradient should now be visible.
- You'll want to repeat this process three times or more, depending on how wide you need your gradient to be.
-
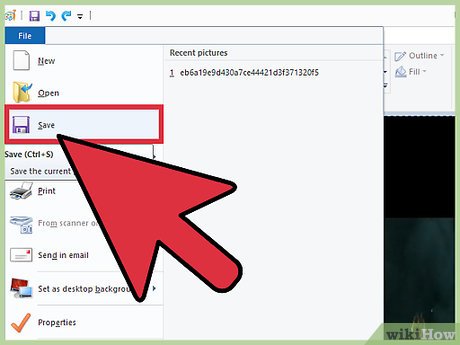 Save your work. Once your gradient is the size you want it to be, save your work under "File". Gradients make great backgrounds for Powerpoints, desktops, and website pages, so don't be afraid to create more!
Was this article helpful?
Your feedback helps us improve.
Related Articles
 Microsoft Paint - Download the latest Microsoft Paint here5 minutes read
 Microsoft Copilot has a Copilot button and here's how to use it3 minutes read
 How to merge photos into the frame on Paint4 minutes read
 How to Draw and Color with Microsoft Paint9 minutes read
 How to Remove the White Background in Microsoft Paint9 minutes read
 Microsoft continues to support Paint on Windows 103 minutes read
Reader Comments 0
Sign in with email or Google to join the discussion.