How to Install Quicken
Quicken is a popular personal finance program from Intuit. Quicken can help you keep track of your finances, control your budget, and plan for your future, all in one easy-to-use package. There are two main ways to install Quicken: you can...
Table of Contents
Method 1 of 2:
CD Version
For Windows Computers
-
 Insert the Quicken CD into your disc drive.
 -
 Wait for the installation program to launch. The CD will almost always begin the installation process automatically. You'll see a new window open with the Quicken Installation Wizard, which has instructions to proceed.
- If the Installation Wizard doesn't open on its own, do this:[1]
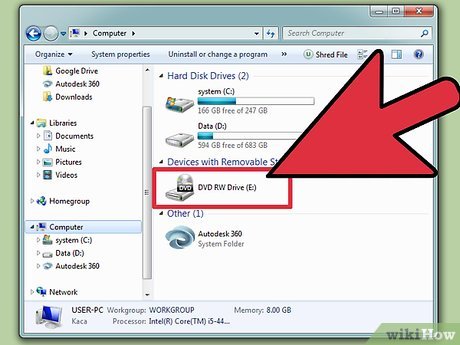
- Click the Start button and select "Computer" or "My Computer". On Windows 8, you'll need to find the "This PC" icon on the right and click it.
- Double click the button with the CD/DVD ROM drive.
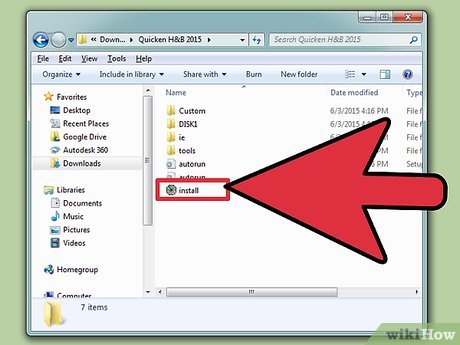
- If that didn't launch it, right click the icon and click "Explore". Double click Install.exe to launch the program.
-
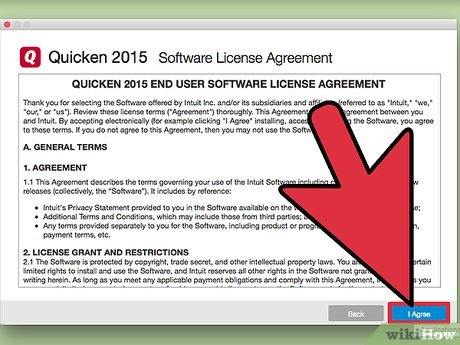
 Accept the license agreement. Click the bubble next to the "I accept..." option, then click the "Next" button to continue.
 -
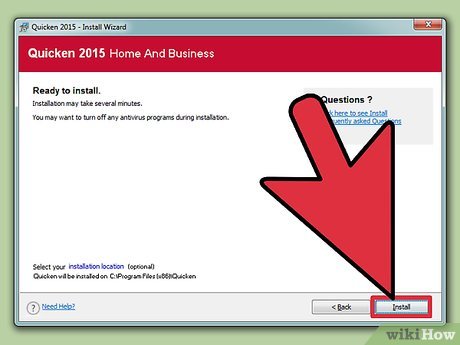
 Follow the on-screen instructions to finish installation. The Installation Wizard's on-screen prompts do a good job of explaining what you need to do. You will need to:[2]
- Pick a destination folder. This is the location in your computer where Quicken will install. Using the default location is recommended. Click "Next" to proceed.
- Read the installation details. Click "Next" to proceed.
- Wait for the installation to finish. When Quicken is installed, you'll see a window that says "Installation Complete". Click "Finish." Quicken will open automatically.
For Mac Computers
-
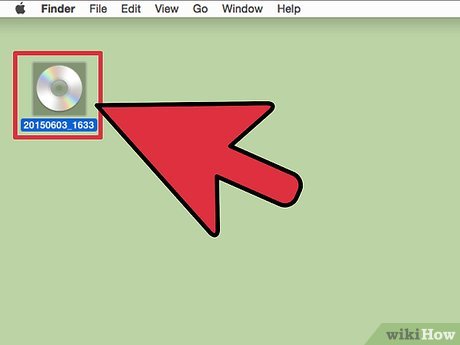 Insert the Quicken CD into your disc drive. The Quicken icon should appear on your desktop.
 -
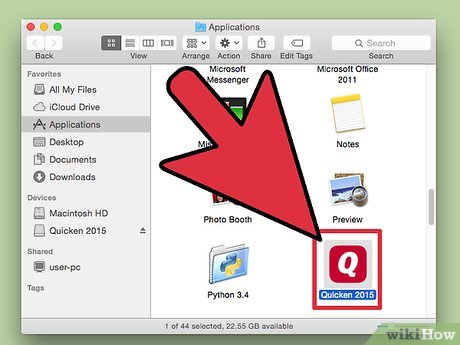
 Drag the Quicken icon into your Applications folder.
- At this point, you may be asked to supply the administrator's username and password. If you don't know these pieces of information, you may need to talk to the person who owns the computer to continue.
-
 Double-click the Quicken icon in your Applications folder. This will cause the Installation Wizard to launch automatically.
 -
 Proceed through the installation as normal. The rest of the installation process for Quicken on Macs is basically the same as it is for PCs. Follow the prompts in the Quicken Installation Wizard, taking the time to read the directions and clicking "Next" to proceed through the steps. See above for more information.
Method 2 of 2:
Download Version
-
 Make an Intuit account. If you don't already have one, you'll need to make a free online account with Intuit to download Quicken. Visit the Intuit login site, then click "New to Intuit? Create an account" at the bottom of the page. Follow the instructions to create an account.
- You'll need to provide a working email address. When you make your account, you'll get a verification email with a link in it that you need to click to complete the process.
-
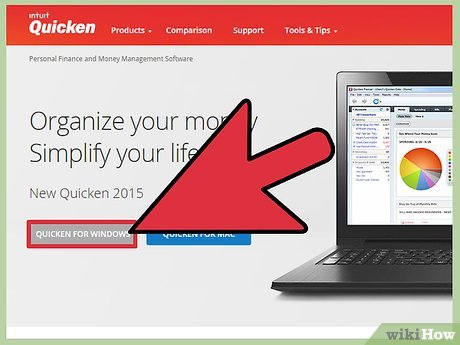 Buy and download your product. Once you make an account, sign in and visit Quicken.com. You'll see two large buttons — one for Windows and one for Mac. Click the option you want.
- On the next screen, you'll see options for buying the different versions of Quicken. Click the "Buy Now" button, then click the "Checkout" button to start the purchase process. Enter your payment information and follow the on-screen instructions to proceed. Be sure to select "Download" as your delivery method.
- At the end of the process, you will be allowed to download Quicken. You can also do this by logging into your account, clicking "Downloads and Unlocks" on the left side of the screen, and clicking "Download" next to your product.[3]
For Windows Computers
-
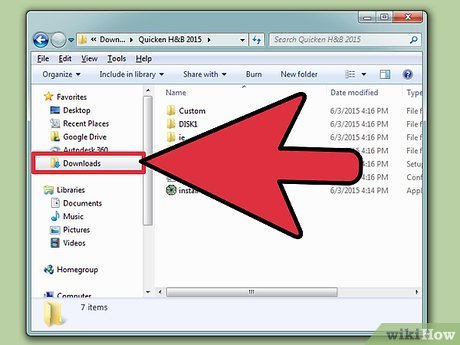 Find the installation file on your computer. When you downloaded Quicken, it went to whatever file you have set up as your default downloads folder. On a Windows PC, this is almost always your desktop, your "My Downloads" folder, or your "My Documents" folder unless you specifically change this.
- The Quicken installation file's name may look like a jumble of letters and numbers. For instance, the Premium Edition of Quicken for Windows may have the name "QW13PRM.EXE"
-
 Double click the .exe file. This will launch the Installation Wizard.
 -
 Follow the prompts as normal to install Quicken. Past this point, the installation process is exactly the same as if you were installing from a CD.[4] Follow the prompts in the Installation Wizard to complete the installation. See the section above for step-by-step instructions.
For Mac Computers
-
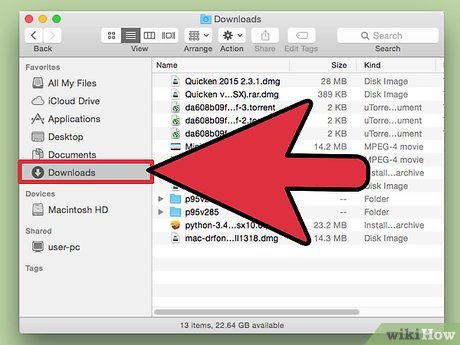 Find the file you've downloaded. The Quicken installer may begin automatically once you finish downloading it.[5] If it doesn't, you'll need to find the file on your computer. By default, most Mac browsers send downloads to the "Downloads" folder unless you specifically tell them to send them somewhere else.
- The "Downloads" folder can be accessed from the Dock in recent versions of OSX. It's at the right end of the Dock, next to the recycle bin.[6]
-
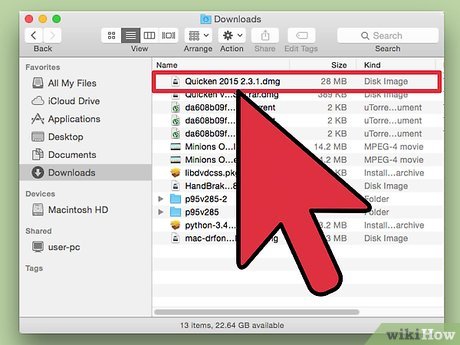 Double click on the file. This will launch the Installation Wizard. You will be able to complete the installation process as normal by following the on-screen prompts.
 -
 Move Quicken to your "Applications" folder. When Quicken finishes installing, drag it from the disc image into the "Applications" folder. This will make it show up as an installed application on your computer.
- As noted above, this may require you to input the administrator's login information.
- Double click Quicken in the "Applications" folder to launch the program.
Was this article helpful?
Your feedback helps us improve.
Related Articles
 How to install an SSD for PC4 minutes read
 How to install Windows 8.1 from USB7 minutes read
 Install Windows XP from a USB Flash drive5 minutes read
 How to install Windows 10 from USB with ISO file6 minutes read
 Things you need to know about how to install Windows today6 minutes read
 Install Win 7 from your hard drive, no need for USB, install Win disk6 minutes read
Reader Comments 0
Sign in with email or Google to join the discussion.