How to Install FreeNX Server on Ubuntu 9.04 Jaunty
FreeNX is an open source server for remote desktop connection that works over both high and low speed internet connections. It can be installed in Ubuntu from the [https://launchpad.net/~freenx-team/+archive/ FreeNX Team PPA]. Create and...
Table of Contents
Method 1 of 2:
Command Line
-
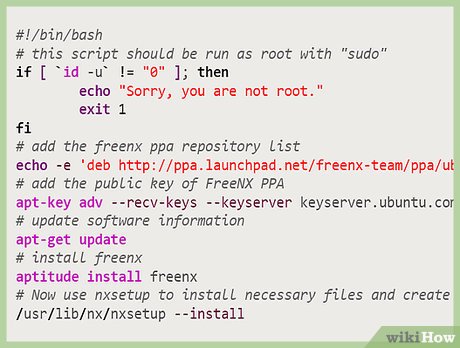 Create and run the Bash script. It should be run with a root set to "sudo"
!/bin/Bash if [ `id -u` != "0" ]; then echo "Sorry, you are not root." exit 1 fi
-
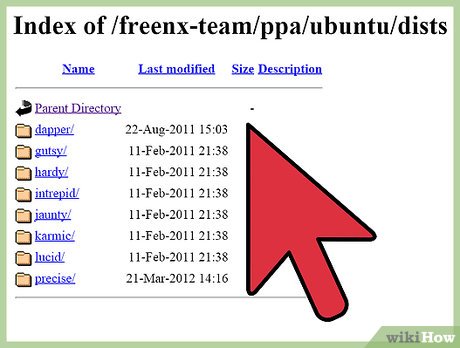 Add the freenx ppa repository list.
echo -e 'deb http://ppa.launchpad.net/freenx-team/ppa/ubuntu jaunty mainndeb-src http://ppa.launchpad.net/freenx-team/ppa/ubuntu jaunty main' >> /etc/apt/sources.list.d/freenxppa.sources.list
-
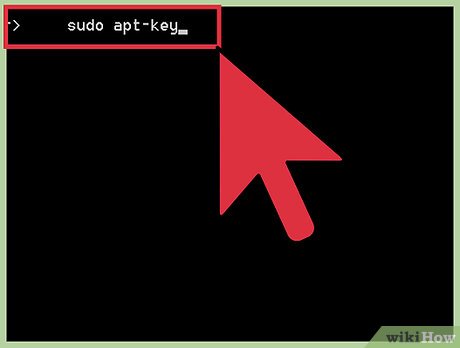 Add the public key of FreeNX PPA.
apt-key adv --recv-keys --keyserver keyserver.ubuntu.com 2a8e3034d018a4ce
-
 Update software information.
apt-get update
-
 Install FreeNX.
aptitude install freenx
-
 Use nxsetup to install necessary files and create the special user "nx".
/usr/lib/nx/nxsetup --install
Method 2 of 2:
Graphical User Interface
-
 Add FreeNX PPA.
gksudo gedit /etc/apt/sources.list deb http://ppa.launchpad.net/freenx-team/ppa/ubuntu jaunty main deb-src http://ppa.launchpad.net/freenx-team/ppa/ubuntu jaunty main sudo apt-key adv --recv-keys --keyserver keyserver.ubuntu.com 2a8e3034d018a4ce
- Install FreeNX Server.
sudo apt-get update sudo aptitude install freenx (y)
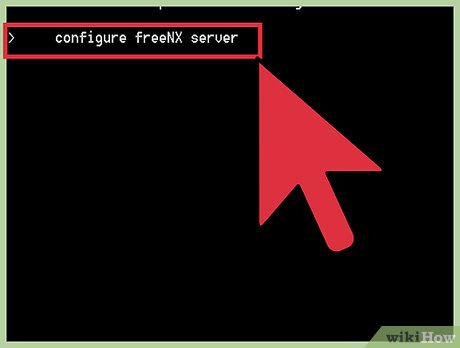
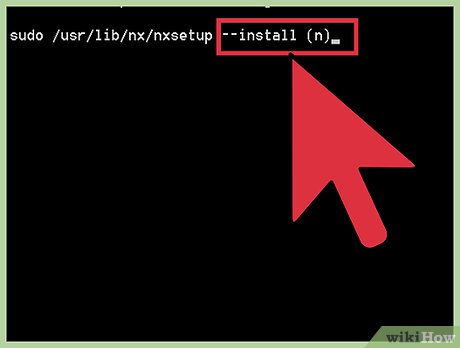
- Configure FreeNX Server.
sudo /usr/lib/nx/nxsetup --install
- For server behind a firewall, default key may be okay, (n) for any public system or for greater security, Generate a custom Key Pair (y)
Was this article helpful?
Your feedback helps us improve.
Related Articles
 How to install FTP Server on Ubuntu5 minutes read
 How to Install Ubuntu Server8 minutes read
 How to install desktop/GUI environment in Ubuntu Server4 minutes read
 What is the difference between Ubuntu Desktop and Ubuntu Server?4 minutes read
 Instructions for installing Ubuntu Web Server on remote host5 minutes read
 Ubuntu Server Upgrade Steps5 minutes read
Reader Comments 0
Sign in with email or Google to join the discussion.