How to install desktop/GUI environment in Ubuntu Server
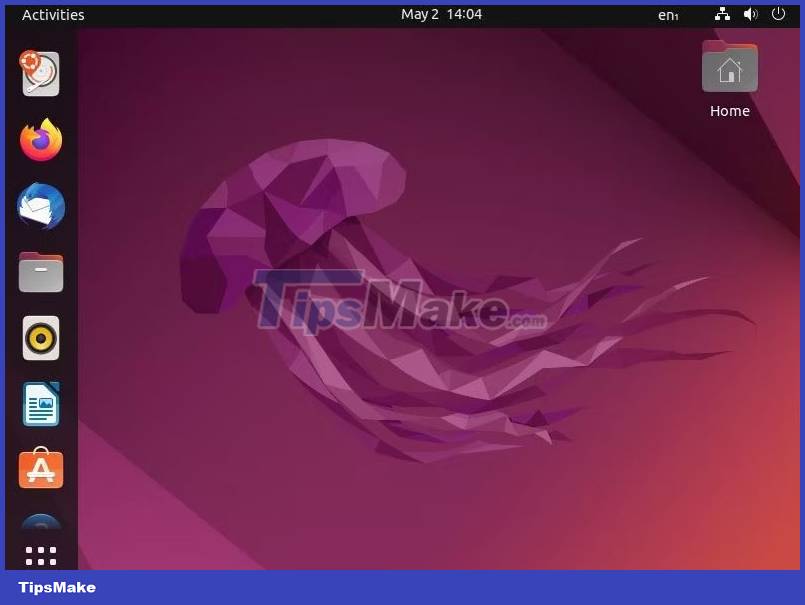
Here's how to set up the graphical user interface and install the desktop environment on Ubuntu Server.
Step 1: Update and upgrade the system
This is the basic step before making any changes or installing packages on Ubuntu Server. Update Ubuntu's software repositories and upgrade your system with the APT package manager.
sudo apt update && apt upgradeComplete the updates and upgrades, then move on to the next step to install the GUI on Ubuntu Server.
Step 2: Install the desktop environment on Ubuntu Server

There are many desktop environments to choose from, but if your hardware can afford it, go ahead with the GNOME desktop environment, the default desktop for Ubuntu systems. You are always free to choose from other alternatives, but they run the risk of incompatibility with some software.
To install GNOME as a GUI on your Ubuntu Server, use the APT package manager to download and install the package:
sudo apt install ubuntu-desktopTo install KDE Plasma as a GUI, use the APT package manager to download and install the package:
sudo apt install kde-plasma-desktopTo install MATE on Ubuntu Server, issue the following command:
sudo apt install ubuntu-mate-coreTo install the XFCE desktop, run:
sudo apt install xubuntu-coreNot sure which desktop environment to choose? Start with this list of the best Linux desktop environments.
Step 3: Install and setup display manager on Ubuntu Server

After installing the desktop environment, you need to install the display manager to manage the users and load the desktop environment sessions.
Since you are working with Ubuntu Server, it is best to choose lightweight solutions that are easy to use resources. In this case, consider installing and using LightDM, a fast and lightweight display manager.
Install LightDM on Ubuntu Server

To install LightDM on the server, use the APT package manager:
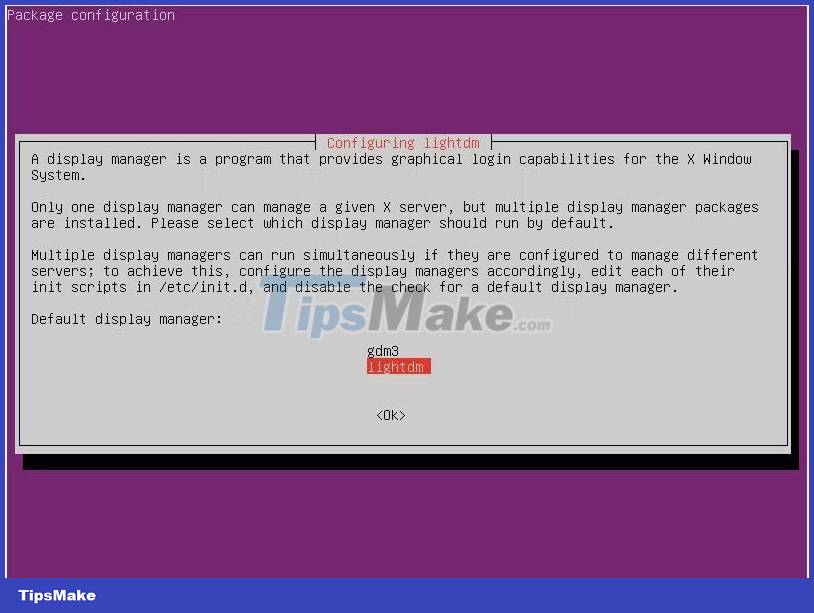
sudo apt install lightdmDuring the installation process, you will be prompted to choose between GDM3 (GNOME's default display manager) and LightDM.
Select LightDM with the Spacebar and highlight it with the Tab key. Finalize your selection and set LightDM as the default display manager by pressing Enter.
Setting up LightDM on Ubuntu Server
Now that the installation is complete, you need to enable the LightDM service. You can use service command or systemctl command to do that.
Run this command to start the LightDM service with systemctl:
sudo systemctl start lightdm.serviceRun this command to start the LightDM service using the service utility:
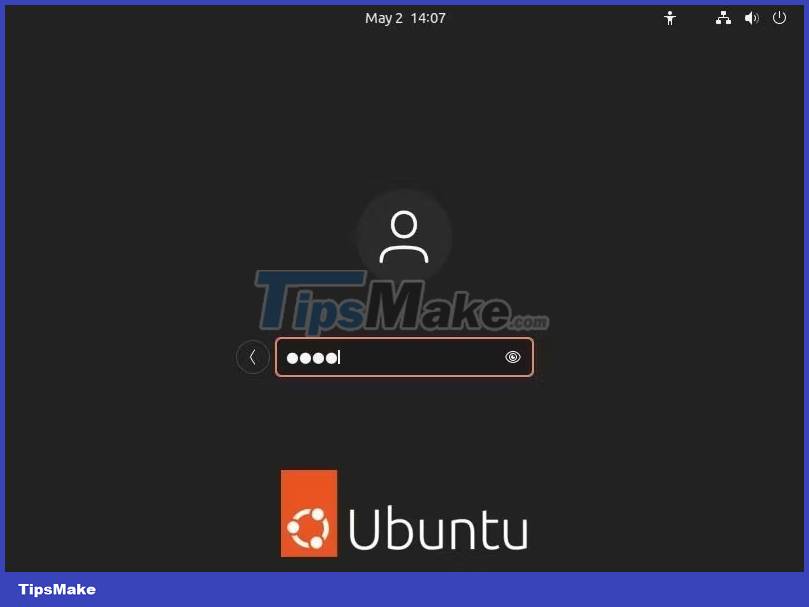
sudo service lightdm startRestart the system with the reboot command. Next time the system boots, you will be greeted by LightDM greeting and GUI on Ubuntu Server session after successful login.