Table of Contents
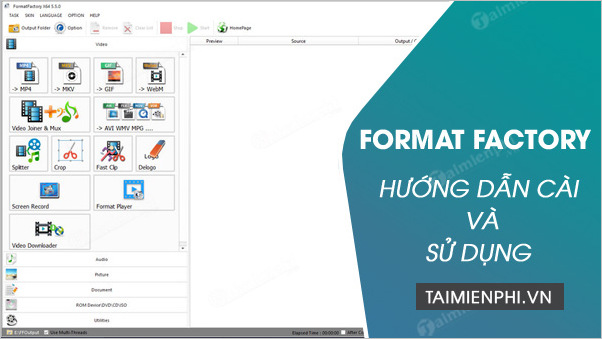
Format Factory is a Windows media converter for video, audio, and image files. A safe installation starts with the developer's official download, a careful review of every installer screen, and rejection of unrelated optional software. After installation, choose an output format, add a source file, review the encoding settings, and start the conversion queue.
Before downloading Format Factory
- Use the official Format Factory website. Avoid installers repackaged by an unknown download portal.
- Check that the current release supports your Windows version. The old Windows 2000, XP, Vista, and Pentium III requirements found in legacy guides are not a reliable description of a current release.
- Create a restore point if you are testing the program on an important workstation.
- Close other media applications before installing or updating codecs.
- Read every installer page. Free utility installers sometimes display optional offers that are not required for Format Factory.
Install Format Factory
- Download the Windows installer from the official site. When it finishes, verify that the filename and publisher match the software you intended to download, then open it.
- If Windows displays a User Account Control prompt, confirm that the publisher and source are expected before choosing Yes.
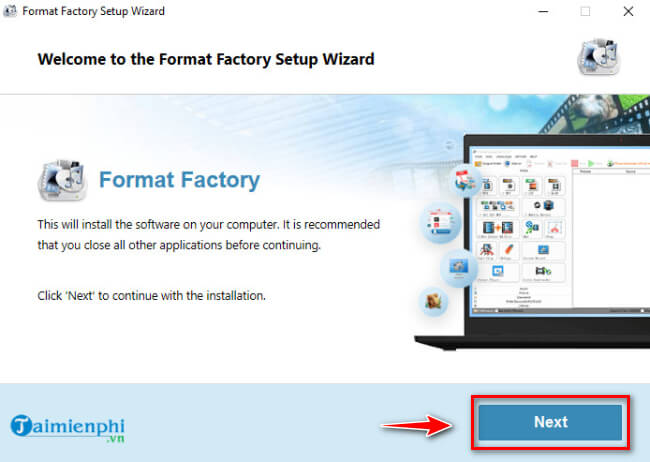
- On the welcome screen, click Next.
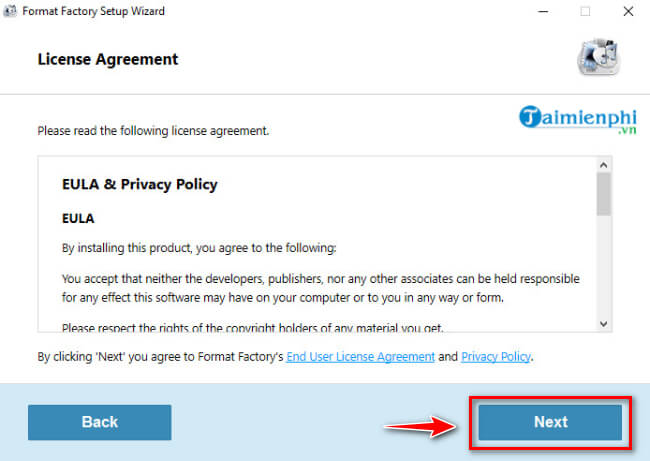
- Read the license terms and privacy information. Continue only if you accept them.
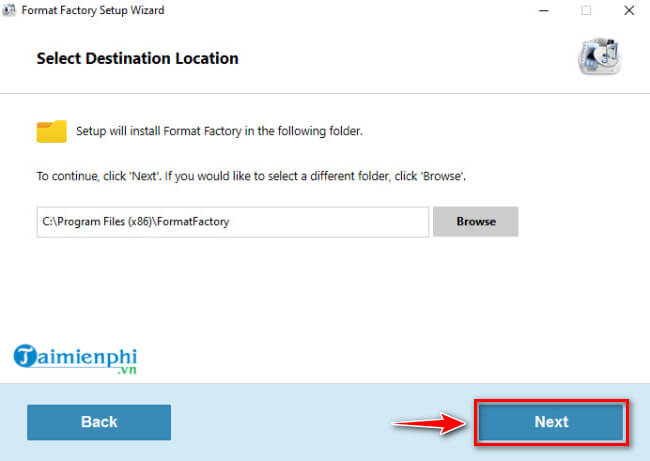
- Choose the installation folder. The default under
Program Filesis suitable for most users; use Browse only when you have a specific reason to install elsewhere.
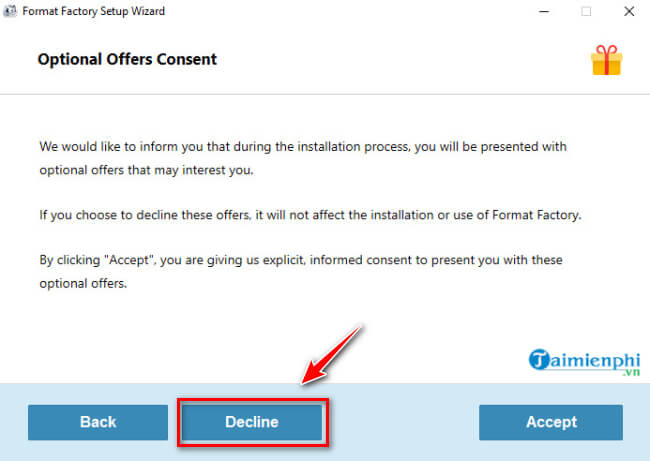
- Review any optional offer separately. Select Decline, clear the checkbox, or use the equivalent control if you do not want the advertised program. Antivirus software or another utility shown on this page is not necessary for Format Factory to convert media.
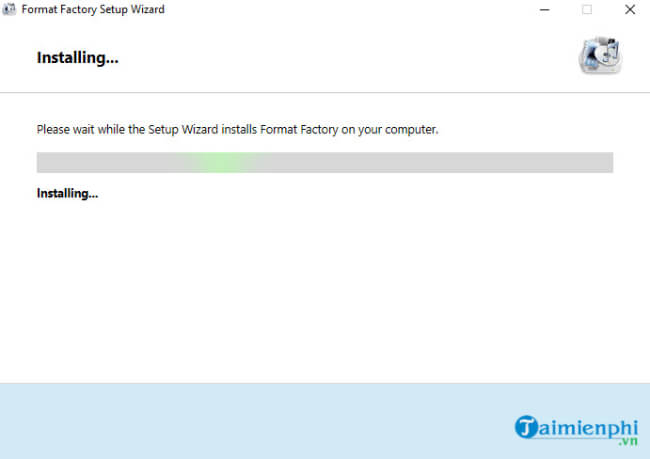
- Wait while the installer copies the application files.
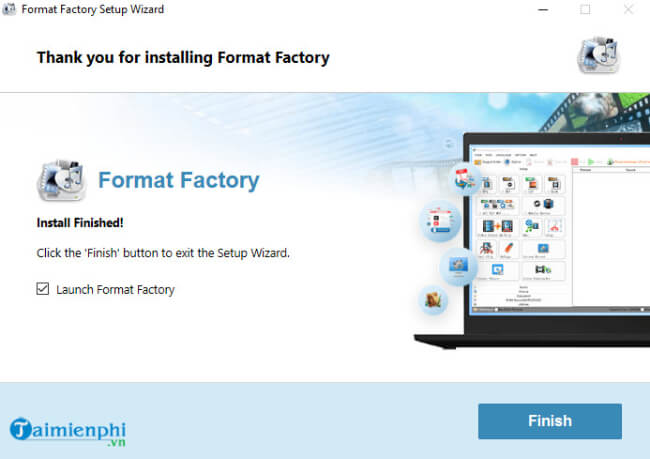
- On the final page, review any remaining options, such as launching the program or opening a web page. Clear anything you do not want, then click Finish.
The screenshots show an older installer, so wording and layout may differ in a current release. The important rule is to distinguish the main program from optional offers and to avoid approving items automatically.
Convert a video with Format Factory
This example converts a source video to MP4, a broadly compatible container. Choose a different output only when the target device or workflow specifically requires it.
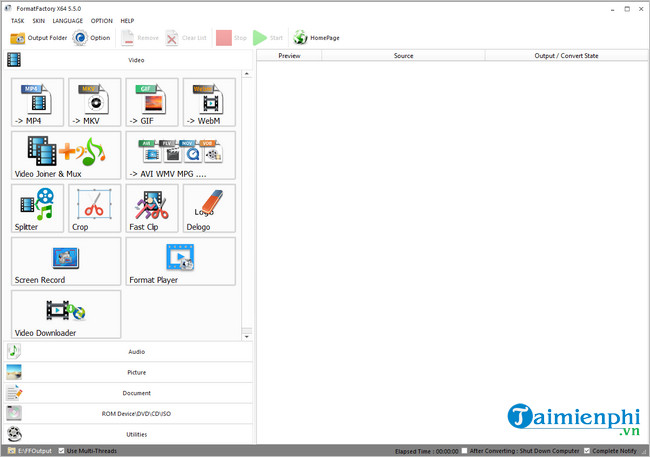
- Open Format Factory. Expand Video and select MP4.
- In the conversion window, click Add File. Select the source video and click Open.
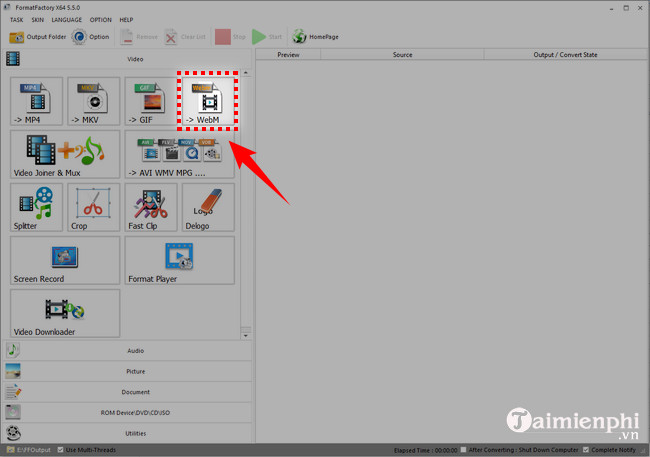
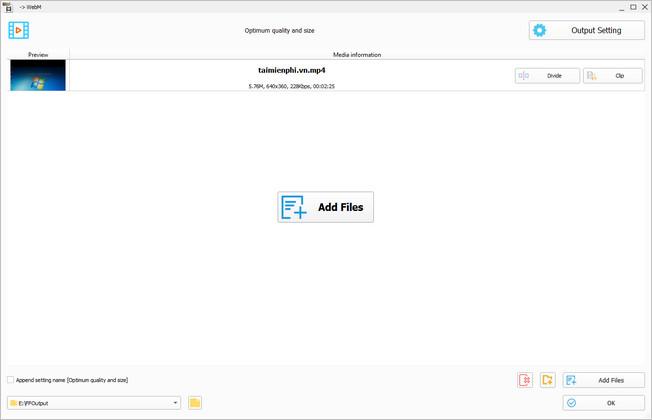
- Choose an Output Folder that does not overwrite or hide the original.
- Open Output Setting. For general playback, MP4 with H.264 video and AAC audio is a practical choice. Leave frame rate and resolution on automatic or source values unless you need to reduce size or meet a device requirement.
- Click OK to add the job to the main queue.
- Review the row in the queue, then click Start.
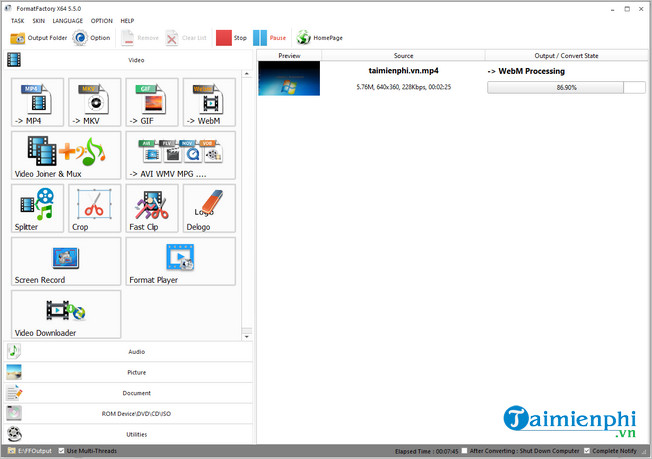
Encoding time depends on the source duration and resolution, the selected codec, and the computer's processor. Avoid shutting down the PC or disconnecting a drive that contains either the source or output file.
Check the converted file
Do not delete the source immediately. Open the result and verify:
- the beginning and end are present;
- video and audio stay synchronized;
- the image is not stretched, cropped, or rotated incorrectly;
- subtitles and extra audio tracks were preserved if required;
- the file plays on the intended phone, browser, television, or editor;
- the size and quality match the reason for converting.
Changing a filename extension is not the same as converting the media. A real conversion decodes the source and writes a new file in the chosen container and codec. It may also reduce quality, especially when bitrate or resolution is lowered.
Common installation and conversion problems
- Windows blocks the installer: download a fresh copy from the official site and verify its publisher. Do not disable SmartScreen or antivirus protection just to run an unverified file.
- Unexpected software was installed: remove it from Settings > Apps, run a security scan, and pay closer attention to optional-offer screens on a reinstall.
- The output will not play: use MP4/H.264/AAC for compatibility, or confirm which formats the target device supports.
- The converted file is too large: lower video bitrate or resolution carefully. Follow our guide to compressing video with Format Factory.
- Subtitles are missing: confirm whether they are a separate file or embedded track. See how to add subtitles in Format Factory.
If Format Factory does not meet the job's requirements, compare other video conversion programs. Always test a short file before processing an important batch.
Related Articles
 Link to Download Format Factory 5.5.0.09 minutes read
 How to Compress Video Capacity by Format Factory6 minutes read
 Create Ringtones Using Format Factory4 minutes read
 How to Reduce Video File Size Using Format Factory on a Computer4 minutes read
 How to Convert Audio with Format Factory Quickly and Simply3 minutes read
 Steps to Export Videos in Aegisub Using Format Factory5 minutes read
Reader Comments 0
Sign in with email or Google to join the discussion.