How to install and use Jitsi Meet on Ubuntu server
Jitsi Meet is a free, open source video conferencing application available for use online or with desktop software. You can easily create a Jitsi meeting in the browser after a few seconds..
Jitsi Meet (https://jitsi.org/) is a free and open source video conferencing application available for use online or with desktop software.
Like Google Meet and Zoom, you can easily create a Jitsi meeting in the browser after a few seconds without having to install additional software or extensions.
Jitsi Meet does not require an account to use any features such as:
- Share screen
- Group chat
- Collaborative document editing
- Integration with Google and Microsoft Calendar
- Integrate with other popular collaboration software including Slack and MatterMost
There is also the Jitsi Meet app for Apple and Android mobile devices. Jitsi is a great option for quickly setting up a remote conference.
Install Jitsi Meet on Ubuntu Server
1. Connect the server via SSH with root privileges
2. Install Jitsi repository key (Jitsi repo) with the command:
wget -qO - https://download.jitsi.org/jitsi-key.gpg.key | sudo apt-key add -
3. Create a source file for the new Jitsi repo - sources.list.d - with the command:
sudo sh -c "echo 'deb https://download.jitsi.org stable/' > /etc/apt/sources.list.d/jitsi-stable.list"
4. Install apt-transport-https to access packages with SSL (HTTPS) connection:
apt-get install apt-transport-https
5. Updating package list for Ubuntu server:
sudo apt-get -y update
6. Install the full Jitsi Meet toolkit:
sudo apt-get -y install jitsi-meet
7. When prompted, enter the hostname or domain name intended for Jitsi URL.
8. Choose to use your own self-signed SSL certificate (Let's Encrypt) or SSL
Create a meeting
1. After installing Jitsi Meet, visit Jitsi URL to create video conference
 Access Jitsi URL
2. In the upper right corner, select the Settings icon .
3. Here, you can configure the camera, microphone, display name, Gravatar and language settings
4. Select OK to save changes
5. Add a meeting name and select GO to create a Jitsi meeting.
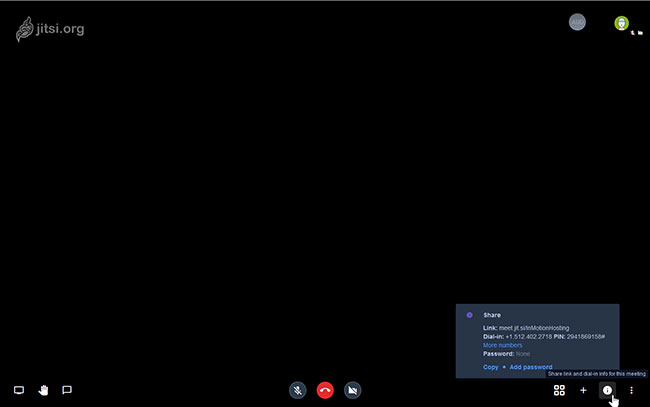 Here, you can navigate all settings in the meeting
Here, you can navigate all settings in the meeting:
- Share screen
- Hands up
- Open the text
- Activate mic and camera
- Invite people
- Change call quality
- Record to Dropbox
- Share YouTube videos
- Open the shared Etherpad document