How to encrypt files using File Guard
The File Guard utility will encrypt files even if you lose your Internet connection in Chrome, in order to secure the file..
The protection of files when sending online is essential. There are many methods of securing files online, such as sending self-destructing files or encrypting files, for example. File Guard is a file encryption utility on Google Chrome that protects files with the browser's built-in encryption API. The utility performs encryption independently of the browser, resulting in the encrypted file automatically saved after encryption or decryption.
The utility supports encryption of all file formats, images, videos, documents, . to help you in protecting the file. When the person receives the encrypted file, they also need to encrypt the file on File Guard in order to receive the original original file. The following article will guide you how to encrypt files on File Guard.
- 5 popular encryption algorithms you should know
- What is data encryption? Things to know about data encryption
- Top 20 best encryption software for Windows
- How to enable or disable NTFS file encryption in Windows
Instructions on file security on File Guard
Step 1:
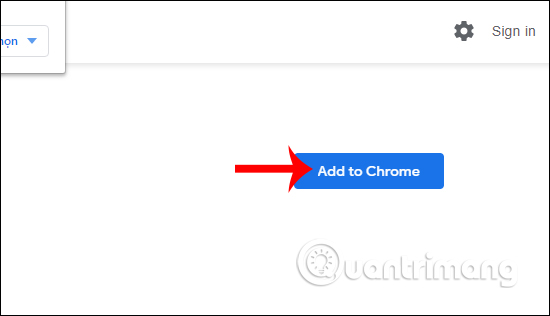
We install the File Guard utility on Chrome by following the link below.
- Download the File Guard Chrome extension
Step 2:
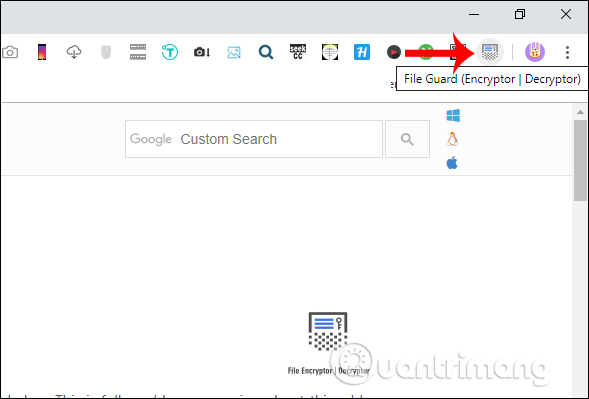
Users click on the utility icon at the end of the address bar to browse the browser to conduct file encryption.
Step 3:
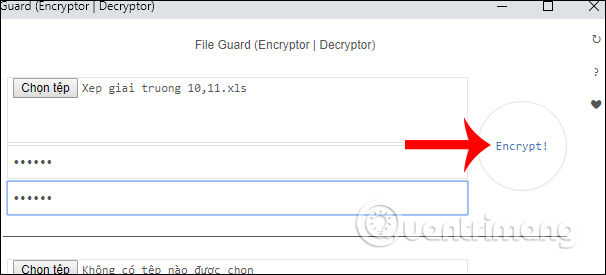
Now you are switching to a completely new interface, separate from Chrome browser. We click the Select file button in the Encrypt section to download the file you want to encrypt.

Step 4:
Next, the user enters the security code for the file you want to encrypt to increase the security for the file. Enter the password at the Enter a password line and repeat the password at Re-enter your password. Finally click Encrypt to encrypt.
Soon encryption will take place. The file is automatically downloaded in * .encrypted format.
Note that the utility only encrypts only 1 file. If users want to encrypt multiple files, you need to compress them into zip files.

Step 5:
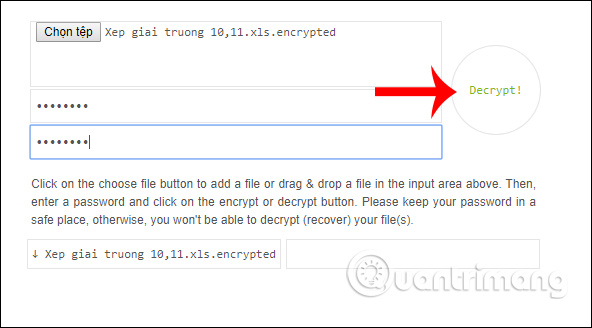
To decrypt, in Decrypt, click the Select file button and download the file to decrypt .
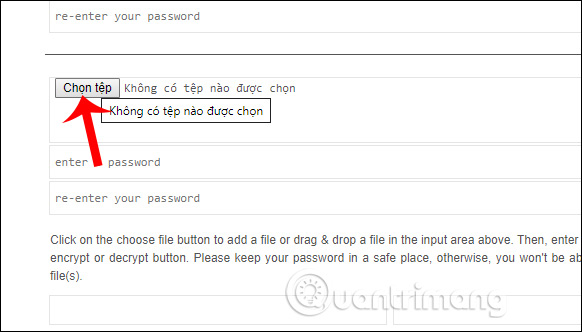
Now the decrypted file is automatically downloaded to the computer and you just need to click Save to save the original file.
The File Guard utility creates two layers of security when encrypting files, namely the encryption layer and the password layer for encrypted files. If the recipient of the encrypted file does not remember the password, the File Guard utility will not recover the encrypted password, so you need to remember the exact password.
I wish you successful implementation!