Table of Contents
This practical guide explains how to edit videos on capcut online with clear steps and useful context. It also covers common requirements, potential problems, and the details that can help you get better results.
Instructions for Editing Videos on Capcut Online
Step 1:
We access the link above to access CapCut online. At the website interface, click Tools and then select Video Editor .

Step 2:
Click on the Get Started button to proceed with using the online video editing tool. To be able to export videos, you must log in or register for a CapCut account.

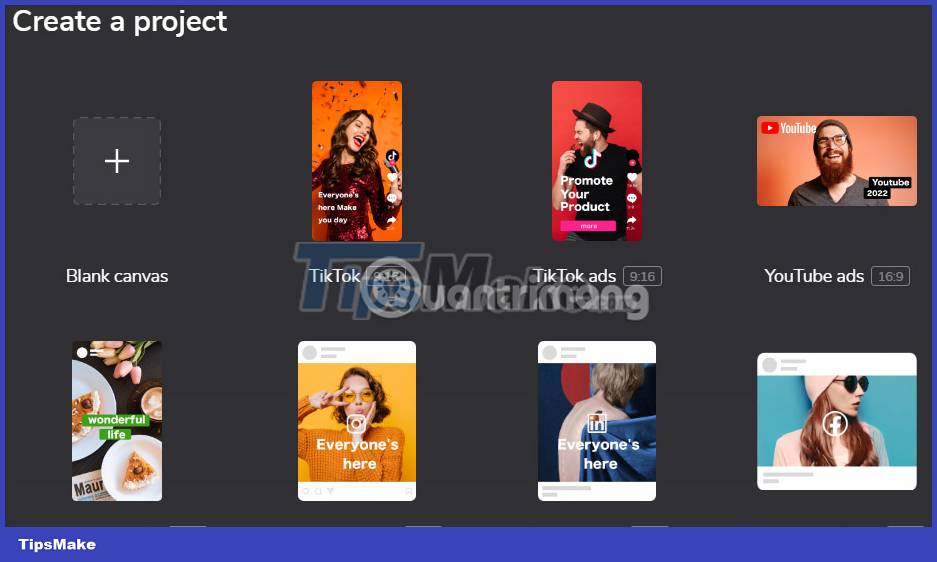
You are immediately transferred to the video editing interface on CapCut online. The user will first select the video theme that you will create . The website will let you choose the type of video with the corresponding size to post the video on.
If making a normal video, click Blank canvas and click Create below to create.
Step 3:
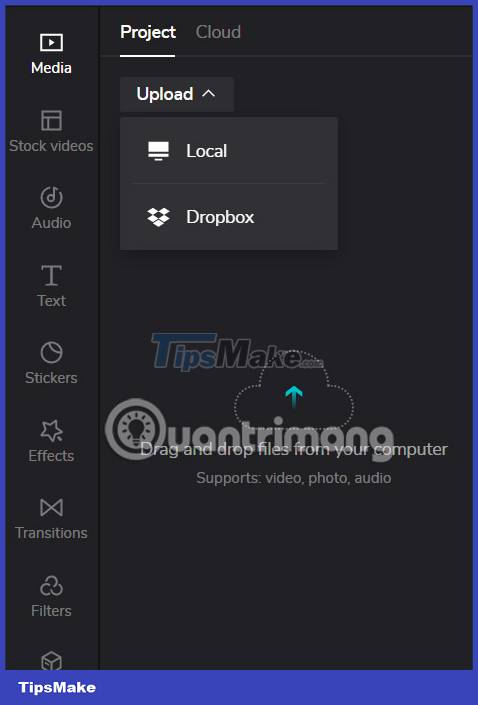
Switch to the video editing interface on CapCut online. Here we will upload the video we want to edit to the website. You have 2 options: download videos from your computer or download videos from your Dropbox account if we have a CapCut account.
Step 4:
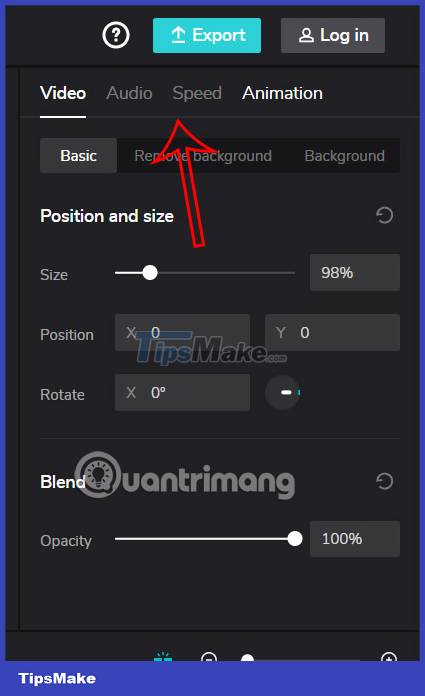
After uploading the video to CapCut online, you can scroll down to the editing bar below . Here we will adjust some basic changes to the video such as zooming in or out of the video, turning off the video sound. You look to the right edge to see the changing features for the video.
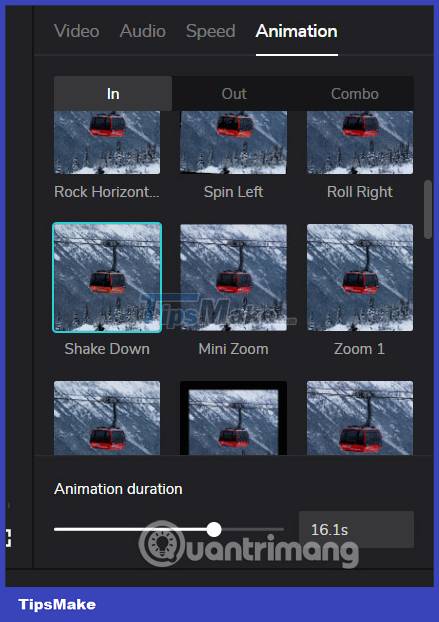
We can add effects in and out of the video if we want.
Step 5:
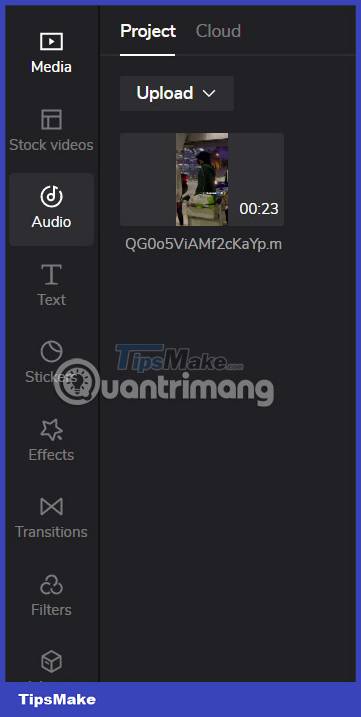
Next look to the left edge of the screen are the effects that you can use for the video.
Step 6:
The video editing operations on the CapCut online version are similar to the CapCut version on the phone. If you want to add any content to the video, click , then drag down the edit bar below.
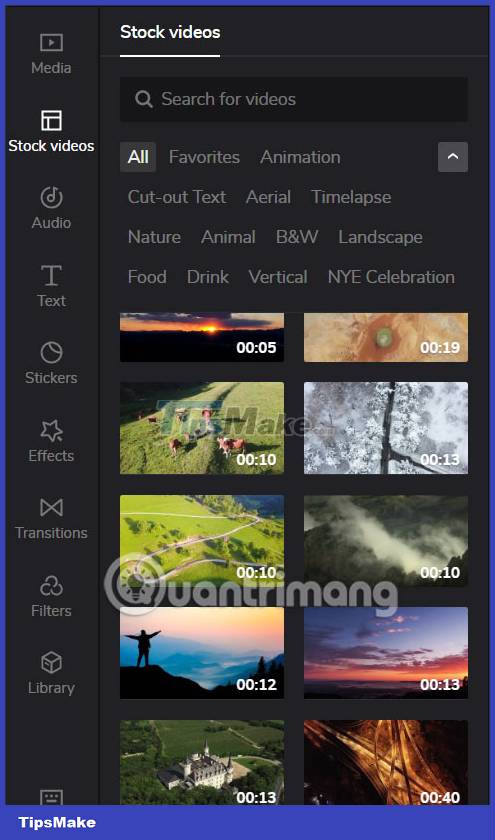
For example, you add an intro video, the beginning of your video. In the Stock videos section, we choose the type of video we like and then scroll down before your original video.
Step 7:
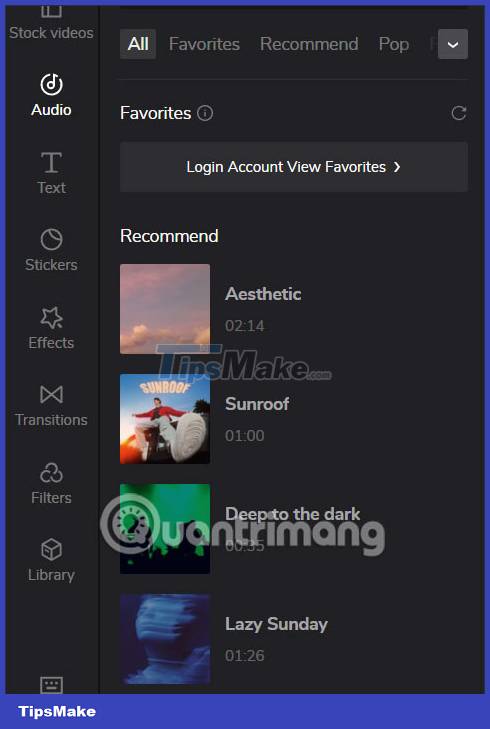
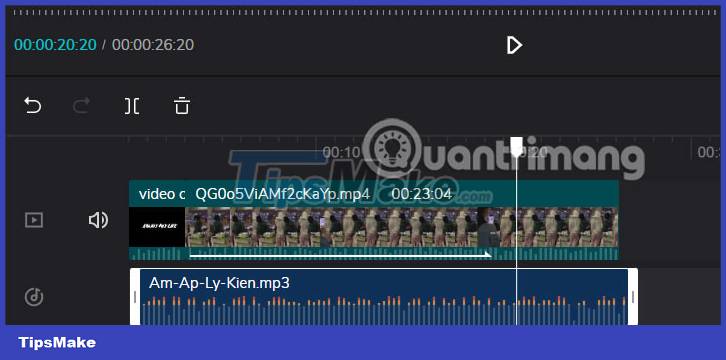
To insert music into the video , click on the Audio section . Then we choose the sound we want to use.
In case you want to insert existing music , go back to the Media section and upload your music.
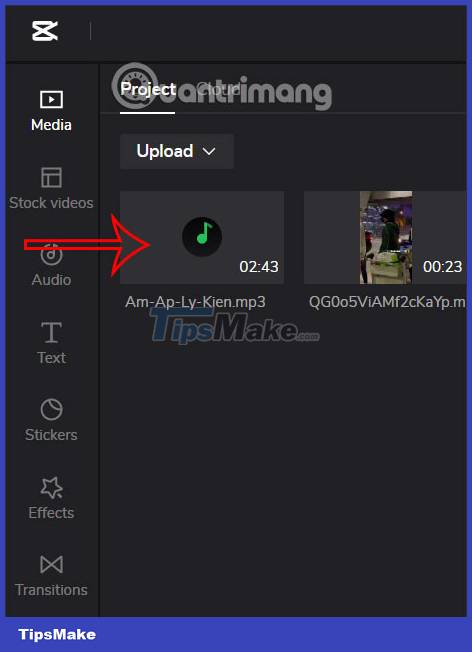
Then also drag down the adjustment bar . Audio for you to upload also has the same customizations.
Step 8:
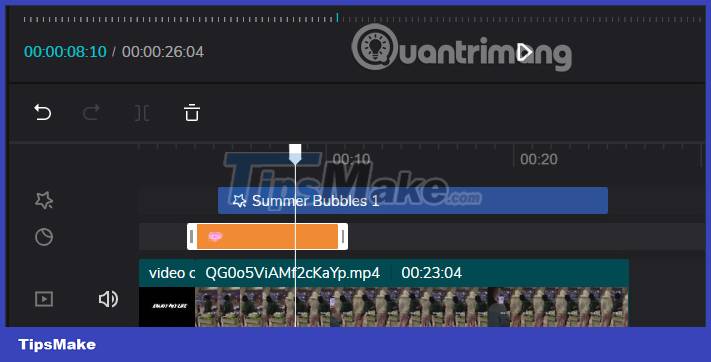
We continue to move to other items to insert into the video. Each content when inserted into the video will have a bar to adjust the time, change the display position. You adjust as usual.
Step 9:
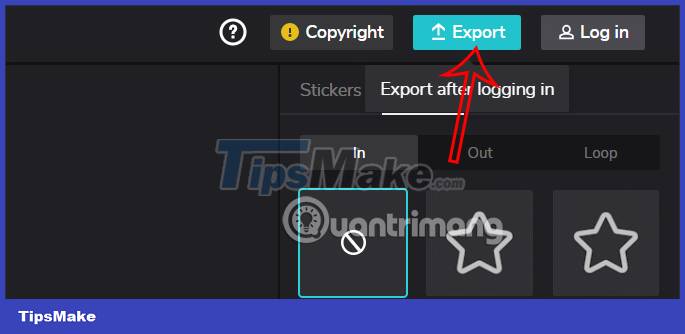
After we have the video we like, we click the Export button in the top right corner to export the video.
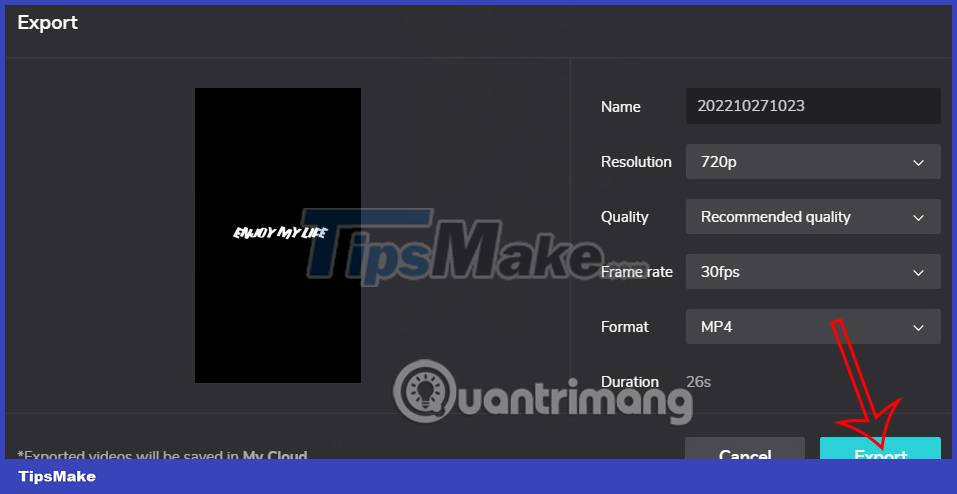
Users select the output mode and quality for the video and then click Export below.
Step 10:
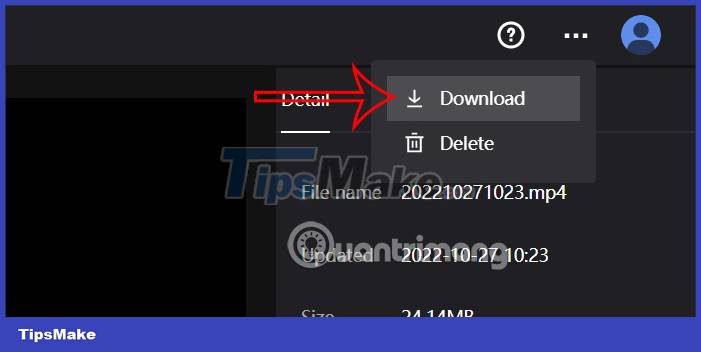
Now you wait for the video to be completed on CapCut online. Finally, we click on the 3-dot icon and then select the Download button below. The video is downloaded to the folder you choose as the location to save the downloaded file from the browser.
Conclusion
Understanding Capcut Online makes it easier to compare options, avoid common mistakes, and apply the information in this guide more effectively. Review the relevant requirements before making changes or choosing a solution.
FAQ
How do you edit videos on capcut online?
Follow the steps in this guide in order, confirm the required settings or tools, and verify the result before making additional changes.
Is it safe to edit videos on capcut online?
It is generally safe when you follow the recommended instructions, use trusted tools, and avoid changing settings you do not understand.
What should you do if the process does not work?
Recheck the requirements, restart the device or application when appropriate, and review each step for missed settings or compatibility issues.
Related Articles
 Link Capcut Online Instructions for Online Access and Use4 minutes read
 Instructions for Cutting, Flipping, and Rotating Videos Using CapCut Explained6 minutes read
 How to Edit Videos with Capcut14 minutes read
 How to Download and Install CapCut Pro and CapCut Premium for Free3 minutes read
 How to Add Voiceovers to Videos Using CapCut4 minutes read
 How to Edit Videos on Edit Videos Online Without an Account4 minutes read
Reader Comments 0
Sign in with email or Google to join the discussion.