How to edit photos posted on Twitter
Image posted to Twitter has editing and refreshing options to change the image.
Table of Contents
Current social networks offer image customization to change and invite images when we post. With Twitter, users also have a lot of options to change the image from the basic options such as cropping, rotating images or higher custom changing photo color filters, inserting stickers for photos on Twitter.
This photo editing option applies to both the desktop version of Twitter and the Twitter app version. However, the photo editing items in these two versions will not be the same. The following article will guide you how to edit photos on Twitter.
- What is the standard Twitter image size?
- How to post multiple photos to Tweet on Twitter
- How to save photos and create gallery on Instagram
- How to turn on Night Mode for Twitter
1. Edit photos posted on Twitter Android, iOS
Step 1:
At the Twitter interface on the phone, users click on the post icon in the right corner of the screen. Switch to the new interface we click the image icon to expand the album on the device.


Step 2:
If you want to post a live photo, click the camera icon.Click on the image you want to post to Twitter and then click on the word Add in the top right corner.


Step 3:
Display interface for posting images to Twitter. Here you will see 2 photo editing icons and insert a sticker into the image. In the Photo Editing interface we will have 4 tools below.


First, when the user clicks on the stick icon, it will lighten the image simply. Next, the filter icon will have different colors for us to apply to the image. Click on the selected filter to open the intensity change bar .


Step 4:
Click the square icon to switch to the cropping interface and change the size of the image.


Step 5:
Continue to click on the sticker icon to insert sitcker into the image. There are many animation themes inserted into the image for us to choose from.
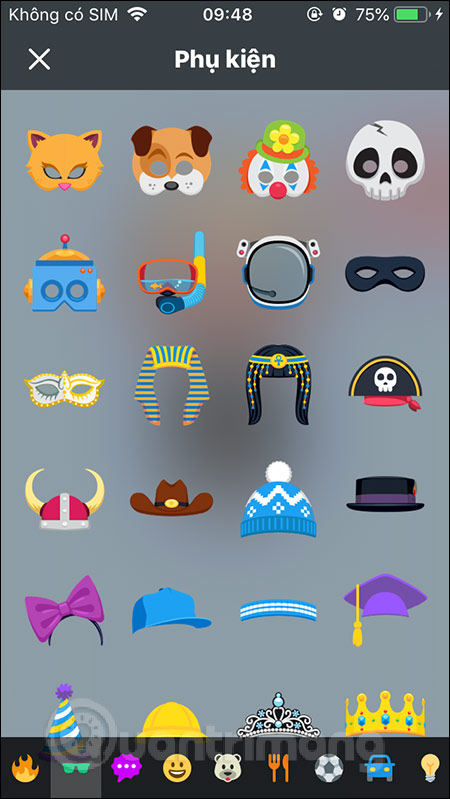

Sticker inserted into the image can be resized by pinching with fingers or stretching the frame. If you don't want to use a sticker, drag down the trash icon below.


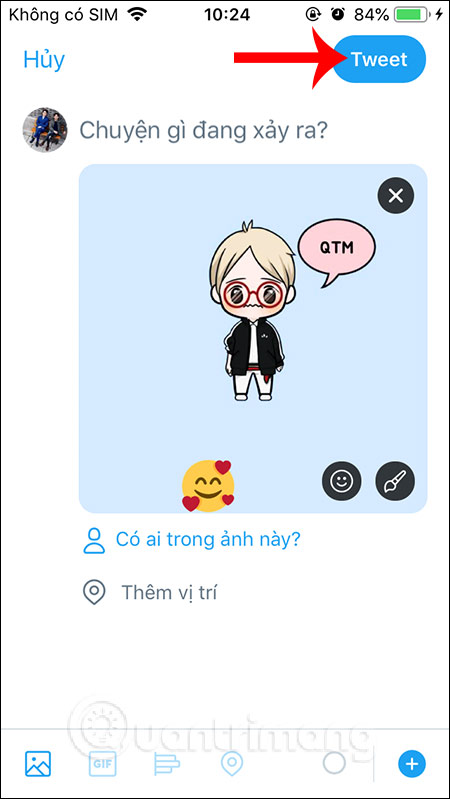
After you have finished editing click Save in the right corner to save the entire edited image. Continue to insert the location, write captions for images, tag your friends like when tweeting normally. Finally click the Tweet button in the top right corner to post. The resulting image was posted shortly thereafter.

2. Edit photos posted on Twitter computer
Step 1:
At the Twitter page, we click on the image icon to open the image you want to post on your computer.

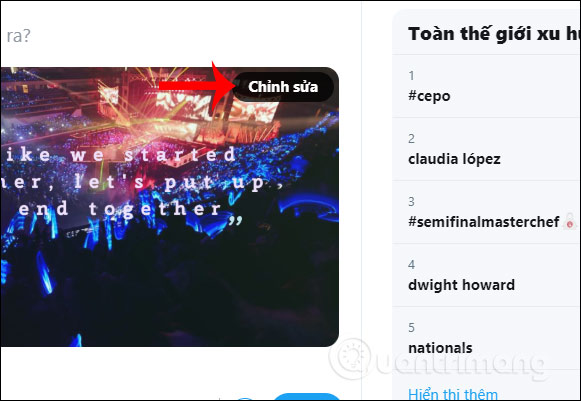
Step 2:
Display interface to post photos on Twitter, we click the word Edit in the corner of the screen.
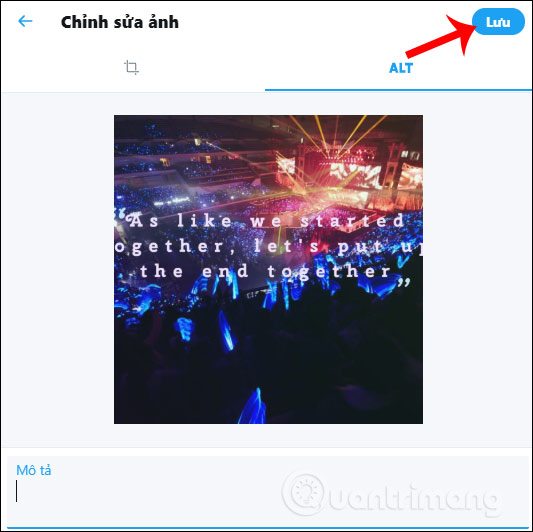
Step 3:
Switch to image editing interface on Twitter. The photo editing interface on the Twitter version of the computer is very simple, just crop the image, rotate the image, enlarge or reduce the image only.

If you want to write a photo description, click the Alt icon in the upper corner. Maximum of 420 characters for the image description. After finishing editing, press the Save button in the right corner to save.
Step 4:
Finally, we add other content to the image and then post it on Twitter as usual.

So you know how to edit images when posting on Twitter. Compared to Instgram or Facebook, Twitter's photo editing tools are relatively simple, but will also help you to refresh your photos.
I wish you successful implementation!
Was this article helpful?
Your feedback helps us improve.
Related Articles
 Twitter AI can automatically identify the most important image area3 minutes read
 How to post multiple photos on Tweet on Twitter4 minutes read
 Instructions for changing your username and display name on Twitter3 minutes read
 Instructions for deleting location information in posted tweets2 minutes read
 How to use AI Image Editor to edit photos with AI3 minutes read
 How to post Live Photos from iPhone as GIF on Twitter7 minutes read
Reader Comments 0
Sign in with email or Google to join the discussion.