Table of Contents
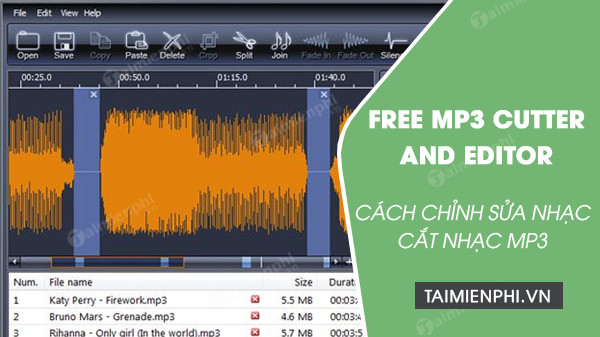
Free MP3 Cutter and Editor is a simple Windows tool for trimming MP3 and WAV files. In the version shown below, you can keep or delete a selected section, change its volume, apply fade-in or fade-out, and save the edited audio as a new file. The interface may differ if you install another release or a similarly named program.
Before installing the program
Several audio utilities use similar names, and older download links may no longer be maintained. Download software only from a source you trust, check the installer with your security tools, and decline unrelated bundled offers. Keep an untouched copy of the source audio before editing.
1. Open Free MP3 Cutter and Editor
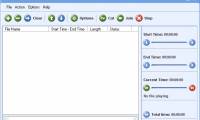
Install the application, then launch it from the Start menu or desktop shortcut. The main window provides commands for opening a file, editing the selected region, changing volume, adding fades, and saving the result.

2. Load an MP3 or WAV file
Click Open on the toolbar or choose Open a File for Editing. The version in these screenshots accepts MP3 and WAV files. If your file is not listed, convert a copy to one of those formats or use an editor that supports the original format.
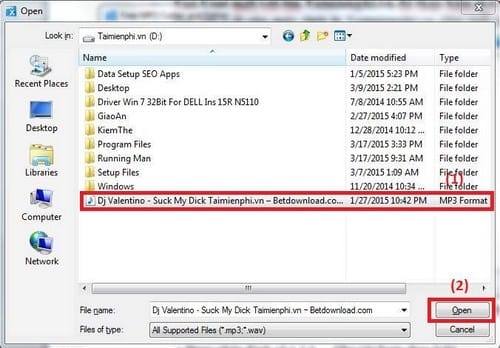
Select the audio file and click Open. Wait for the waveform to load before making a selection.

3. Select the section to edit
Drag across the waveform to highlight the required section. Play the audio and refine the start and end points so words, beats, or notes are not cut abruptly. For a ringtone or short clip, highlight the exact part you want to keep.

4. Keep or remove the selection
- Delete Selected: Removes the highlighted audio and joins the remaining parts.
- Delete Unselected: Removes everything outside the highlight, leaving only the selected clip.
Use Delete Unselected when creating a ringtone from one part of a song. Use Delete Selected to remove an unwanted middle section. Preview the result before continuing; if the cut is wrong, undo it or reopen the original file.
5. Adjust volume and fades
With the relevant section selected, choose Change Volume to raise or lower its level. Make small adjustments and listen for distortion. A “maximize” command can push the loudest peak close to the limit, but it does not repair a clipped or poor-quality recording.

Use Fade In to increase volume gradually at the beginning of a clip and Fade Out to lower it smoothly at the end. Short fades can prevent abrupt starts, endings, and clicks at cut points.
6. Save the edited audio as a new file
Click Save, choose a destination folder, and enter a new filename. Do not overwrite the source until you have played the exported file from beginning to end and confirmed that the cuts, fades, and volume are correct.

Common editing problems
| Problem | What to check |
|---|---|
| The wrong part was removed | Use Delete Unselected to keep the highlighted clip, or Delete Selected to remove it. |
| The cut sounds abrupt | Move the edit point to a quieter moment or apply a short fade. |
| The result sounds distorted | Undo the volume increase and use a lower setting. |
| The file will not open | Confirm that it is a supported MP3 or WAV file and is not protected or corrupted. |
| Audio quality drops after repeated saves | Keep a lossless WAV working copy and avoid repeatedly re-encoding MP3 files. |
If you want a cutter that edits compressed audio directly, see how to cut MP3 files with mp3DirectCut. You can also compare the features in TipsMake’s list of music-cutting software.
Related Articles
 5 Cutting Software, Best Free Music Composer and Download Link6 minutes read
 2 the Best Free Software for Cutting and Joining Music5 minutes read
 Link Download Free PDF Editor 1.36 minutes read
 3 Best Best Music Cutter Software5 minutes read
 How to Use AI Image Editor to Edit Photos with AI: Clear Instructions5 minutes read
 Instructions for Cutting MP3 Files6 minutes read
Reader Comments 0
Sign in with email or Google to join the discussion.