Table of Contents
Install Cubase through Steinberg Download Assistant, sign in with your Steinberg account, activate the license, and then configure the audio driver before creating a project. Do not use an unofficial Cubase archive, a “dongle emulator,” a crack, or a downloaded DLL file.

Check compatibility and choose an edition
Cubase is available for Windows and macOS in several editions. Hardware, operating-system, storage, graphics, and internet requirements vary by release and included content. Review the current Cubase FAQ and system requirements before buying or installing; the old Windows 7/8 and 4 GB RAM specifications no longer describe current versions.
If eligible hardware includes Cubase AI, create a MySteinberg account and redeem the Download Access Code supplied by the manufacturer. For a time-limited evaluation, use Steinberg’s official Cubase trial page.
Install Cubase with Steinberg Download Assistant
- Download Steinberg Download Assistant from Steinberg’s official site and install it.
- Open the assistant and sign in with the Steinberg account that owns the license or trial.
- Select the Cubase edition and version assigned to the account. Download the main application and only the instruments, loops, and content packages you need.
- Run the official installers from the assistant. Keep the default locations unless your storage plan requires a separate content drive.
- Open Steinberg Activation Manager if prompted and activate Cubase on the intended computer.
- Launch Cubase and install any maintenance update offered through Steinberg’s supported update path.
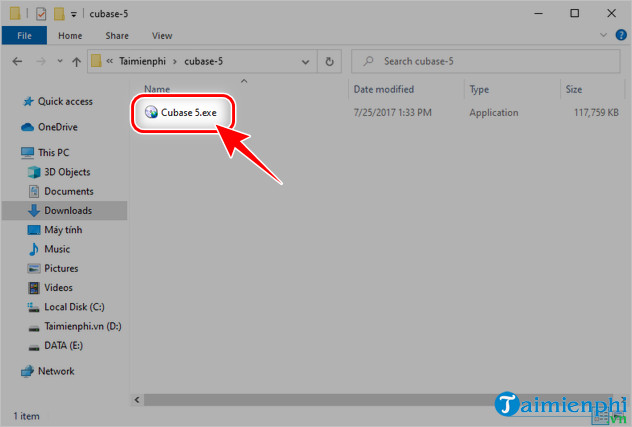
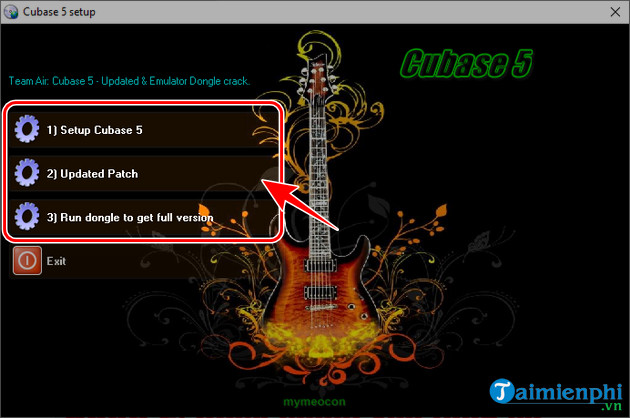
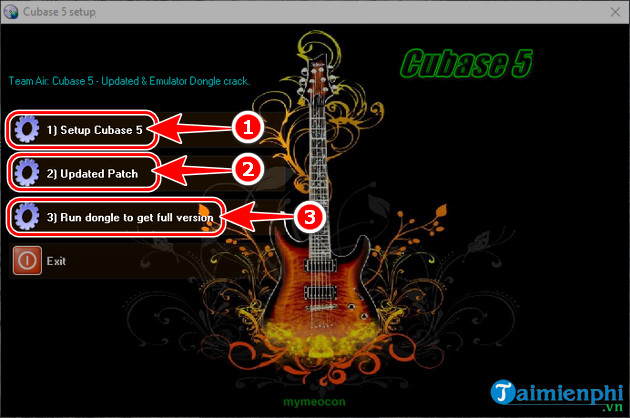
Modern Cubase releases use Steinberg Licensing. Instructions involving Cubase 5, an eLicenser dongle emulator, “Run dongle to get full version,” or a patch from an archive are obsolete and may facilitate piracy or malware.
Configure the audio device
Connect the audio interface and install its current driver from the hardware manufacturer when required. In Cubase, open the audio system or Studio Setup page and select the intended ASIO driver on Windows or the appropriate Core Audio device on macOS.
- Use the interface’s native ASIO driver on Windows when available; generic drivers may add latency or limit inputs.
- Set the buffer lower for responsive recording and higher if mixing causes clicks or dropouts.
- Confirm the sample rate is consistent between Cubase, the interface, and the project.
- Use Studio > Audio Connections to map the physical microphone input and main stereo output.
The Cubase Hub can play a test signal and helps choose a driver and stereo output. Steinberg’s Cubase Hub documentation describes the current controls.
Create a project
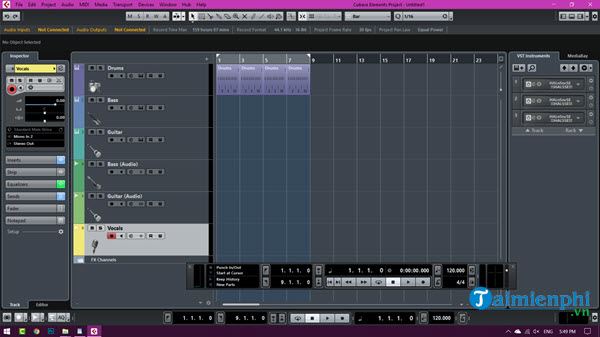
- Select File > New Project.
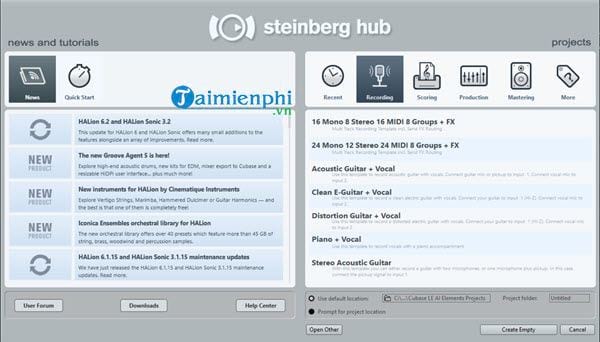
- Choose an empty project or a template that matches the task.
- Create a dedicated project folder on a local drive. Keep the project file, recordings, and related media together.
- Save the project immediately with a descriptive name.
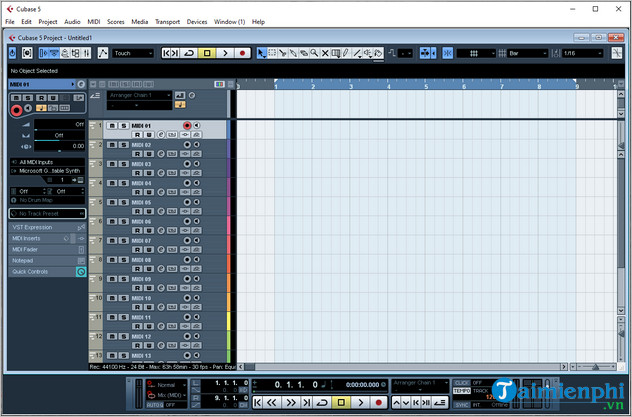
Steinberg’s new-project instructions cover templates and project folders.
Record the first audio track
- Select Project > Add Track > Audio and choose mono for one microphone or stereo only for a true stereo source.
- Select the input bus connected to the microphone or instrument.
- Enable Record on the track. Enable input monitoring only when needed and avoid hearing both direct and software monitoring at once.
- Set the hardware input gain while performing at the loudest expected level. Leave headroom and never rely on later processing to repair clipping.
- Position the cursor, enable the metronome or count-in if needed, and press Record on the transport.
- Stop, rename the event or track, and listen back for noise, latency, and distortion.
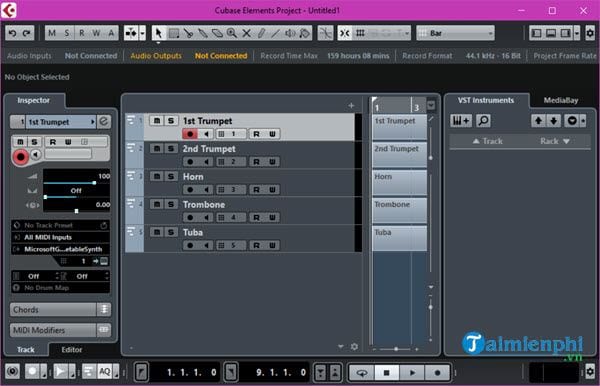
Use a separate MIDI or instrument track for virtual instruments. MIDI contains performance instructions rather than recorded sound; the MIDI file guide explains the distinction.
Edit and mix without losing the original
Trim unwanted silence, add fades to avoid clicks, and use crossfades between edits. Keep processing modest at first: corrective EQ, gentle compression, and level automation are usually more useful than a large effects chain.
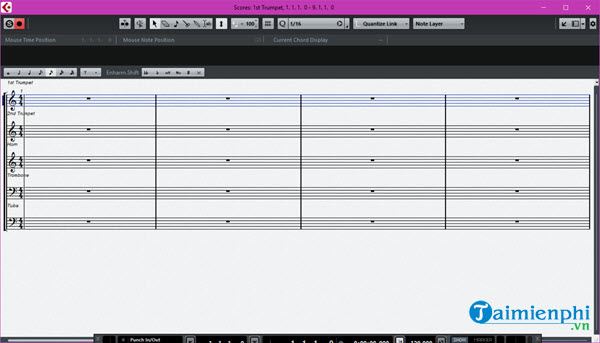
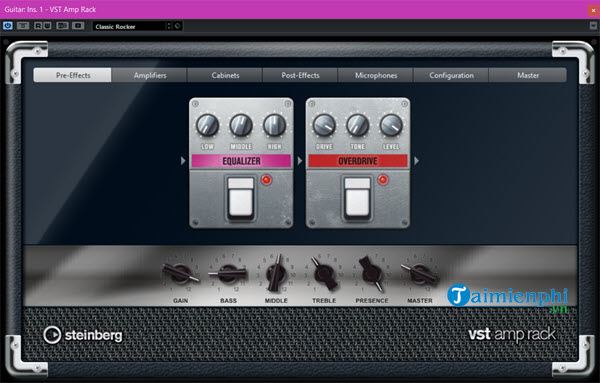
Duplicate an important track or save a new project version before destructive edits. Organize tracks by name and color, route related tracks to groups when helpful, and leave headroom on the stereo output.
Export the finished mix
- Set the left and right locators around the full song or program.
- Listen through the range and check that the stereo output does not clip.
- Open File > Export > Audio Mixdown.
- Choose WAV or AIFF for a lossless master. Create an MP3 or AAC delivery copy only when required.
- Name the export, choose a folder outside the raw-audio directory, and verify the channel selection and sample settings.
- Open the exported file in another player and listen to the beginning and end.
For other production software, see music-making and production applications. A simpler recording task may be better served by one of the audio recording apps for computers.
If Cubase reports synsoacc.dll or a licensing error
Do not download synsoacc.dll from a DLL site or copy unknown files into System32 or SysWOW64. That error belongs to the legacy Syncrosoft/eLicenser system used by old Cubase releases. Installing random system files can introduce malware or break licensing components.
- Confirm whether the Cubase version is supported on the current operating system.
- Update or repair the official Steinberg Download Assistant, Activation Manager, and installed Cubase components.
- If an old eLicenser component remains, follow Steinberg’s official support procedure for that exact product and version.
- Back up projects and presets before uninstalling licensing components.
- Contact Steinberg Support when the license is valid but activation remains unavailable.
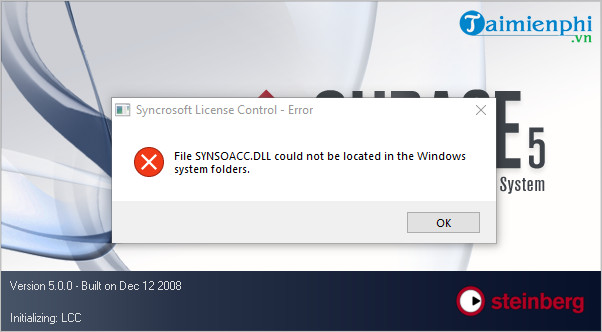
Historical installer screenshots from the original article
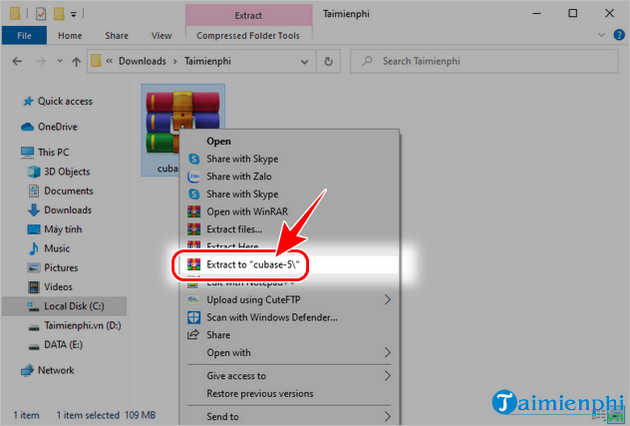
These images document an unofficial Cubase 5 archive and dongle-emulator workflow. They are retained only to identify the obsolete instructions that should not be followed. Use Steinberg Download Assistant instead.

Related Articles
 Instructions for Installing Cubase 5 Software and Fixing7 minutes read
 How to Install an SSD for PC: Step-by-Step Guide5 minutes read
 How to Install and Use Tik Tok on Your Computer7 minutes read
 Instructions on How to Upgrade RAM on Computers and Laptops9 minutes read
 5 Reasons to Install Linux on Old Computers6 minutes read
 Self-assembling Computers, Build Desktops (P2): Assembling Hardware27 minutes read
Reader Comments 0
Sign in with email or Google to join the discussion.