Table of Contents
Simply put, you will enter content for the AI to confirm what you want to edit and then the tool will add images for you. The article below will guide you how to use AI Image Editor to edit photos.
Key Takeaways About AI Image Editor Edit Photos with AIca
- Simply put, you will enter content for the AI to confirm what you want to edit and then the tool will add images for you.
- The article below will guide you how to use AI Image Editor to edit photos.
- Instructions for using AI Image Editor to edit photos online Step 1: We access the link below to go to the homepage of AI Image Editor. https://imgeditor.zmo.ai/products Step 2: At this
Instructions for Using AI Image Editor to Edit Photos Online
Step 1:
We access the link below to go to the homepage of AI Image Editor.
https://imgeditor.zmo.ai/productsStep 2:
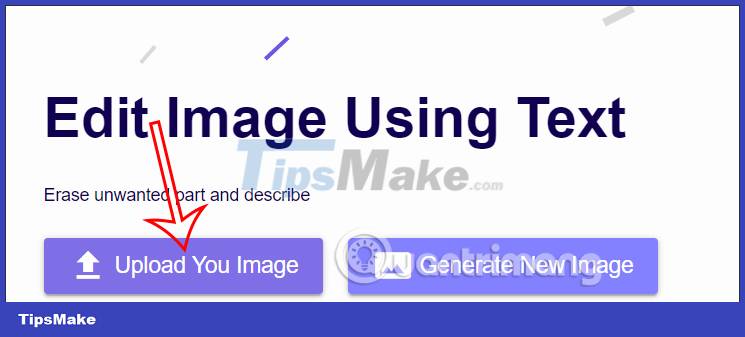
At this website interface, users will upload images to the website by dragging and dropping or clicking the Upload Image button to upload photos.
Step 3:
Next in the image editing interface, the user will hover over the image area they want to edit to delineate the area as shown below.

In case you circle the wrong area of the image, click on the Restore icon and then circle the wrong area again to remove it.

Step 4:
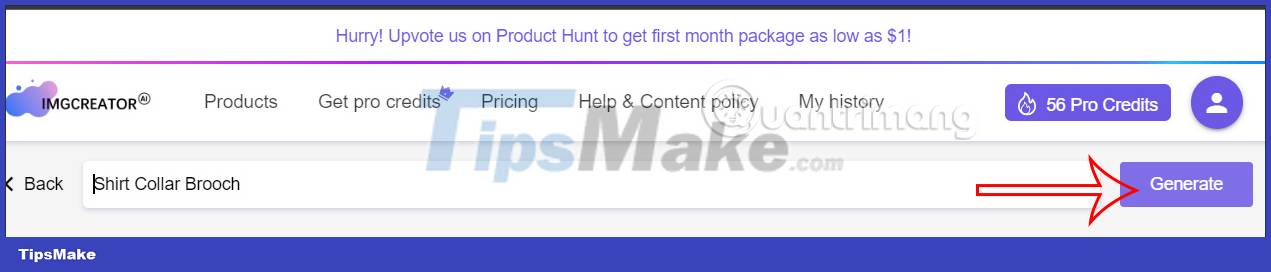
Next, enter the content you want to add to the image area in English in the Edit frame and then click Generate . For example, here we will add a brooch to the selected image area.
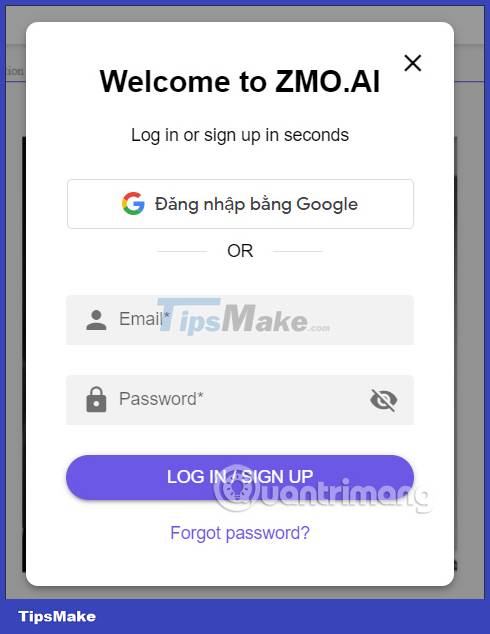
The website will now ask you to log in to AI Image Editor using your Google account.
Step 5:
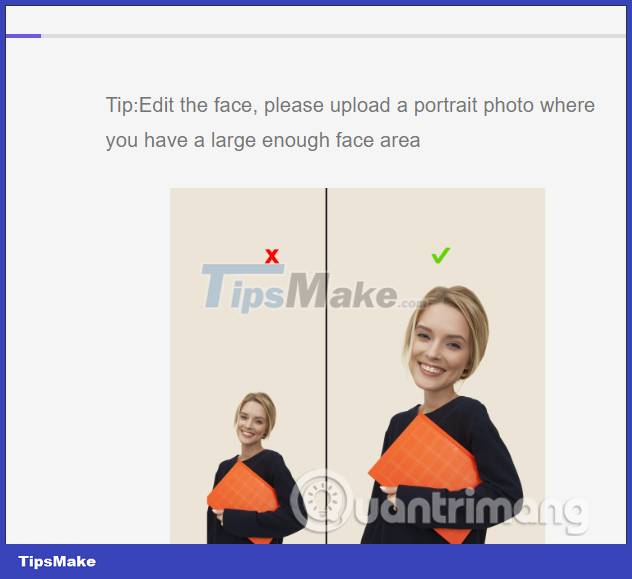
We wait a few seconds for the website to recognize the image and area that needs editing, scanning the content you enter to edit.
The result will be the image as shown below. The circled area has been edited based on your keyword we entered. You will have 2 photo results after editing. Whichever style you like, click the download icon to download the image.
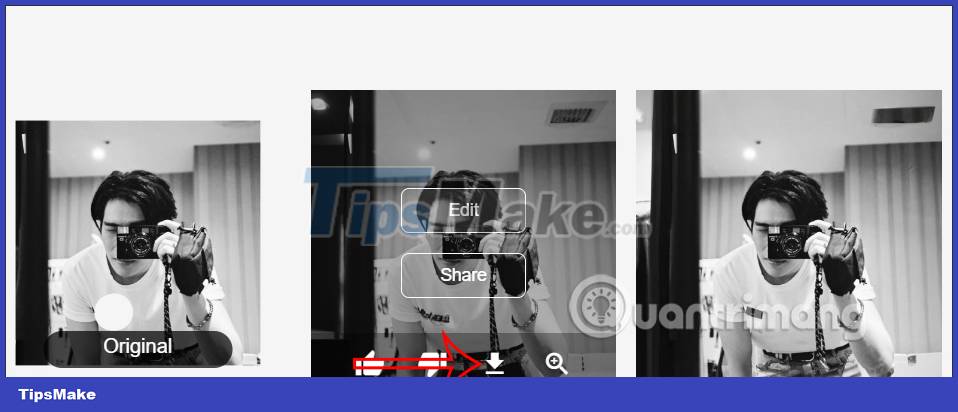
The image is 1024×1024 pixels and has a watermark. With the resulting image, you can also click Edit to continue editing.
FAQ
How do you use AI Image Editor to edit photos with AI?
Simply put, you will enter content for the AI to confirm what you want to edit and then the tool will add images for you.
What should you check before working with AI Image Editor Edit Photos with AIca?
The article below will guide you how to use AI Image Editor to edit photos.
What can you do if the first method does not work?
Instructions for using AI Image Editor to edit photos online Step 1: We access the link below to go to the homepage of AI Image Editor. https://imgeditor.zmo.ai/products Step 2: At this website interface, users will upload images to the website by dragging and dropping or clicking the Upload Image button to upload photos.
Related Articles
 Instructions for Editing Photos on Icecream Photo Editor4 minutes read
 Compress Photos, Reduce Image Size with Bzzt! Image Editor3 minutes read
 Tips for Using Seen: Story Editor Edit Story Is Very Artistic4 minutes read
 3 Tips to Improve Low-Resolution Image Quality: Low Resolution Photo4 minutes read
 How to Use Photoshop Fix Delete Excess Details in Photos5 minutes read
 How to Edit PDF Files with Infix PDF Editor7 minutes read
Reader Comments 0
Sign in with email or Google to join the discussion.