Table of Contents
MuseScore Studio is free, open-source music notation software for writing, playing back, printing, and exporting sheet music. Download it only from the official MuseScore site, choose the build for your operating system, and then follow the installer prompts. The desktop editor is available for Windows, macOS, and Linux; MuseScore's mobile apps serve a different score-reading and practice workflow.

Download MuseScore Studio safely
- Open the official MuseScore Studio download page.
- Select the current stable installer for Windows or macOS. Linux users can choose the recommended AppImage or a supported distribution package.
- Check the published system requirements before downloading, particularly if you plan to install the optional MuseSounds library, which requires considerably more storage than the notation app itself.
A third-party download manager is not required. Avoid old mirrors and prerelease or nightly builds unless you specifically need to test unfinished software.
Install on Windows
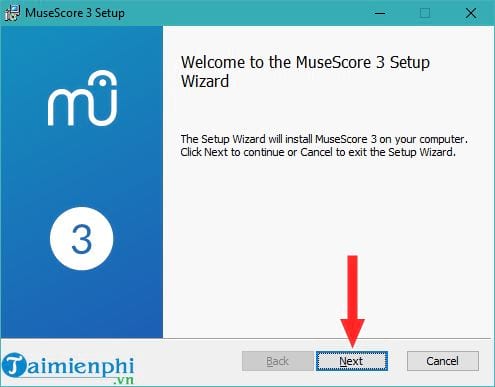
- Open the downloaded installer. If Windows displays a security prompt, confirm that the publisher and source are the ones you expected.
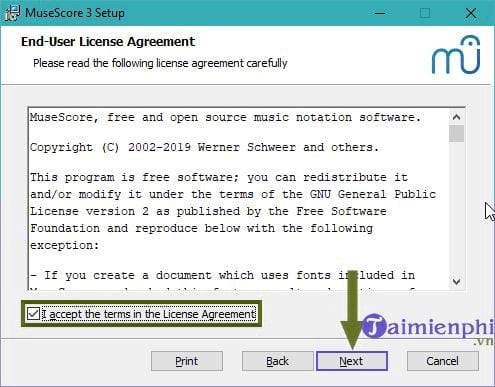
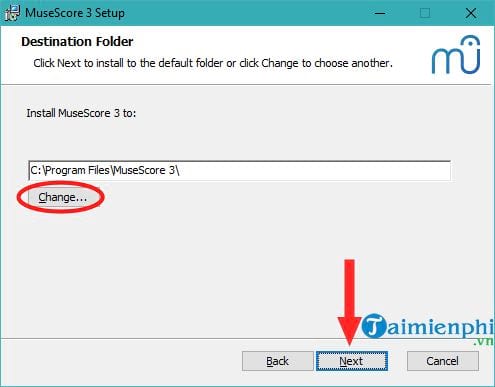
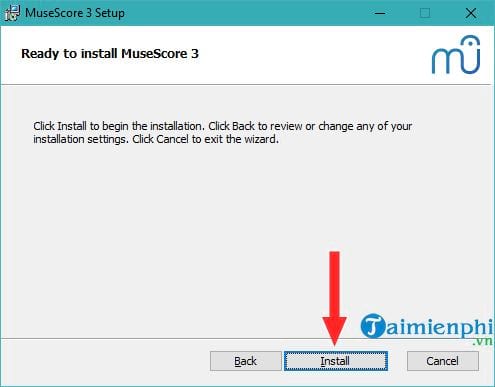
- Review and accept the license terms, keep the default destination unless you have a reason to change it, and select Install.
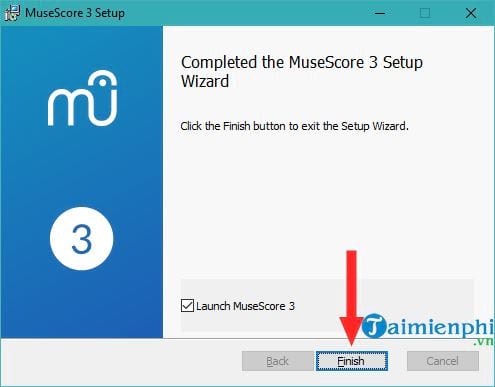
- When setup finishes, launch MuseScore Studio from the Start menu.
Install on macOS or Linux
macOS
Open the downloaded package and follow its installation instructions. Start MuseScore Studio from the Applications folder. If macOS blocks the first launch, use the system's Privacy & Security controls only after confirming that you downloaded the app from the official site.
Linux
The official download page recommends an AppImage for many recent distributions. Make the AppImage executable if your desktop does not do so automatically, then run it. A distribution package may integrate more closely with your package manager, but it can lag behind the current upstream release.
Complete first-run setup
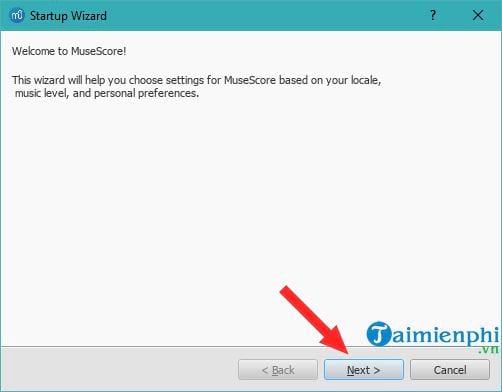
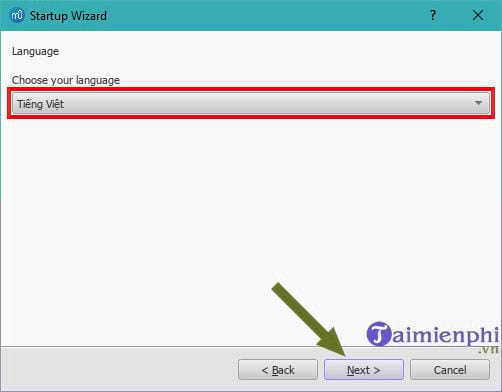
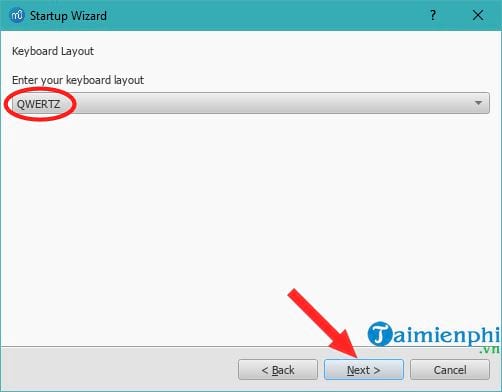
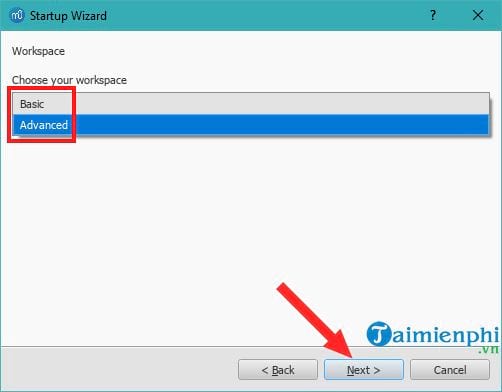
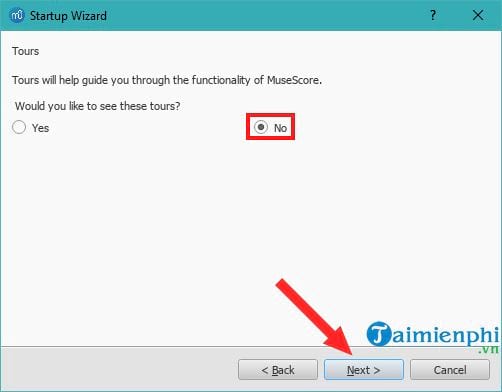
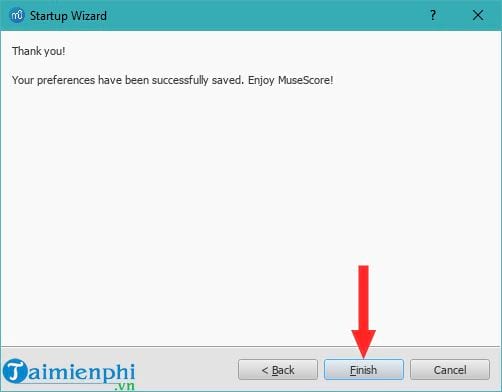
On first launch, choose the interface language and any available keyboard or workspace options. Current versions may show different onboarding screens from the older screenshots below. You can change most preferences later, so the defaults are suitable when you are unsure.
Create and save your first score
- Select New score, then enter the title and composer information if needed.
- Choose instruments or start from a template, set the key and time signatures, and create the score.
- Select a note duration and enter notes with the mouse, computer keyboard, or a connected MIDI keyboard.
- Save the editable project in MuseScore's native format before exporting copies for sharing.
MuseScore Studio can open MusicXML and MIDI files, although imported notation may need cleanup. For a primer on the format, see how MIDI files work. If you are comparing creative applications, TipsMake also lists music-making and production software.
Export or print the score
Use File > Export to create a copy in formats supported by your installed version. Common choices include PDF for printing, MusicXML for exchanging notation with another scoring program, MIDI for performance data, audio formats for listening, and PNG or SVG for images. The MuseScore Studio export handbook explains the available options and settings.
Keep the original project file as your editable master. Exported PDF, audio, or image files are delivery formats and generally do not preserve the full score for later editing.
Older MuseScore 3 installation screens
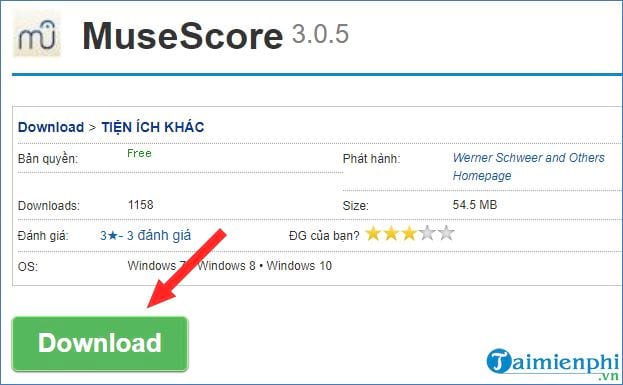
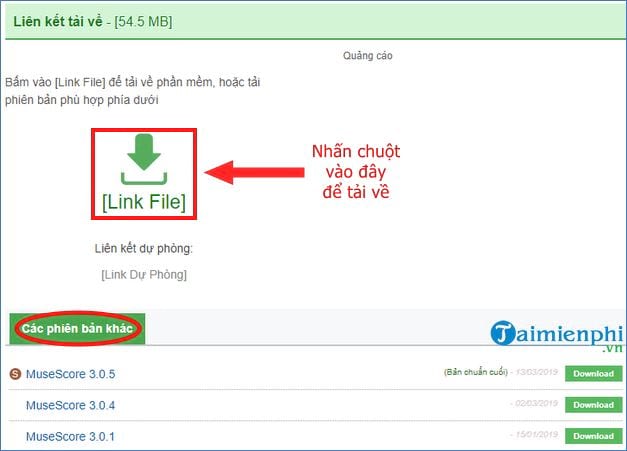
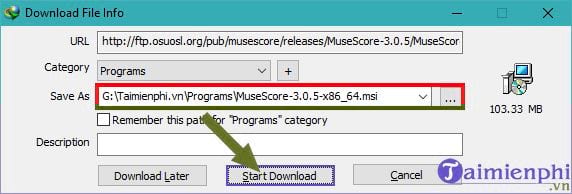
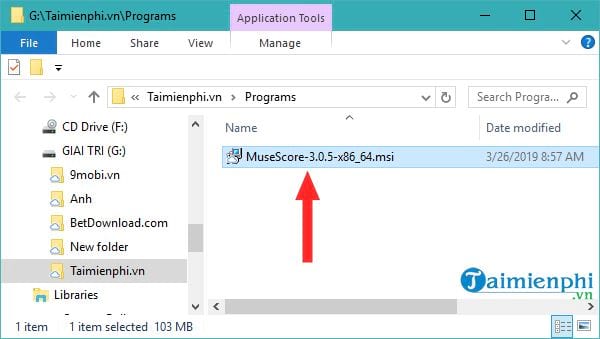
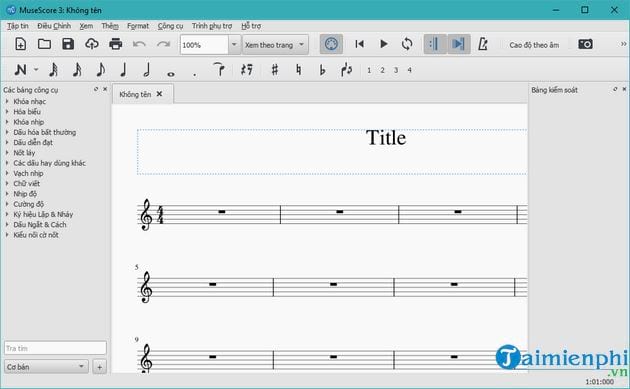
The following images document the older MuseScore 3.0.5 workflow. They remain useful for recognizing the general sequence, but version numbers, download pages, button labels, and the interface have changed. Use the current official download page and do not look for the obsolete 3.0.5 package unless you are maintaining a compatible legacy system.
Show the legacy screenshot sequence
If installation or playback fails
- Download the correct build for your operating system and architecture.
- Make sure the system meets the current requirements and has enough free storage.
- Restart the app after changing audio devices, then check MuseScore's audio input/output preferences.
- Consult the official MuseScore Studio Handbook for version-specific instructions.
Related Articles
 11 Video Tutorials on How to Use MuseScore2 minutes read
 How to Use Musescore to Create New Tracks6 minutes read
 Best AI Tools for Creating Impressive Songs8 minutes read
 6 Free Music and Lyric Composition Tools with the Help of AI: Best Options11 minutes read
 Top 4 Best Free Music Downloads 20215 minutes read
 Download Music on Soundcloud with 3 Simple Ways6 minutes read
Reader Comments 0
Sign in with email or Google to join the discussion.