How to downgrade iOS 17.4 to 17.3 without jailbreak, should I update iOS 17.4?
Once you have tested all the features of 17.4, downgrading iOS 17.4 to 17.3 is a good idea. Because this will help optimize the performance of your iPhone device, ensuring the phone operates smoother.
Instructions for downgrading iOS 17.4 to 17.3 without problems
*Note: Downgrading the iOS 17.4 operating system to 17.3 can lead to loss of important data, so to ensure safety, users should back up iCloud before doing so.
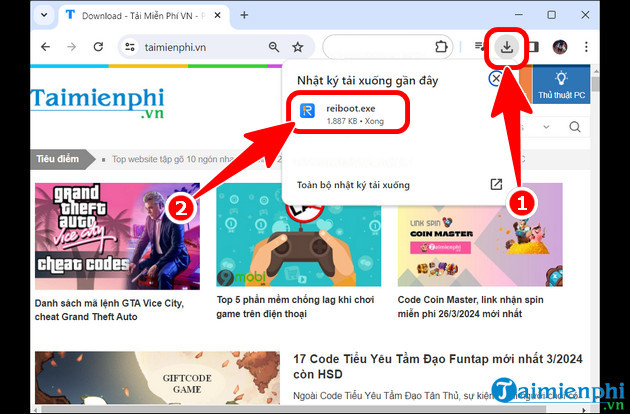
Step 1: Access the ReiBoot software download link here.
- Open recent download log => click reiboot.exe file to install the software.
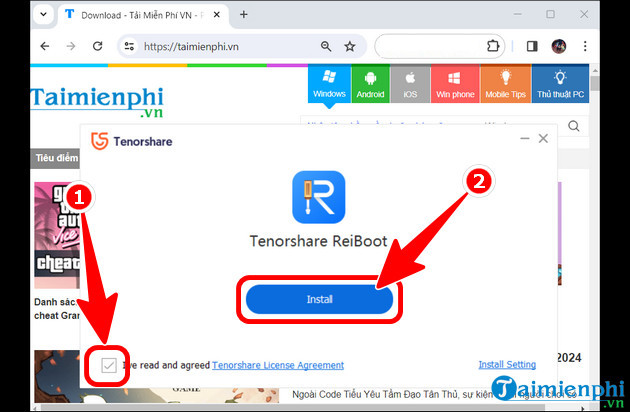
- Check the box to agree to the terms => Install .
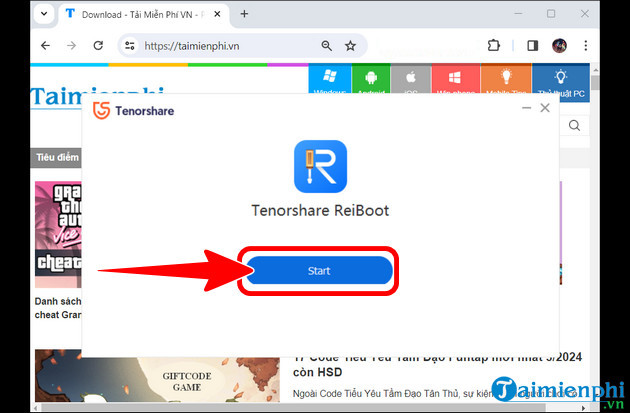
- Click Start , start using the software.
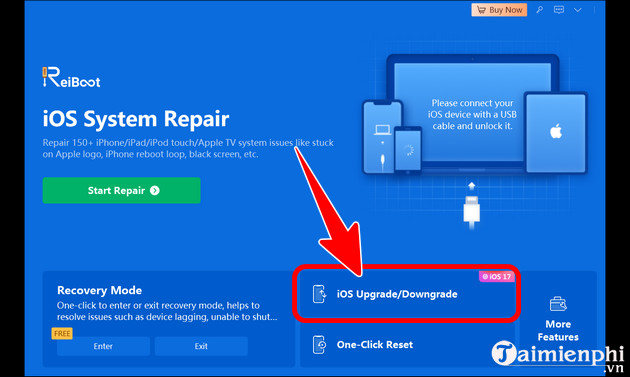
Step 2: Select iOS Upgrade/Downgrade .
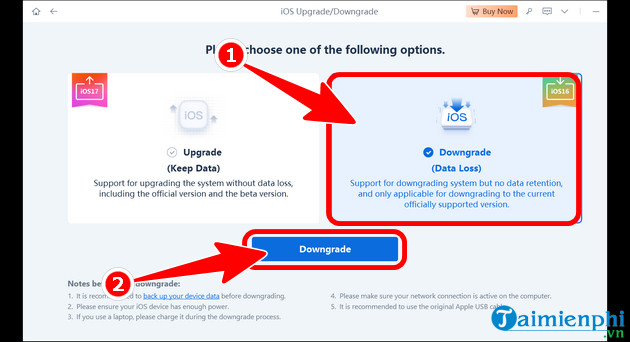
Step 3: Connect your iPhone to the computer , click Downgrade (Date Loss) => continue to press Downgrade .
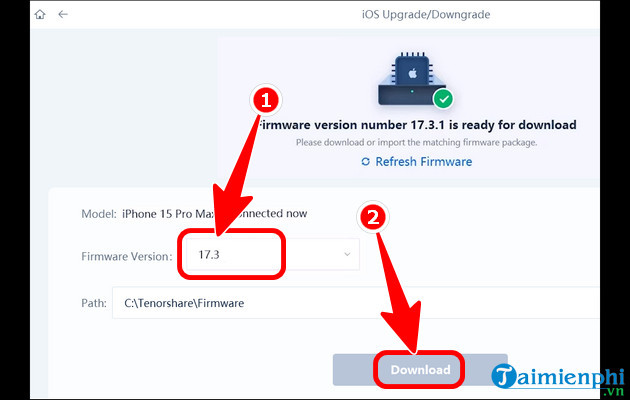
- Firmware Version 17.3 option => Download .
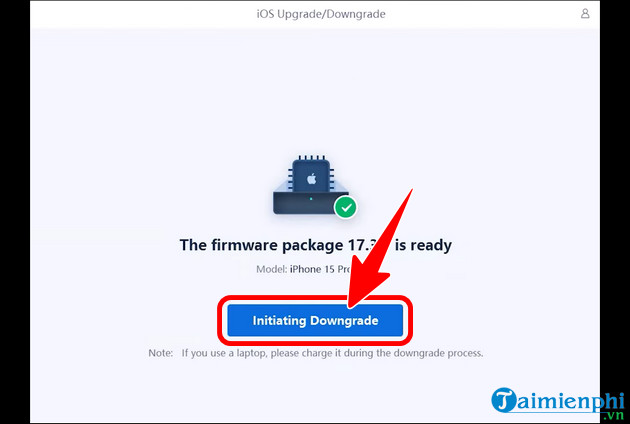
Step 4: After the system downloads the iOS 17.3 version, click Initiating Downgrade .
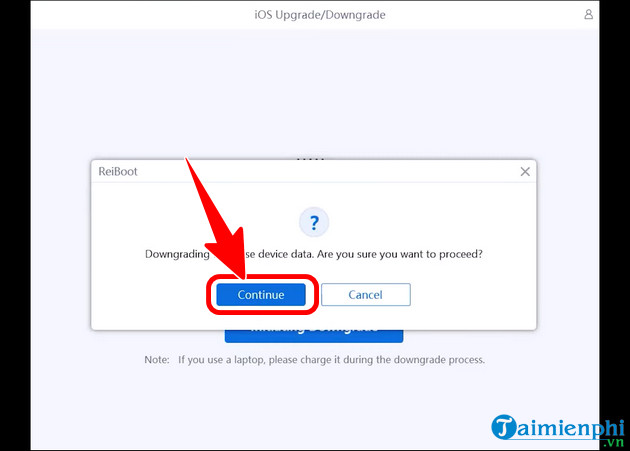
- Click Continue .
- Immediately, the system will automatically downgrade iOS 17.4 to 17.3 as shown below. At this time, make sure your iPhone is stably connected to your PC.
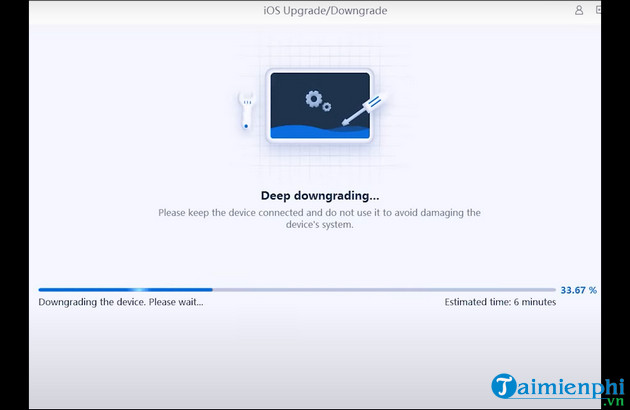
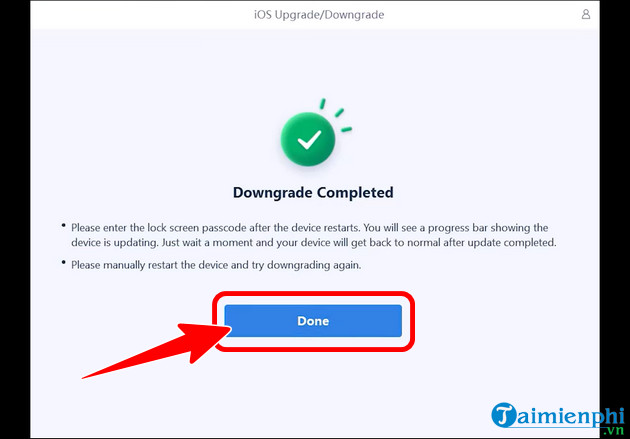
Step 5: A Downgrade Completed message will display as shown below, click Done to complete the downgrade process. Then proceed with iCloud data recovery and set up your device again.
Why do you want to downgrade iOS 17.4 to 17.3?
Depending on usage needs, many users need to downgrade from iOS version 17.4 to 17.3 such as:
- Stability: Some users may experience stability issues after updating to iOS 17.4 version. This may include operating system errors, system slowdowns, or potential battery drain.
- Performance: iPhone/iPad devices may experience reduced performance after updating to iOS 17.4, especially for older iPhones.
- Application compatibility: There are cases where applications are incompatible or have errors on iOS 17.4 version, seriously affecting the user experience.
Can users downgrade iOS 17.4 to 17.2?
Currently, Apple only allows you to downgrade to the lowest version of iOS 17.3, you cannot downgrade to 17.2 and you can block the sign again at any time. Therefore, you should take advantage of this opportunity to downgrade iOS to have the best experience right on your iPhone/iPad.
Above we have shown you how to downgrade iOS 17.4 to 17.3. Hopefully with this shared tip you will fix problems that occur when updating to the new version and have the best experience. with old iOS versions.