How to recover deleted images and videos on Android phones
This way will help you:
- Get the Dumpster download link
- Know how to retrieve deleted photos and videos
If you accidentally delete an audio, image or video file on your computer, the Recycle Bin is where you can find it and restore it. Recycling Bin can be viewed as a quite useful temporary data backup feature on your computer and is a place where you always have access to restore data whenever you accidentally delete it.
Article content:
Method 1: The simplest way to retrieve photos and videos.
Method 2: How to retrieve photos and videos using software.
Method 1: Instructions on how to restore photos and videos on Android phones in the simplest way
This method only applies to photos deleted within a maximum period of 60 days. Photos and videos deleted more than 60 days ago have been permanently deleted and cannot be restored this way.
Step 1 : Go to the photo library on your phone. In the lower right-hand corner, click " Library " (Figure 1) and then select " Trash " (Figure 2).

Step 2 : If you only want to restore 1 photo/video , click on that photo (Figure 3) then click " Restore " in the lower right corner (Figure 4) to get the photo or video. If you want to restore multiple photos and videos, click " Select " (Figure 3) in the upper right corner and then go to step 3.

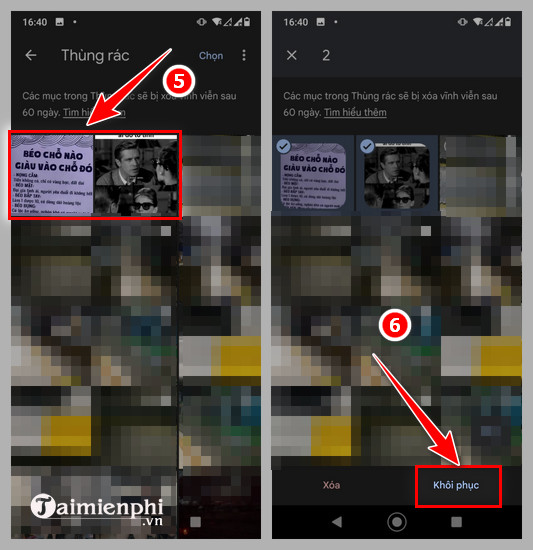
Step 3 : Now, click on the photos and videos you want to get back (Figure 5) and then click " Restore " in the lower right corner (Figure 6).
Method 2: Instructions for recovering permanently deleted files on Android phones using software
However, current phone devices are not equipped with a Recycle Bin, so if you accidentally delete data, it will be extremely difficult to retrieve it and it will take time to save the data. Although these operating systems have the help of many applications to help save data, the results are not very effective. That's why today, Taimienphi will introduce to you an application that has a pretty good feature of recovering deleted files on Android phones, Dumpster. We will talk about all about this application below, please follow along.
How to recover deleted images and videos on Android phones using Dumpster for Android is as follows:
Step 1: Download and install the Dumpster application for Android here.
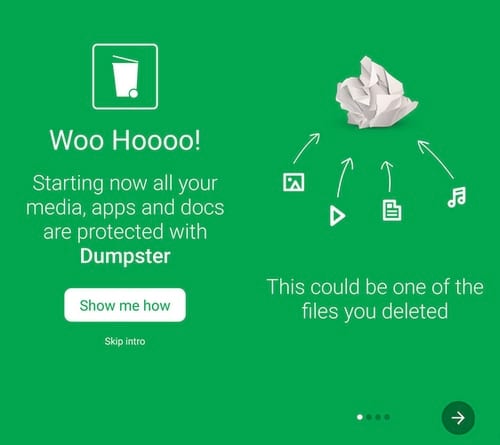
Step 2: Start the application, the welcome interface begins, click on the Show me How option to see brief instructions on how the application works or click Skip intro to skip.
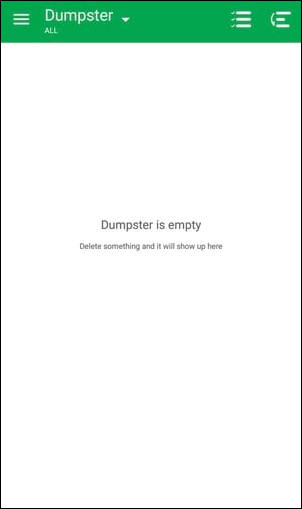
Step 3: The Dumpster interface is quite simple. By default, Dumpster will initially have nothing because the main interface of this application will be a list of data that the user deletes after installing Dumpster.
Step 4: To see the settings that Dumpster provides, click on the 3 dashes icon in the upper left corner of the application and select Settings .
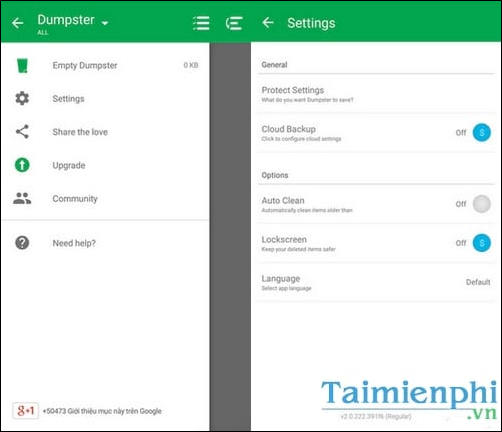
In the Settings interface, options with the symbol ' $ ' will be options that only offer users to upgrade to the paid version. If you only need normal use, the free version is more than enough.
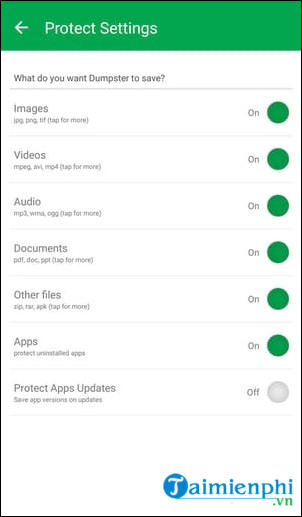
Step 5: When clicking on the Protect Settings option , you will be provided with options to protect data formats such as Images (images), Videos (videos). and by default all are in the On state.
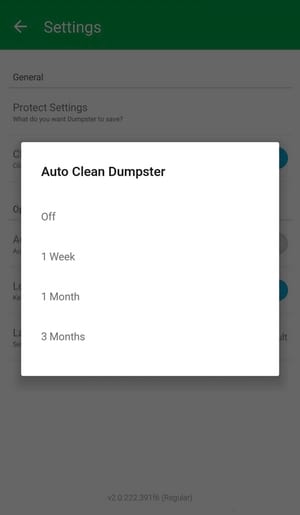
Step 6: Next will be the Auto Clean option with time options for Dumpster to automatically delete the data that this application is storing.
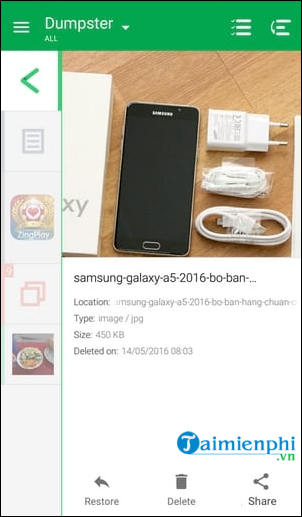
Step 7: When clicking on the data 'retained' by Dumpster, you will be provided with options including Restore (restore as before), Delete (permanently delete) and Share (share).
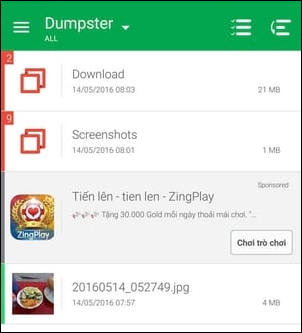
Dumpster will automatically collect data that was in the same folder before deletion, so users can easily 'spot' the data they need to restore.
So, above Tipsmake has shown you how to equip a trash can for your device to help you easily recover deleted files on Android phones easily. In addition, you can refer to how to retrieve data on Android phones using software through the previous article on how to recover deleted photos on Android, which received a lot of positive feedback. If you have a better way, let's discuss it below. Good luck.