How to Delete History on iPhone
Your iPhone stores a lot of data about your actions. Typically, this data is used to simplify things, such as tracking websites you've visited or finding missed calls. If you're afraid someone will see things they shouldn't, you can delete the history of some or all services on your iPhone.
Table of Contents
Safari Browsing History

Open Settings. You will delete your browsing history in Settings, not in the Safari app. Although it can be deleted from the Safari app, it cannot remove automatically entered information or cookies. Deleting browsing history from Settings will ensure everything is wiped clean.
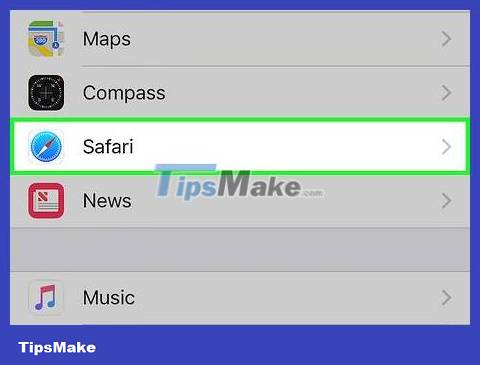
Scroll down and tap "Safari." You will see it in the 5th group of options.

Scroll down the Safari menu and tap "Clear History and Website Data" . A window appears asking you to confirm.
If this button is grayed out, you need to disable site restrictions. Return to the Settings menu and select "Restrictions". Enter the restriction code and select "Websites". Select "All Websites" to allow history deletion. Without the restriction code, you cannot delete history.
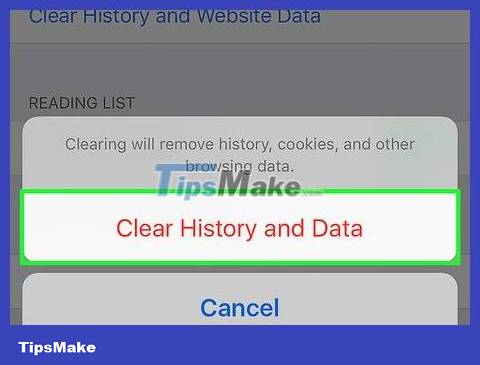
Confirm that you want to delete your history. Browsing history, cache, autofill, and cookies on Safari will be cleared. Browsing history on any devices you sign in to with your iCloud account is also deleted.
Chrome Browsing History

Open the Chrome app. If you use Chrome on iPhone, you can delete your browsing history right from this app.

Tap the Menu button (⋮) and select "Settings" . You may have to scroll down to find this section.
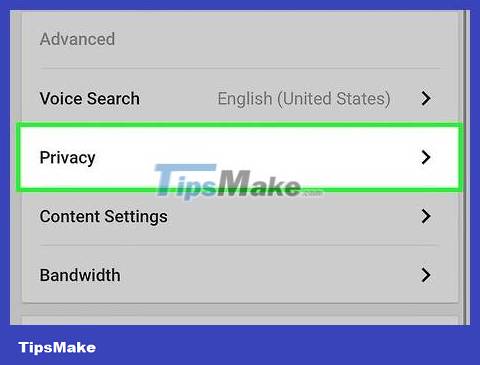
Tap the "Privacy" option. A new menu appears with many reset options.
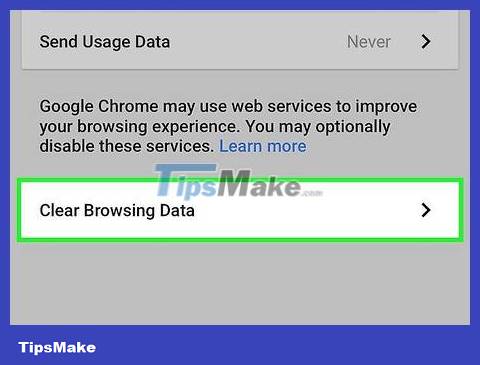
Click "Clear Browsing History" to delete the history. You are asked to confirm deleting them.
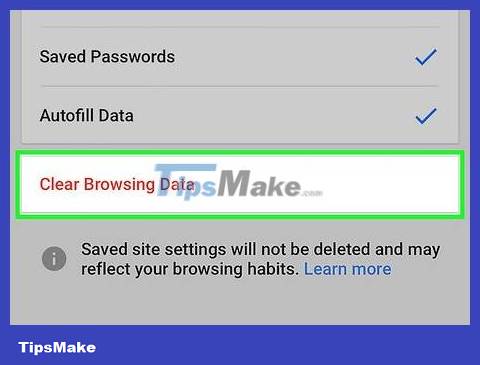
Click "Clear All" to delete all access history. This deletes all history, cache, web data, and cookies.

Select "Clear Saved Autofill Form Data" to remove all autofill information.
Call History
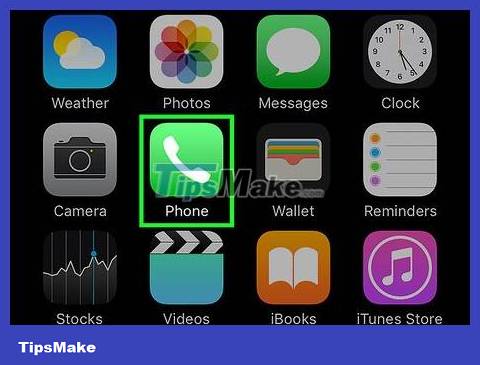
Go to the calling app. You can clear your call history to remove any calls from the Recent list.
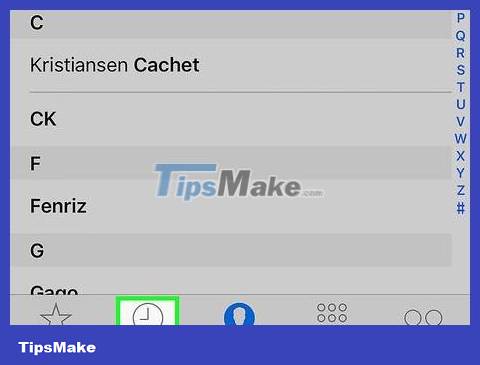
Select the "Recents" tab. This is the tab that displays a list of recent outgoing and incoming calls.
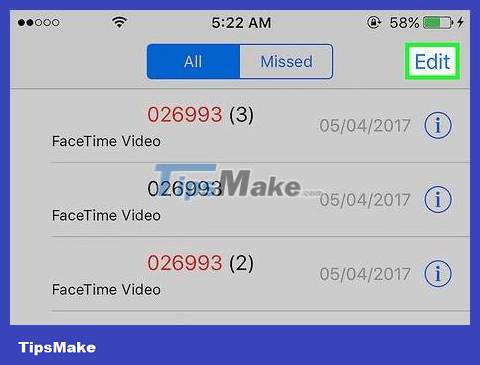
Select "Edit" in the upper right corner of the screen. A red minus sign will appear next to each call in the history section.
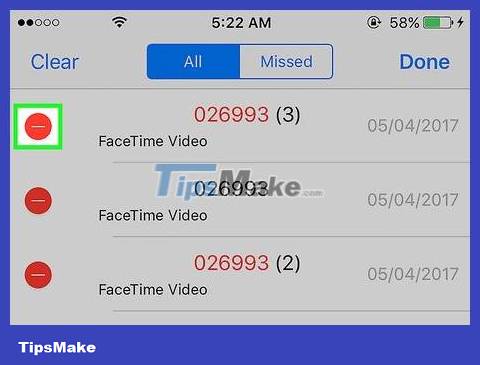
Tap the red minus sign to delete items one by one. Click the minus sign next to each item to delete.
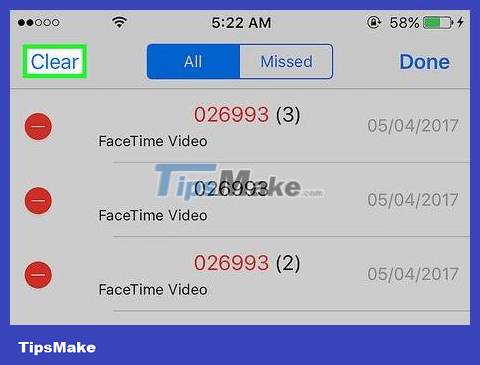
Tap "Clear" to delete all calls at once. If you want to clear the entire list, tap "Clear" in the upper left corner of the screen. This button only appears after you select "Edit". All calls in the Recents list will be deleted.
History of iMessage
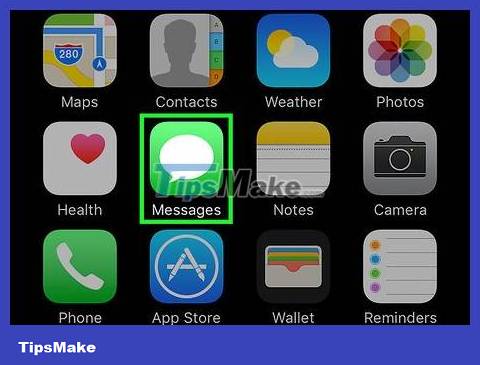
Open the Messages app. You can delete text messages using the Messages app.
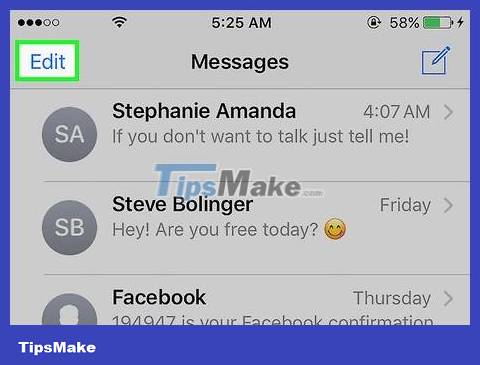
Press the "Edit" button. The button is in the top left corner of the screen.

Select each conversation you want to delete. Check the box corresponding to each conversation you want to delete. You can select multiple chats at once.

Select "Delete" after making your selection. The entire selected conversation will be deleted without confirmation.
Change message history settings. By default, Messages saves messages permanently. You can change those settings to save messages for 1 year or 30 days to free up memory and reduce clutter:
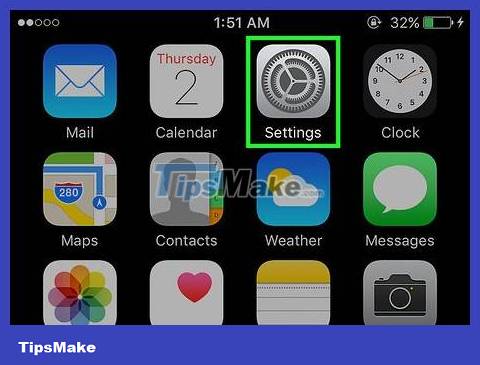
Open Settings.
Select "Messages."
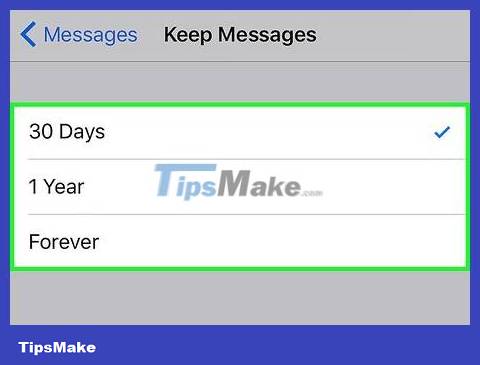
Select "Keep Messages".
Select the amount of time you want to save the message. The application will automatically delete messages that exceed the storage time of the new setting.
Keyboard History

Open Settings. If you want to get rid of words added to your iPhone's autocorrect dictionary, you can do so from Settings.
Select "General" . A list of general iPhone options will be displayed.
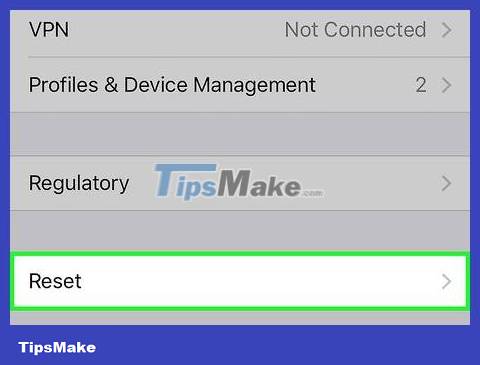
Scroll down and select "Reset" . There are many reset options appearing.
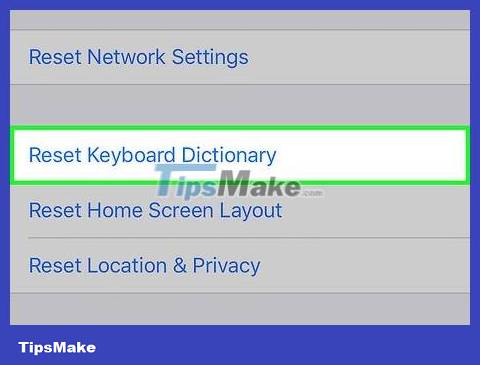
Select "Reset Keyboard Dictionary" . You will be asked to confirm. All custom words you save will be deleted.
Google Search Application
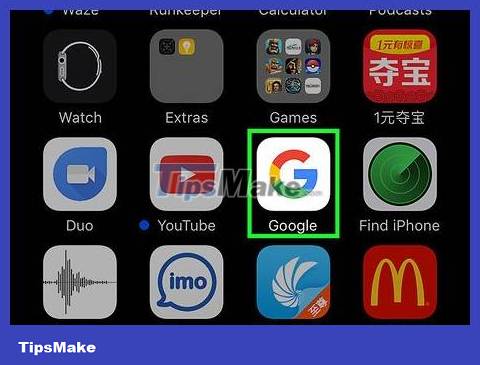
Open the Google app. If you use the Google app to search, you can clear your search history right from the app.
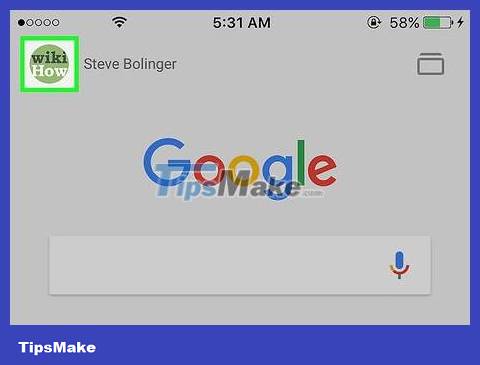
Tap the Gear icon in the top left corner of the screen. This opens the Settings menu.
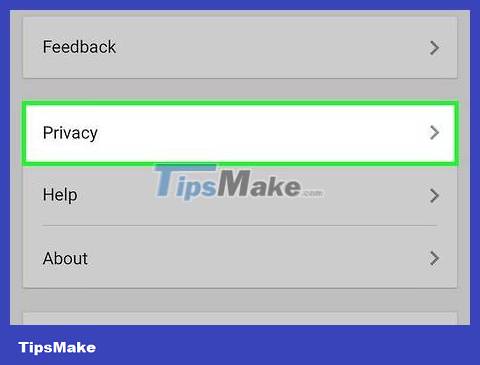
Scroll down and select "Privacy." You will see your current active account.
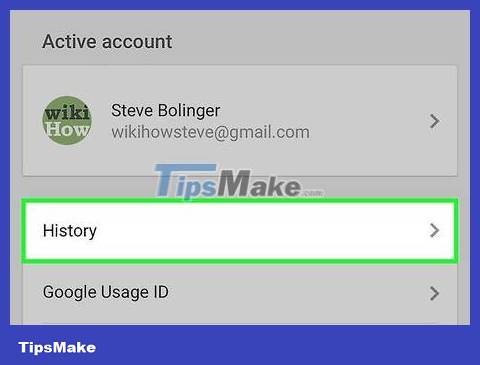
Click the "Browsing" option. The "History" section will appear at the top of the page.
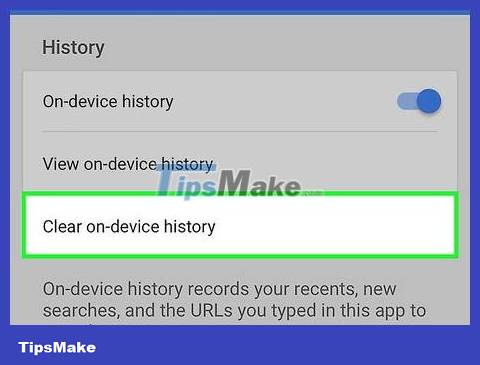
Select "Clear on-device history" to clear your search history. Note that this method only deletes the search history on the application. Searches are still stored to the active Google account.
Delete All Data
Using this option you want to erase all data on iPhone. This is how to delete all history and data on the phone, you will be asked to set up the phone from scratch after completing the process.

Go to Settings. If you're sure you want to erase everything on your iPhone, go to Settings.
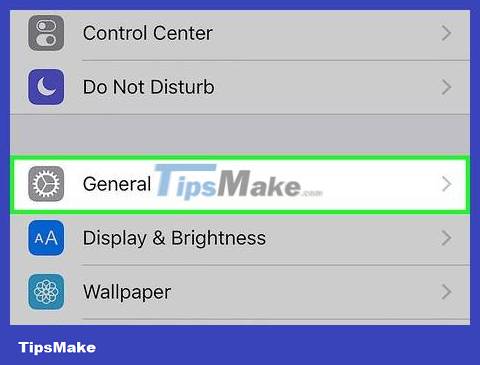
Select "General". Your iPhone's general settings will appear.

Scroll down and select "Reset" . The option to reset the device will appear.

Select "Erase All Content and Settings" . You are asked to confirm you want to delete everything.

Wait for your iPhone to reset. This process will take a while.
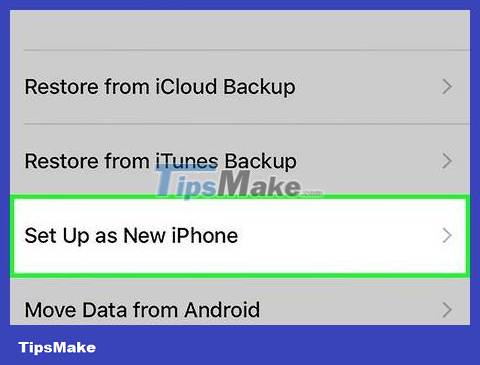
Set up iPhone. After completing the setup process, you will be taken to the initial setup section. You must set up your phone from scratch or restore from an iTunes or iCloud backup.
Was this article helpful?
Your feedback helps us improve.
Related Articles
 How to delete Snapchat's chat history on iPhone and iPad3 minutes read
 How to delete iPhone call history3 minutes read
 How to delete browsing history on Coc Coc?3 minutes read
 How to delete Netflix history2 minutes read
 How to delete browsing history on iPhone, iPad quickly2 minutes read
 How to delete Chrome browsing history on iPhone and iPad2 minutes read
Reader Comments 0
Sign in with email or Google to join the discussion.