How to create Podcast cover in Photoshop
The podcast cover is just as important as the content of the podcast itself. Fortunately, it's easy to create your own podcast cover. This article will show you how to design and create podcast covers from scratch with Photoshop.
Table of Contents
Currently, it seems everyone is starting a podcast. And to stand out from the crowd, the podcast cover is just as important as the content of the podcast itself.
Fortunately, it's easy to create your own podcast cover. This article will show you how to design and create podcast covers from scratch with Photoshop.
Step 1: Find topics for podcasts
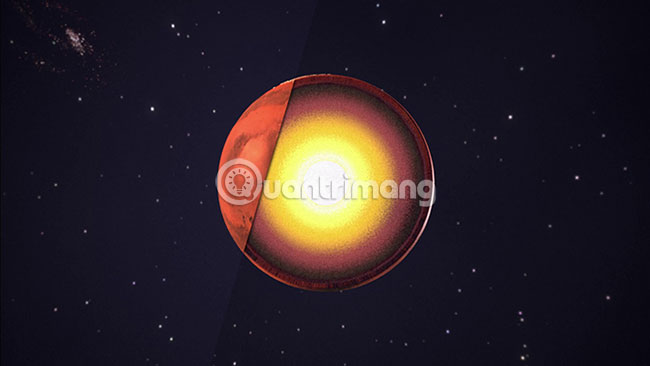
Before designing your cover, you need to determine what the program will talk about. The theme of the program will decide the design. Cover image and content are intimate, ie when the podcast listener looks at the cover, they will know what topic the podcast focuses on. For this tutorial, podcasts will target Mars.
Step 2: Create a canvas
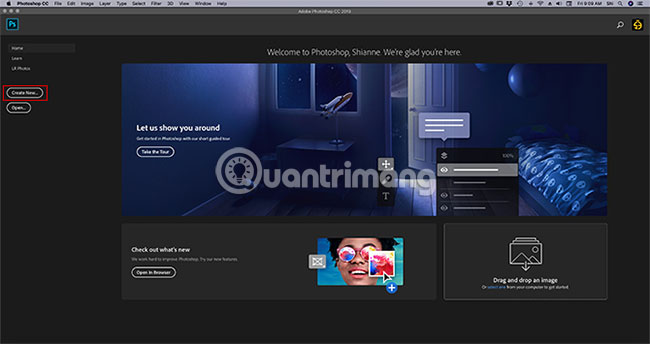
To start with Photoshop CC, open the program and click Create New. Customize the parameters to your liking and it is best to place the canvas with dimensions of 1000 × 1000 pixels, 300 pixels / inch.
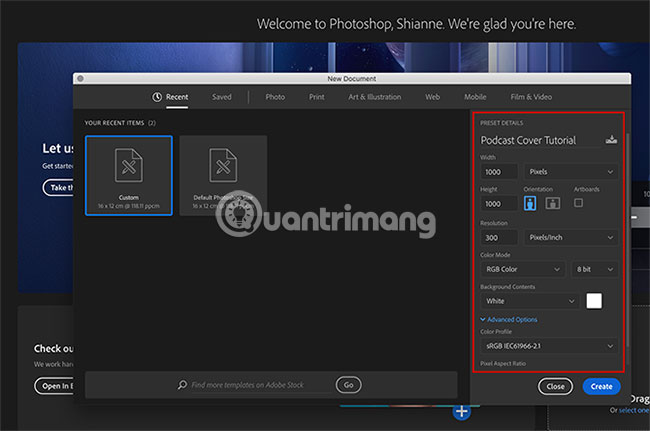
These parameters are larger than the actual size you need. Web images are set at 72 pixels per inch and most podcast covers need only 500 × 500 pixels. However, if you want to use the cover in a blog post, it's best to work on a large size and minimize it later. That way, the cover will not be blurred if it increases to a larger size.
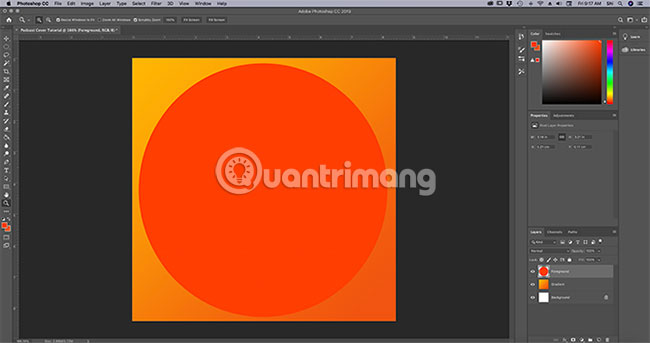
Step 3: Apply color to the background
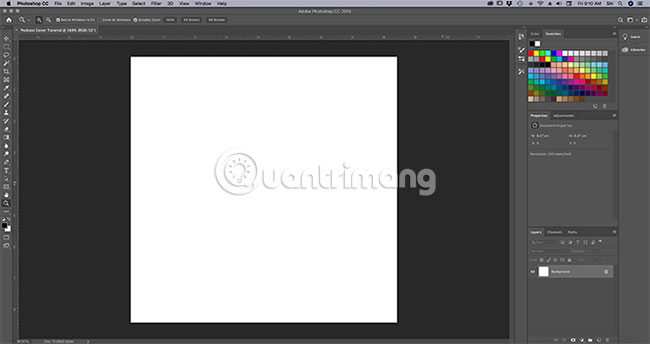
Next, apply some colors to the background. For this tutorial, we will use an orange background, with some gradients.
Should work in layers when using Photoshop, because the layer gives us flexibility (can easily delete some details created if you don't like it anymore).
To start a new layer, go to the Layers panel in the lower right corner. Click the New Layer icon .
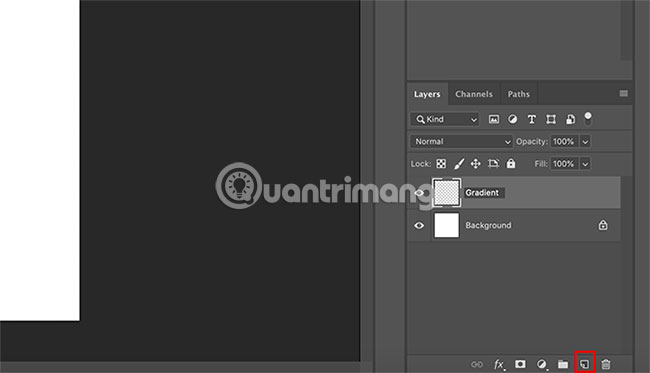
Double click on the layer name and change it to a meaningful phrase. The example will name it 'Gradient'.
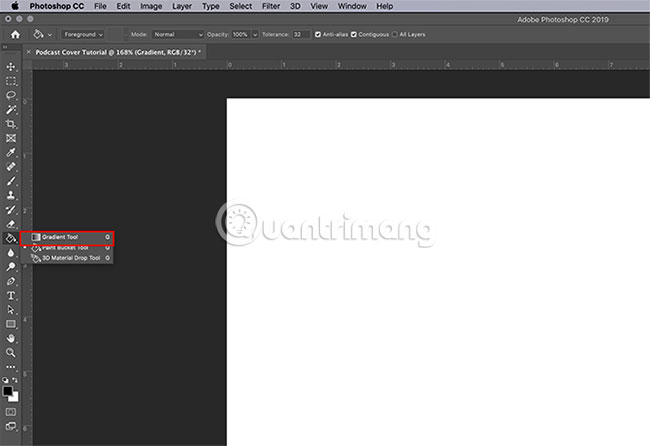
After you've set the layer, switch to the left toolbar. Find the Paint Bucket icon . Click the small white arrow at the corner of the icon to access the Gradient Tool and make sure that the tool is active.
Next, go to the color swatch to select the color for the gradient. Click the black swatch first and select a new color from the Color Picker. Then, click OK.
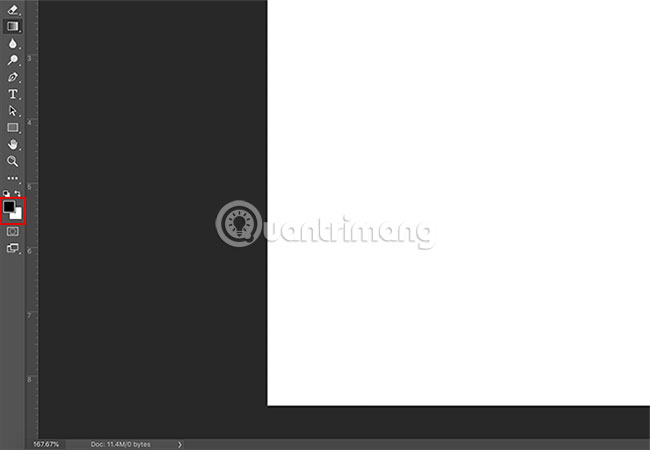
Next, click on the white swatch and repeat the process. Then you will have two new colors.
After selecting the color, please return to the image. Make sure the Gradient Tool is active. Click and drag the gradient path on the page, like this:
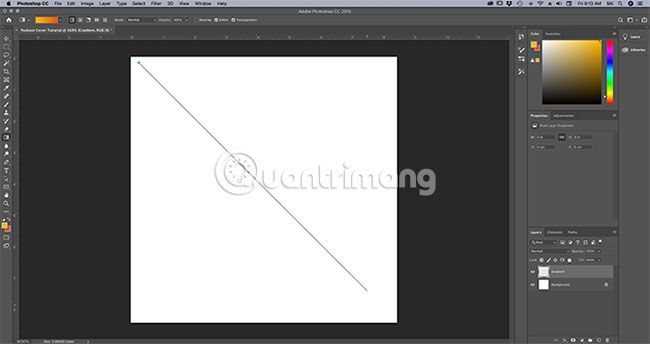
You will see a pop-up line. When the path is long enough, release the mouse.
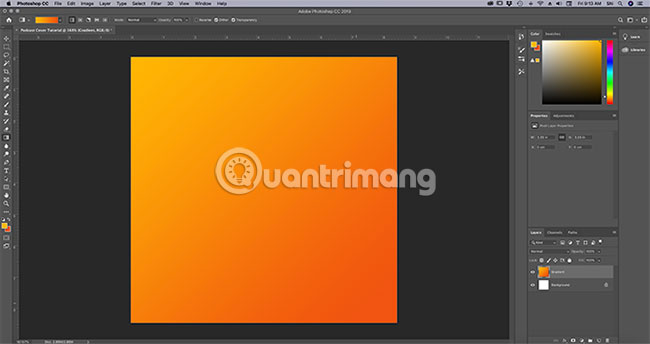
Now, Photoshop will create a gradient in the direction you specified, using the colors you selected. Very easy!
Step 4: Add the foreground element
After completing the background, it's time to add the foreground. Foreground is the part that attracts people and makes an impression of podcasts. Because this image will be shrunk and details can be lost, it is best to choose a simple shape.
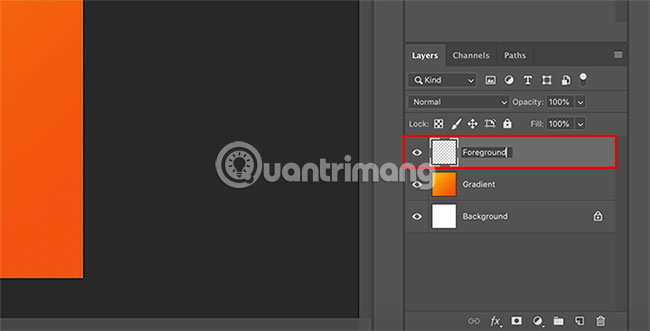
Before creating that shape, go to the Layers panel and click New Layer, to add a separate layer for the foreground. Give this layer a meaningful name.
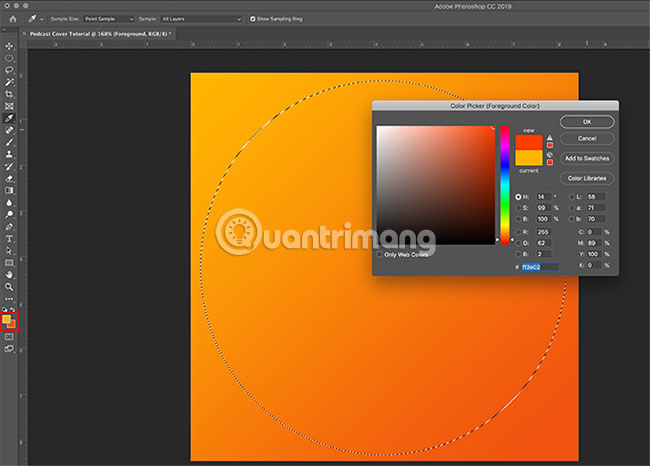
Because you want the main content cover page to be Mars, you will hover over the left toolbar and click on the Marquee Tool> Elliptical Marquee Tool , to create a circle. You can access the Elliptical Marquee Tool by clicking on the white arrow at the corner of the Marquee icon :

Drag the Elliptical Marquee Tool on the page, to create a circular selection. When you see the dotted line, click the top color swatch to select the Foreground Color for the circle. After the color is selected, click OK.
Go to the Gradient Tool in the left toolbar. Click the white arrow at the corner of the icon to return to Paint Bucket Tool:
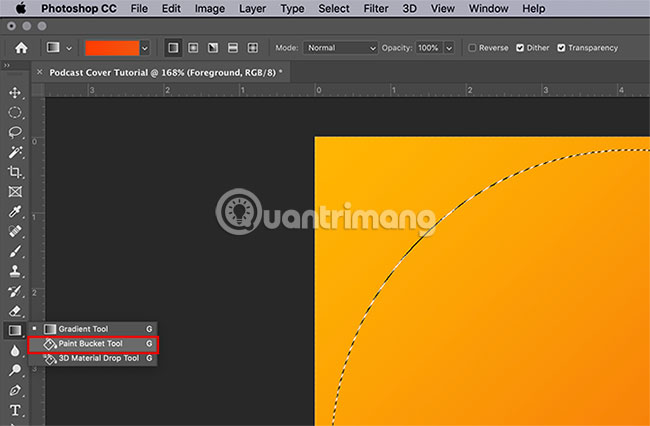
Make sure the selection is still selected, then click inside the circle to fill it with a new color. Then, press Cmd + D or Ctrl + D to deselect.
Step 5: Add text if needed
After completing the foreground part, it's time to add some text. Not all podcasts use text in the cover page, but if you want to, you need to think about how the text will look when scaled down.
It is better to use a nice looking font at a distance, so that the details are not lost. You also need to think about the content of this text. Will you use a full letter or title to represent the podcast?
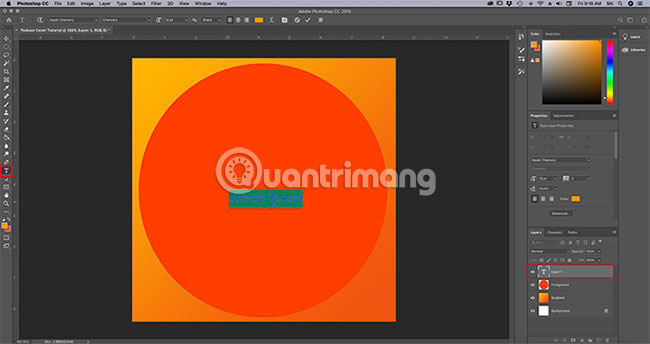
To add text, create another layer. Then go to the Horizontal Type Tool , located on the left toolbar. When clicking on the Horizontal Type Tool , Photoshop will automatically drop the placeholder into the new layer.
Double-click this placeholder to activate the text box. Delete the placeholder and start typing.
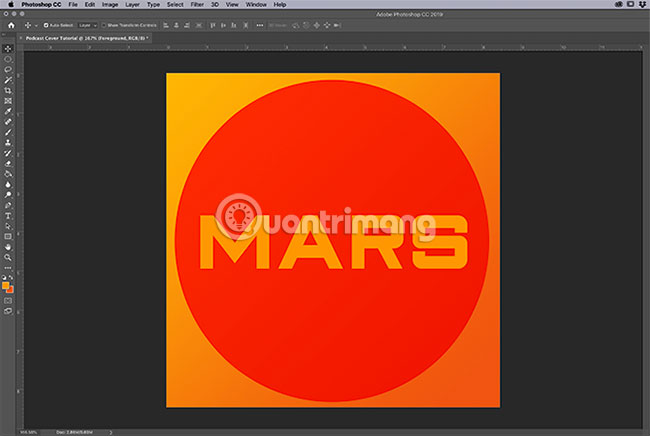
For this podcast, the word 'Mars' will be added. But as you can see, the font doesn't look right:

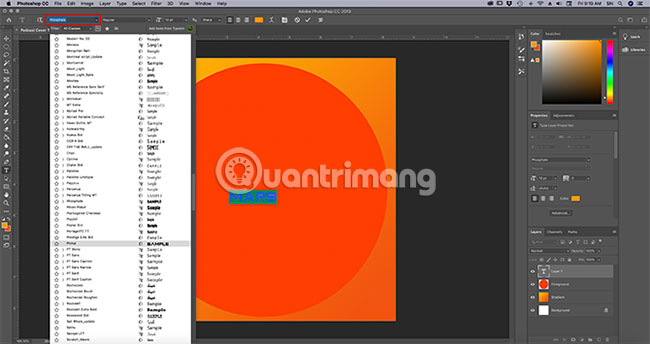
To change the font, highlight the word, then go to the font drop-down menu in the top left corner and select the appropriate font style:
Besides, there is a drop-down menu for font size:
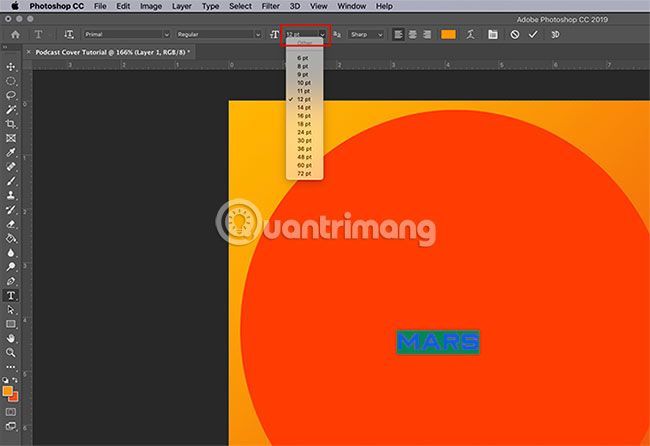
Use this menu to adjust the text and make it bigger. To use a custom font size, enter the number in the size box and press the Return / Enter key on the keyboard.
Step 6: Check parameters
Before exporting this image to the web, you should save a master copy. This main copy is a file about high resolution cover in .psd format . You can manipulate this file if you need to adjust your image.
To save the main copy, go to File> Save As . Save the document as an .psd file with a meaningful name.
After saving the main file, check the parameters and adjust them if necessary. Go to Image> Image Size to make sure the image is 1000 × 1000 pixels, 300 pixels / inch.
Usually, there is no need to change this image size to 500 × 500 pixels unless a specific platform requires this. If you need to minimize image parameters, use Image Size to resize.
To change the parameters, enter the new size in the Width and Height sections . Then click OK.
Now that the design is complete, you are ready to export it to the web.
Step 7: Export in an optimized format for the Web
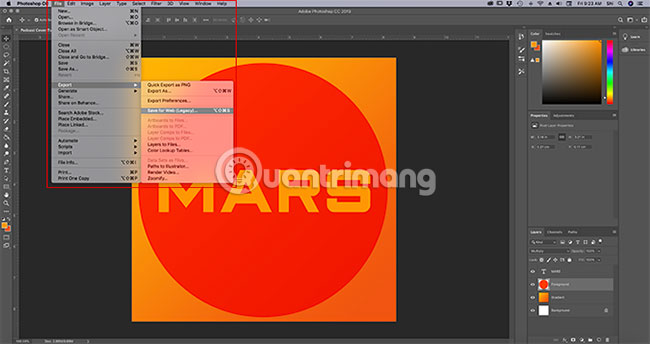
To export the image, go to File> Export> Save for Web (Legacy) . There are a number of different ways to save in an optimized format for the web, but this is the easiest and most comprehensive way.
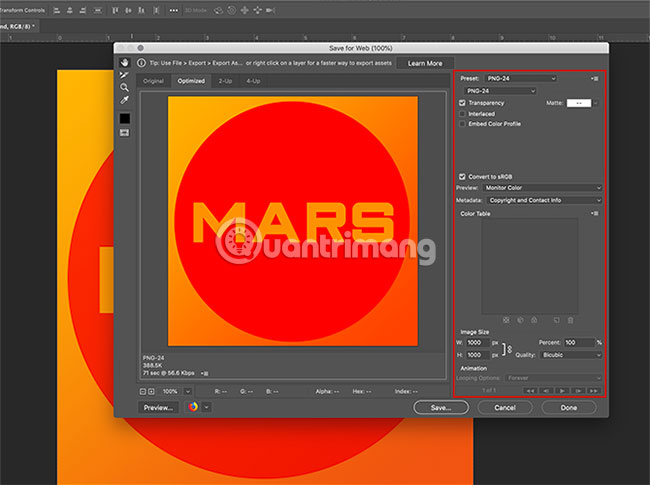
When clicking Save for Web (Legacy) , the new window opens. Here you can save images in a number of different formats, along with options including Transparency, Color Profile and Metadata. You can also click Preview to preview what the image will look like on different browser types.
Be sure to save the file in PNG or JPEG format. Optional Color profiles and Metadata are optional.
Once you have the appropriate settings, click Save. The Save screen will display and prompt you to save the file optimized for the web in an easy-to-find location.
After saving the file, the Save for Web (Legacy) box will close. Photoshop files will remain on the page.
You can close this Photoshop file without saving it because the primary copy has been saved. Copies for the web have also been saved in another format.
Now, you know how to design and create covers for your podcasts. Much easier than you think? All thanks to the Photoshop CC tool.
Hope you are succesful.
Was this article helpful?
Your feedback helps us improve.
Related Articles
 Instructions for creating podcast covers on Canva3 minutes read
 Guide to improving Spotify podcast recommendations3 minutes read
 How to create a custom cover page in Microsoft Word4 minutes read
 Steps to create a Podcast on Spotify for free, simple and fastest9 minutes read
 How to create heart beat effect text on Photoshop3 minutes read
 How to create translucent text in Photoshop2 minutes read
Reader Comments 0
Sign in with email or Google to join the discussion.