How to create a poster with the Text Portrait effect in GIMP
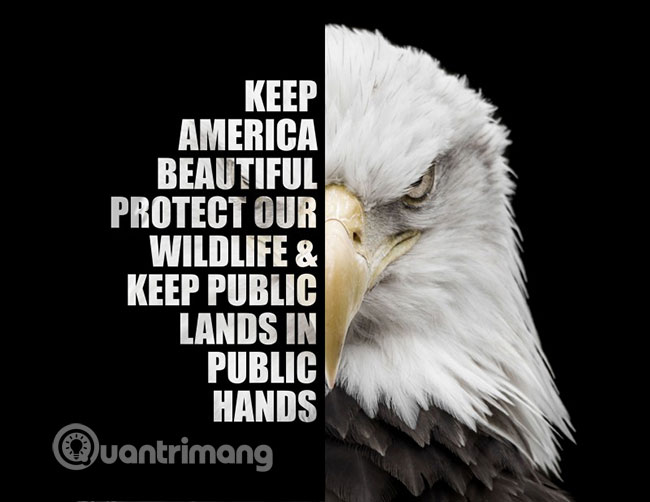
Creating posters with Text Portrait effects are really great projects that combine images and text to create dramatic, powerful messages that no other medium can do..
Creating posters with Text Portrait effects are really great projects that combine images and text to create dramatic, powerful messages that no other medium can do. This effect can be used for movie posters or callout posters.
Creating a poster with GIMP's Text Portrait effect will use photo editing techniques, such as adjusting the saturation, sharpness of the image, as well as text effects to further enhance the depth of the work. . Several shortcuts will help speed up the workflow also mentioned in this tutorial.
Let's work together!
Step 1: Open the image and adjust the size
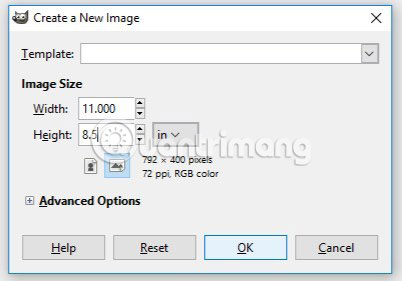
To get started, create a new file in GIMP by going to File> New .

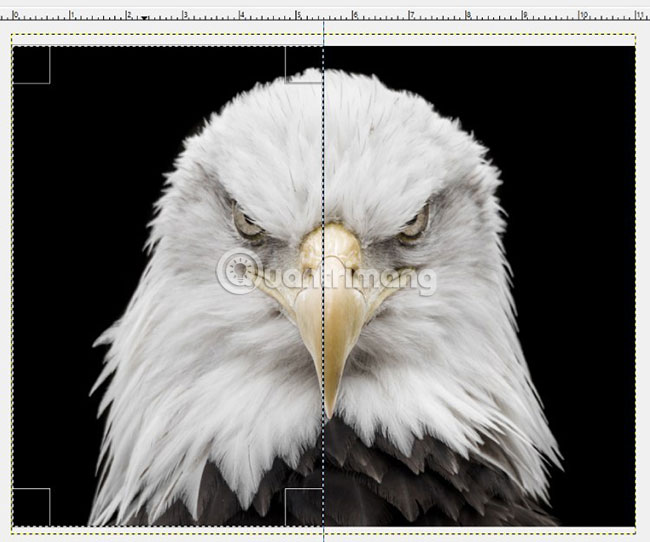
Adjust the size of the poster layout as you like. In this example, we will choose the standard size of 11 x 8.5inch (28 x 22cm). As you can see in the picture below, there are measurements below the unit dropdown box, showing the size and ppi (pixel / inch) of the image. The default setting here is 72ppi. If you click 'Advanced Settings' and change the setting to 300ppi, you will work with images that are larger in size and better in quality.
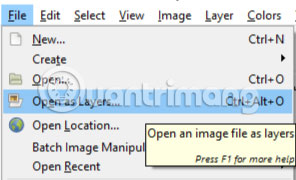
If the background of the image has been deleted or there is only one color tone that you want to keep, open the image used as a wallpaper by going to File> Open as layers . in the layout. However, if the image has the background you want to delete, open it by going to File> Open . Then you will need to delete the background of the image.
NOTE : For photos that need to be deleted first, you will need to copy your image to the poster by clicking Edit> Copy , then clicking on the poster and selecting Edit> Paste as> New layer .
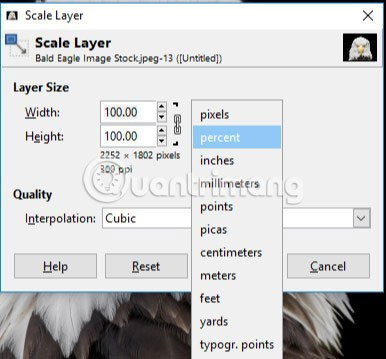
If you need to resize the image, go to Layer> Scale Layer and choose the desired size. You should change the unit to % and using the Scale tool (on the left toolbar), click and drag the image to increase or decrease the image size as desired (hold down the Ctrl key to keep the aspect ratio intact). , avoid distorting images.
Step 2: Adjust the color
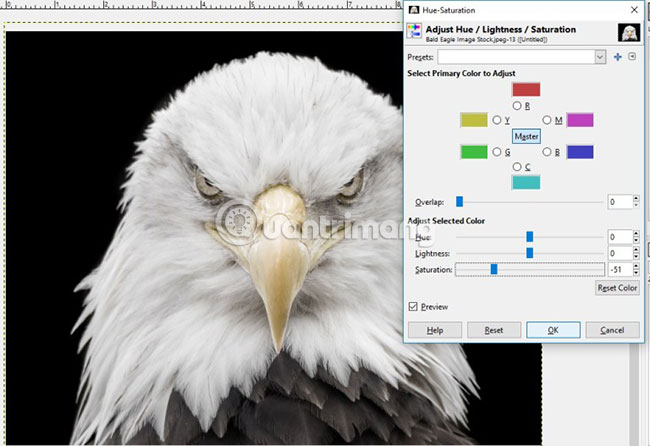
Next, we'll work with the color part of the image. If you want your image to be black and white or less saturated, go to Colors> Hue-saturation and reduce the saturation until you get the desired color.
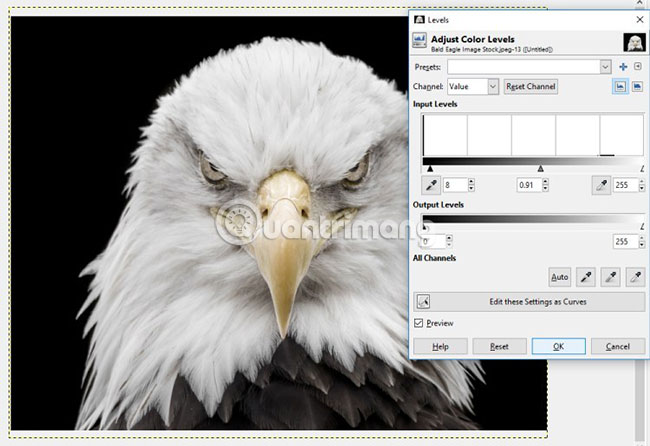
Then you will need to enhance the look of the image by going to Colors> Levels and adjusting the color levels of the image. You can do this through the 'Input Levels' section shown in the image below, click and drag the black, gray and white triangles to adjust the corresponding color levels in the image. You can also sharpen the image by going to Filters> Enhance> Unsharp Mask .
Step 3: Create standard lines and align objects
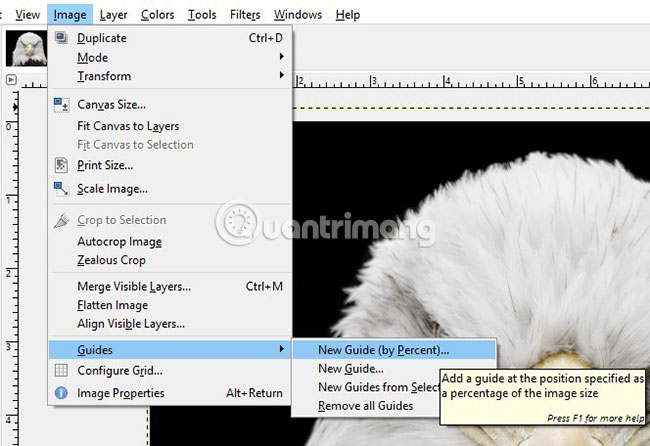
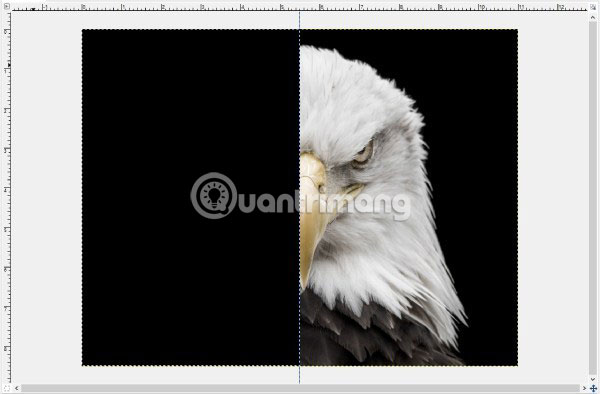
Next, make sure that the image is correctly aligned in the layout. First, add a calibration line to the center of the image. To do this, go to Image> Guides> New Guide (by percent) .
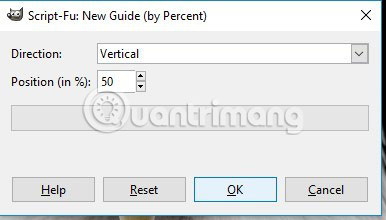
Change Direction to Vertical and set the percentage to 50. This step helps set the calibration line in the middle.
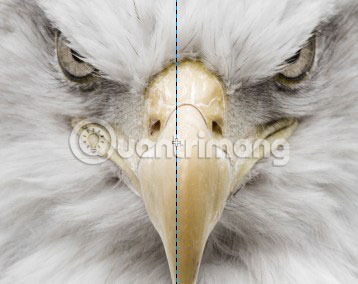
Use the Move tool or the mouse to adjust the image so that it is exactly in the center of the standard line. The center of the image is represented by a small + sign as shown in the image below.
You can make sure the objects move along the standard path by going to View> Snap to guide . You can also disable this feature if you do not want the objects to self-teleport by clicking this menu item to remove the check mark.
Step 4: Create effects for the text
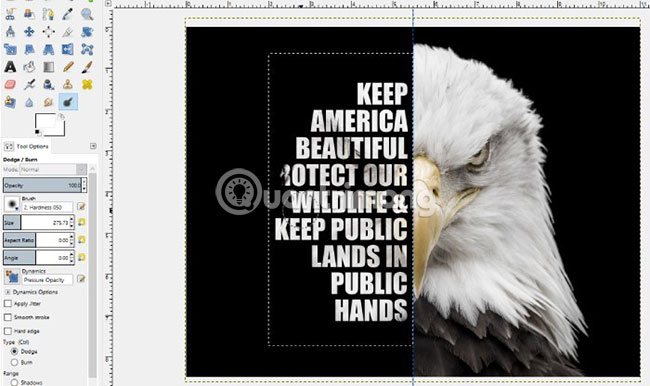
Now, we will set the Text Overlay effect on the image. Place the text in the brighter part of the object. In this case, both parts have the same brightness so you can place the text in one of the 2 arbitrary sides.
Start by selecting the Rectangle Select tool and drag the rectangle over the image part to place the text.
Next, create a new layer and make sure it is set to transparent.

Next, select the Bucket Fill tool and fill it with black. Then select Select> None or press Shift + Ctrl + A to deselect the rectangular selection.
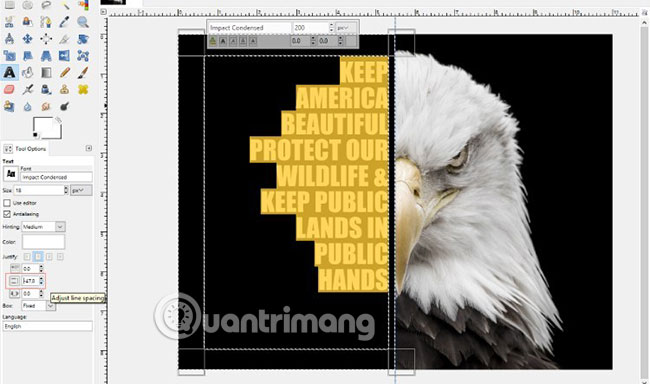
Next, select the Text tool and choose a thick, bold font, such as Impact Condensed. Set the color of the text to white. Make sure the text is also aligned to the edge of the rectangle.
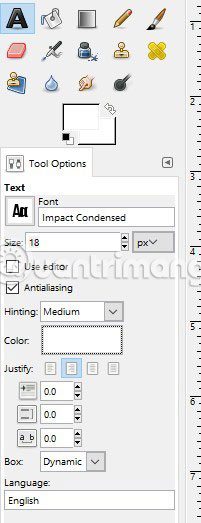
For example, use 'Right Justified' to align the text to the right side of the rectangle.
Click and drag the text (using the Text tool ) to make sure the text matches the layout. You can select the text to resize it and show / hide the black rectangle to see if the text is correctly positioned compared to the image below. You can also use the Scale tool , click and drag the text to increase or decrease the size.
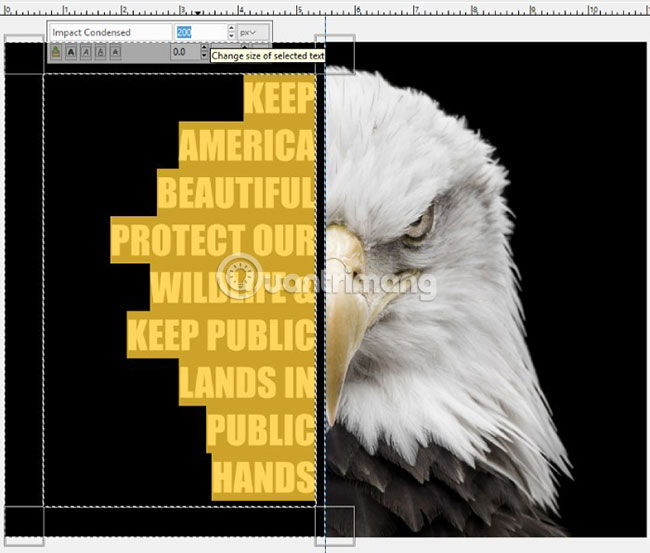
You can also increase or decrease the space between each line of text, called Leading, by using the tool located in the red box in the image below (included in the options when selecting the Text tool . Click here, you will see 'Adjust Line Spacing' content.
You can also add a horizontal calibration line to center the text on your image by going to Image> guides> New Guide (by Percent) , selecting 'Horizontal' and setting the percentage to 50. Move to Image > Guides> Remove all guides to completely hide the calibration lines after completing the job.
Step 5: Lighten the surrounding areas to make the text easier to read
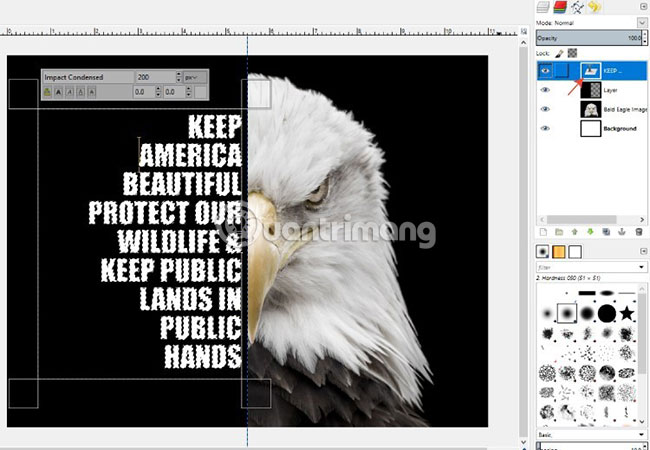
When the text is centered, press the Alt key and click on the text layer in the Layers panel to select the text.
Hide the text layer by clicking the show / hide icon in the Layers panel next to the text layer, then clicking the black rectangle layer you created below that layer to select it.
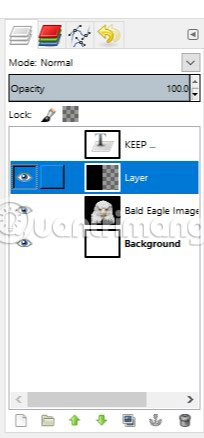
Press the Delete key on the keyboard to delete the area within the text selection area. Deselect the text by going to Select> None or holding Ctrl + Shift + A on the keyboard.
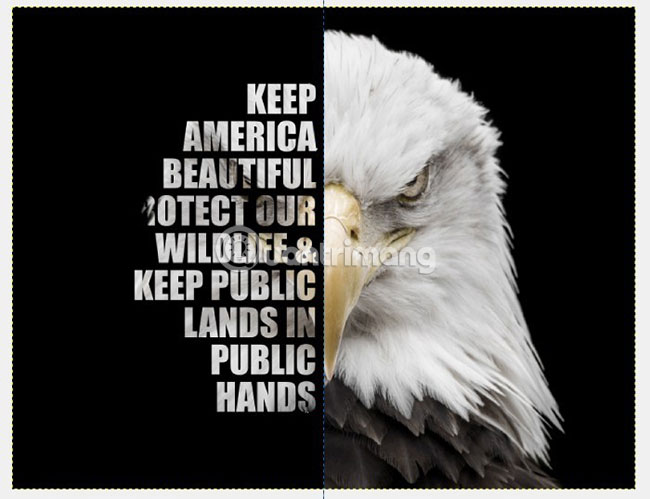
Next, you will want to make the dark areas under brighter text so that the viewer can easily read the text. Select the image layer and the Dodge tool . You can increase or decrease the brush size Dodge and Opacity using the options as shown below.
Create a rectangular selection around the area you want to lighten to make sure you don't accidentally lighten other parts of the image (optional).
For very dark areas of the image, you can select paint brush, use white, reduce opacity and paint over dark areas to brighten them up.
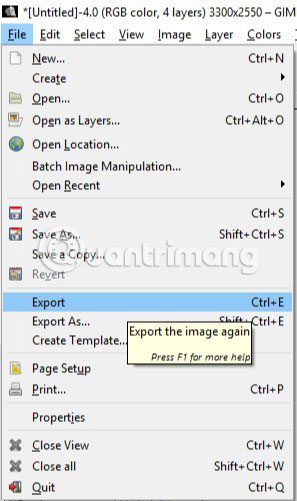
Once the picture has looked like you want, everything is done! After that, you can export the poster by going to File> Export .
Then, you can choose the file type you want to save your image by clicking the drop-down arrow 'Select File Type (by extension)' at the bottom. The black rectangle shown in the image below is to moderate the file information of this computer.
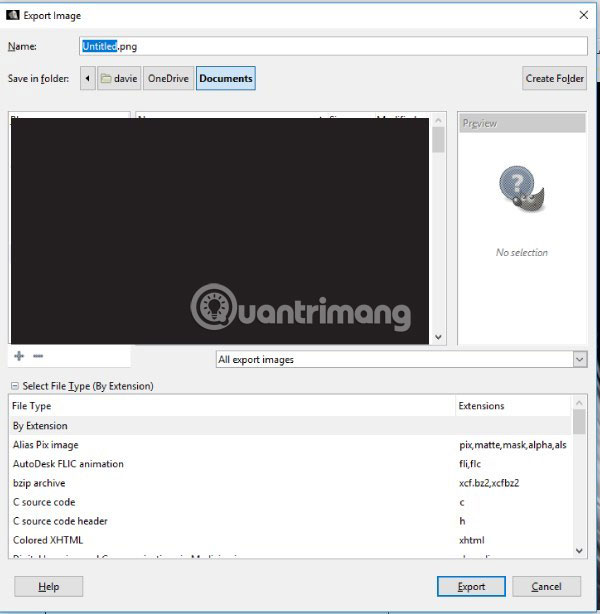
You should save the file as JPEG and set the quality to 100 if you plan to print the newly designed poster. If you use photos for a website, you can reduce the quality a bit to save storage space.
Hope you are succesful.