How to convert an image to vector in Adobe Illustrator
There are two types of digital images: Raster and vector. Raster images are made up of individual pixels and contain a lot of detail. However, you cannot enlarge them without losing quality..
A vector image is created from lines and shapes. They are usually less detailed, but you can make them as large as you want without sacrificing quality.
When you have a raster graphic that is too small for your needs, the solution is to convert the image to vector and you can do this in Adobe Illustrator. It's a quick and simple process, and the results are amazing. Here's how to convert an image to vector using Adobe Illustrator.
Step 1: Choose an image to convert to vector
You can use any image by following the following procedure, however, larger images will take longer to edit. Besides, there are some images that work better as vector images than others.
It's better to edit photos of a single subject instead of landscape photos or the like. Also, the image should have a white or transparent background and be of a relatively low resolution, in a format like JPG, GIF, or PNG.
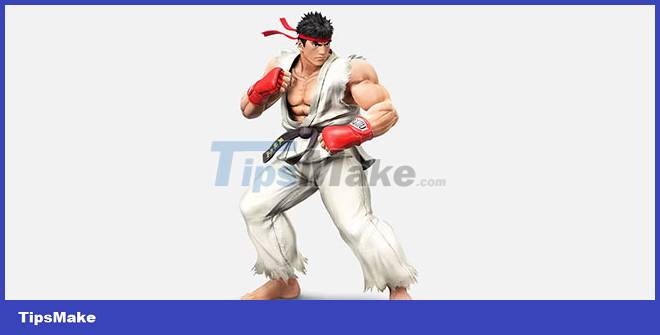
The article will use images of Ryu from the Street Fighter series.
Step 2: Choose an Image Trace preset
Illustrator has a special tool that allows you to vectorize images. It's called Image Trace and comes with a bunch of presets that do most of the work automatically.
In general, you should use the Image Trace preset that most closely resembles the type of image you are converting, as each produces a different result.

Your options are:
- High Fidelity Photo and Low Fidelity Photo . They produce very detailed and slightly less detailed vector images. They are ideal for complex photos or artwork, such as the sample image the article is using.
- 3 Colors, 6 Colors and 16 Colors . These presets output vector images with 3, 6, or 16 colors. They are perfect for logos or artwork with multiple primary colors.
- Shades of Grey . This preset creates a detailed grayscale image.
- Black and White Logo . This creates a simple logo with two colors - black and white.
- Sketched Art, Silhouettes, Line Art and Technical Drawing . They are best used for specific types of images and produce black and white drawings, which are mostly line-based.
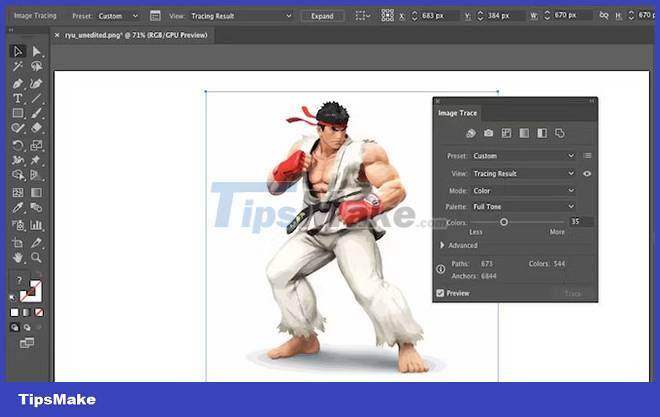
To get started, open your image in Illustrator and select it to activate the image options. These options will appear at the top of the Illustrator window.

Click the drop-down arrow next to Image Trace to select the presets. The example will use Low Fidelity Photo .
Step 3: Vectorize the image with Image Trace
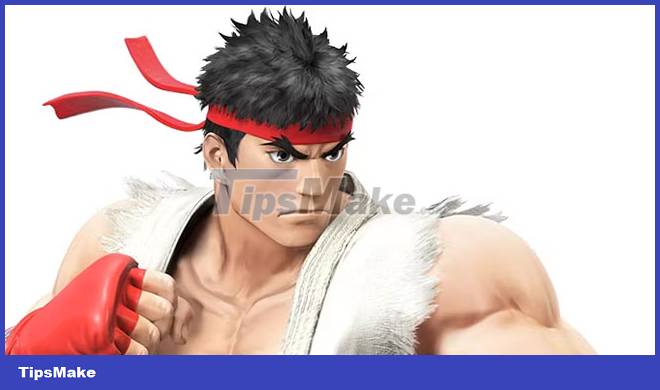
After you click an option, your image will automatically go through the transition. You'll notice some changes to your image, but overall, the image will stay the same. For example, the following is a close-up of the sample image before the transition.

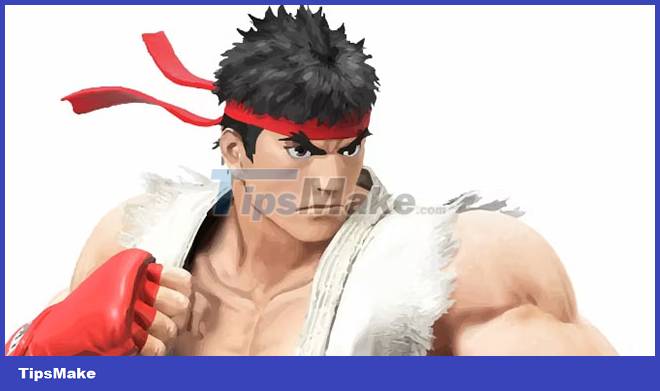
Be aware of pixelation. Here is the image after the transition:

Although much of the detail has been removed from the original image, the transformed version is much sharper. You will notice that the color shapes do not pixelate no matter how enlarged the image is.
There is certainly a difference, but the image will look almost unchanged when zoomed out. Here is the overall image before editing:
Here is the image after editing:
The image above may appear sharper in some areas if you look closely, but the vectorized image quality is still quite impressive.
Step 4: Fine-tune the image
Next, open the Image Trace panel from the Window menu to fine-tune the transformation.
Select Mode to switch between color, grayscale, and black and white. Alternatively, drag the Colors slider to the left to simplify the vector image, or to the right to add details.
If you are satisfied with your settings and want to use them again, click the Manage Presets button next to the Presets option . You can now save your settings as a new preset.
Step 5: Remove the color group
The image has now been sorted into color shapes that match the original raster image. To complete the vectorization of the image, you will need to separate these color groups to edit them. To do so, select the image and click the Expand button at the top of the window.

This will allow you to see the composite shapes that make up the vector image. Each shape is outlined in blue. Next, right-click on the image and select Ungroup in the menu. This will allow you to separate colored shapes into individual parts.
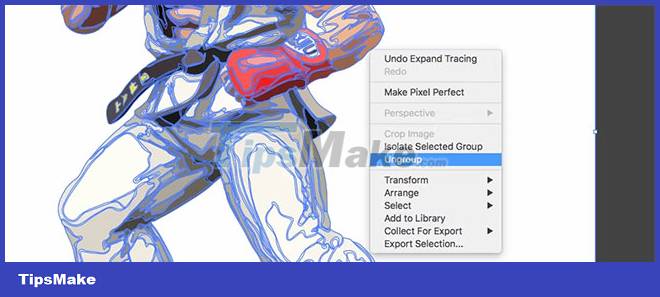
In the Layers panel , you'll see that your color groups have been separated into layers.
Step 6: Edit the vector image
After converting the raster image to vector, you can edit the image.
Start by removing any color groups you want. You can select entire color groups by clicking on a shape and going to Select > Same > Fill Color . This will select all groups with the same color as the selected color using the Direct Selection tool (A) .

Then press Backspace on your keyboard to delete the shapes. If you want to modify or expand a specific group of colors, you can also do that by selecting a layer with the Direct Selection tool. After you've selected a layer, fill in the gaps or add additional color to the design with the Pen or Brush tool.
Step 7: Save the image
This is the original image after removing the background and slightly editing it using the method described above.

Now you're ready for the final step in converting an image to vector in Illustrator: save the image in vector format to preserve its quality. There are many vector image formats to choose from: PDF, AI, EPS, SVG, etc. The example will use the SVG format, which has wide support on all design programs and also on the web.
When you're done with your image, go to File > Export > Export As . In the following window, give the file a title and select SVG in the drop-down menu next to Save as type .

Your scalable vector file will now be saved to your computer. You can resize it to your liking and export it in other formats to use the image in other applications or projects. But always keep the vector image as the "master copy".