How to Check WiFi Band on iPhone
See band name
See the name of the Wi-Fi network you're connecting to. If you're connected to a dual-band Wi-Fi router, you can check which band you're connecting to based on the name of the access point on your iPhone. How to find information as follows:
Open Control Center by swiping the screen down from the top right corner (for iPhones without a Home button) or swiping the screen up from the bottom (for iPhones with a Home button).
Touch and hold the Wi-Fi icon in the upper left corner.
The name of the Wi-Fi access point appears below "Wi-Fi" on the left. If you see "2.4GHz" or "5GHz" here, that is the band number you are connecting to.
If this is a home connection and the band is not displayed this way, you can refer to how to change the band on the Wi-Fi router.
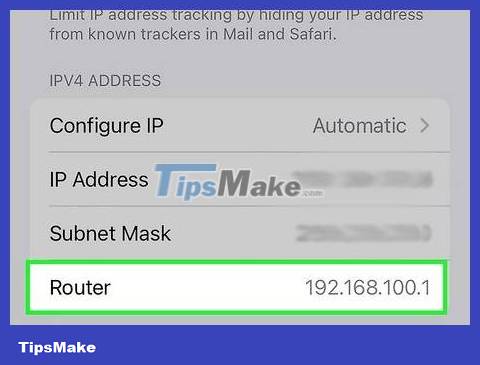
Find the router's IP address. If you have a dual-band router, the simplest way to know which band your phone is connecting to is to enter the SSID number or network name of each band. First, you need to find the router's IP address. On iPhone, you can find the IP address in the following way:
Access Settings .
Open Wi-Fi .
Click the Information button next to the router's network name.
Swipe down until you see the number next to Router in the IPV4 Address section . The router number will look like 168.123.1.234.
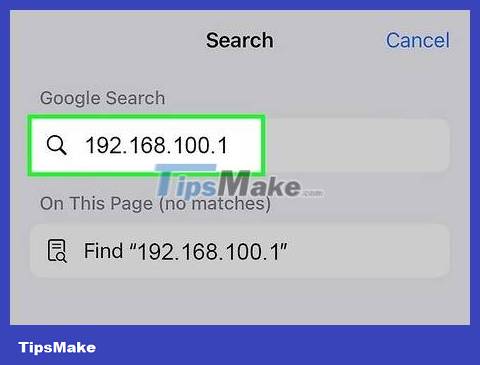
Enter the IP address into the browser. Once you find the IP address, copy and paste or type the number into the address bar in your browser. The router's web page is immediately displayed so you can view information about the router and change settings, such as the network name.
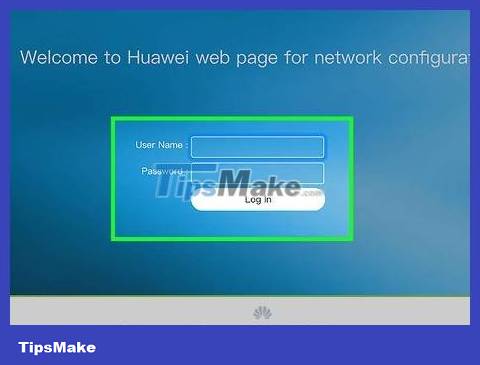
Log in with your router's username and password. When the router's website displays, you will be asked to log in. If you don't know the username and password, you can usually find that information on the router's sticker.
The default username for most routers is 'Admin'.

Look for a setting that allows you to create separate SSIDs for each band. Every router is different, so there is no one way to do this. You need to refer to the router's user manual or visit the support website to find information on setting up separate network names for each band. In most cases, these settings appear under the Advanced Settings tab or similar.
If your router does not automatically allow you to create unique names for each band, you need to enable the setting or check the box to enable this feature.
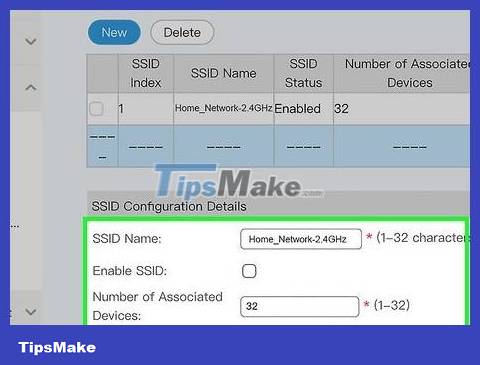
Give each frequency band a separate name. Thus, you can easily know which frequency band your phone is connecting to. For example, you name the 2.4GHz network 'Home_Network-2.4GHz' and the 5GHz network 'Home_Network-5GHz'.
Although this is the simplest way to help you know which band your iPhone is connected to, you should note that Apple does not encourage users to name individual bands. Giving both bands the same name allows your phone to automatically switch between bands so you can always connect to the strongest signal.
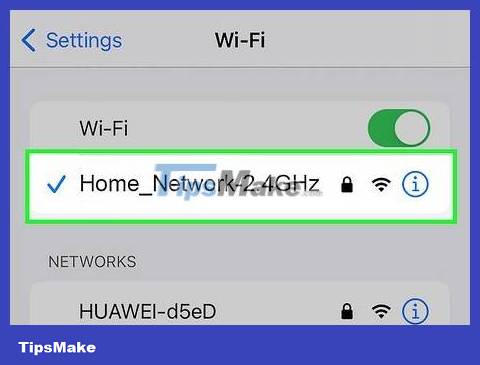
Connect to the band you want on your iPhone. Open Settings , then select Wi-Fi . Tap the name of the network you want to connect to, then enter the password. Once connected, you'll see a blue check mark next to the network name.
After dividing the bands, you need to enter a separate password for each band the first time you log in.
Use the Wi-Fi scanning tool on AirPort Utility
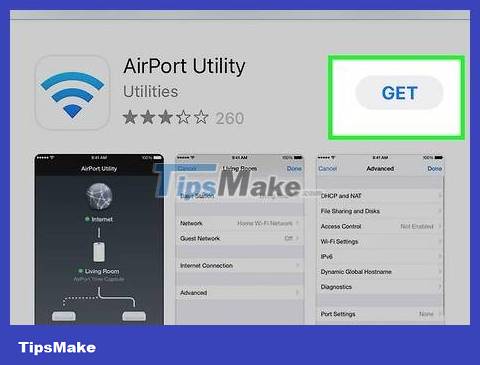
Download the AirPort Utility application. If you use an Apple AirPort router, you can easily check which band your phone is connecting to by using the AirPort Utility application. You can also view other Wi-Fi network information even without an AirPort router. Download the app from the App Store if you haven't already. Tap the AirPort Utility icon to open the application.
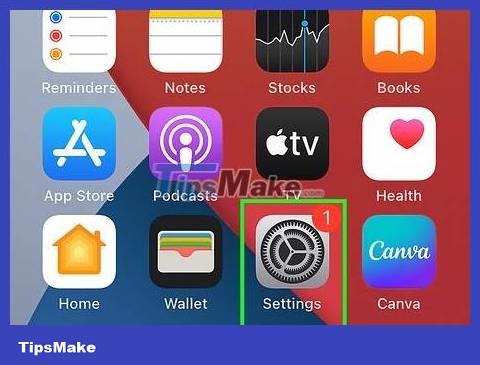
Open Settings . To scan for Wi-Fi networks using AirPort Utility, you need to turn on Wi-Fi Scanning . First, open the Settings app .

Tap the AirPort Utility icon. Simply swipe down the app list in Settings and select AirPort Utility . The installation menu immediately displays.
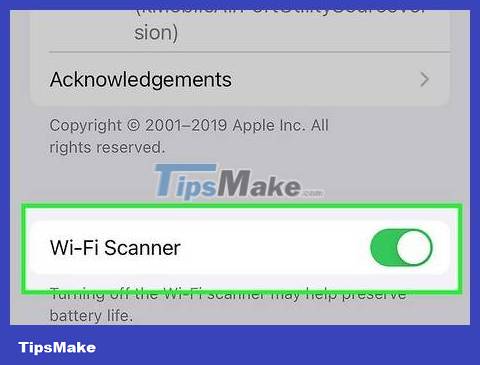
Turn on Wi-Fi Scanner . You'll see a slider next to Wi-Fi Scanner below the AirPort Utility settings menu. Tap the slider to enable the feature. The slider button will turn green when the scan tool is activated.
Turning this feature on can drain your phone's battery quickly, so be sure to turn it off after scanning for Wi-Fi.
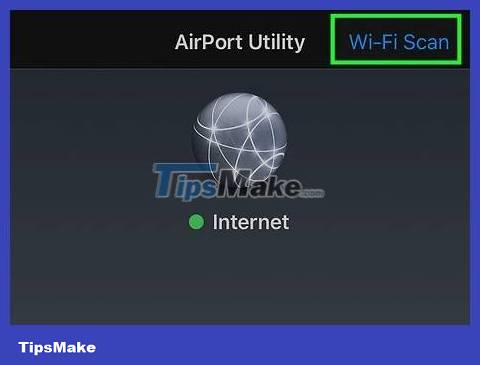
Tap Wi-Fi Scan in the AirPort Utility app. Open the app and tap the blue Wi-Fi Scan option in the upper right corner. This opens a new screen that allows you to scan for nearby Wi-Fi networks, regardless of whether those networks are linked to the AirPort router or not.
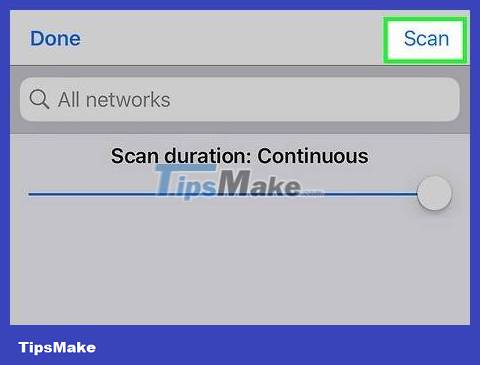
Select Scan in the upper right corner. After a few seconds, you will see a list of nearest Wi-Fi networks.
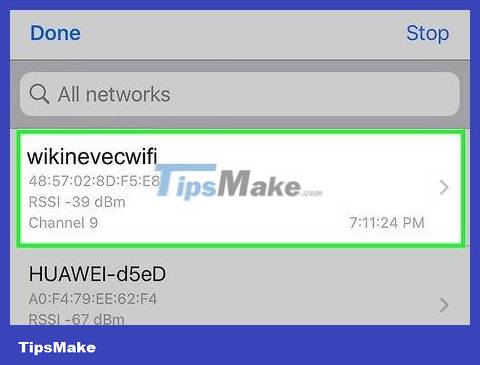
See channel information for band specifications. Under the name of each network, you will see various information. To know if the network has the 5GHz or 2.4GHz band, you need to look at the number next to the word Channel . If you are in the US, networks on channels 1-11 are on the 2.4 GHz band, while channels with numbers greater than 11 are on the 5GHz band.
For example, channel 6 is in the 2.4GHz band, while channel 40 is in the 5GHz band.
If you live outside the US, the channel number will be different. For example, in most countries, channels 1-13 are in the 2.4GHz band, while channels with larger numbers are in the 5GHz band. In Japan, channel 14 has the 2.4GHz band.
If you use a dual-band router and both have the same name, the information section will show both bands as two different networks with the same name.
Change 2.4GHz and 5GHz channels in AirPort
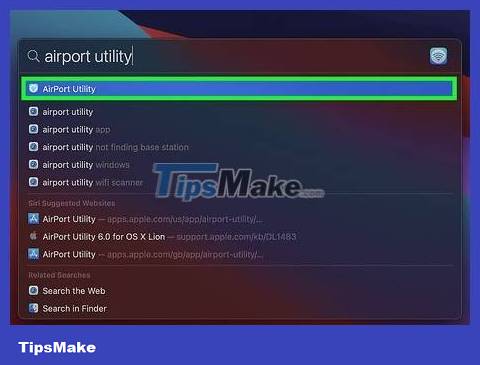
Open the AirPort Utility app on Mac. If you use an Apple AirPort router, you can use the AirPort Utility application to set up the router's frequency band. AirPort routers usually switch between bands automatically, but you can disable the automatic setting to only use one band. Thus, you always know which band your iPhone is connected to. To find the application, simply open the Applications folder on your Mac, then open the Utilities folder and double-click the AirPort Utility icon.

Select the section you want to edit in the preview graphic. When you open AirPort Utility, you will see an image of the router and other connected devices. Click on the image of the router you want to change.
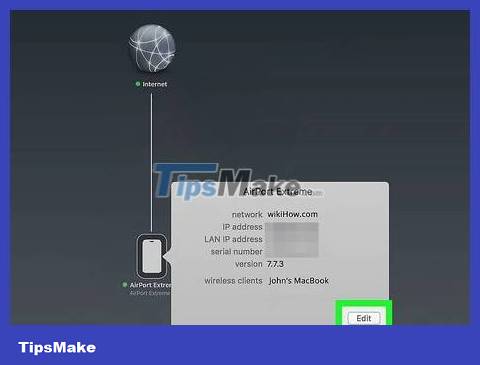
Click Edit . When you click on the router, the screen immediately displays an information window. Click the Edit button in the bottom right corner.
At this point, you may be asked to enter the password for the router.
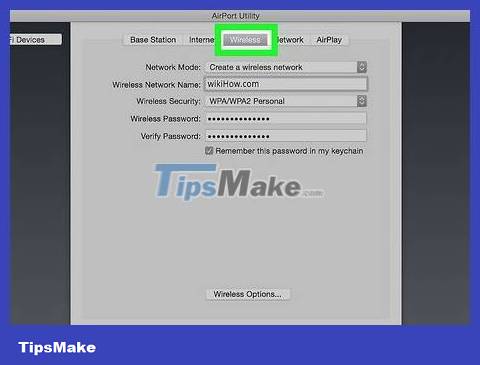
Select Wireless . When the Edit menu appears, you need to click Wireless.
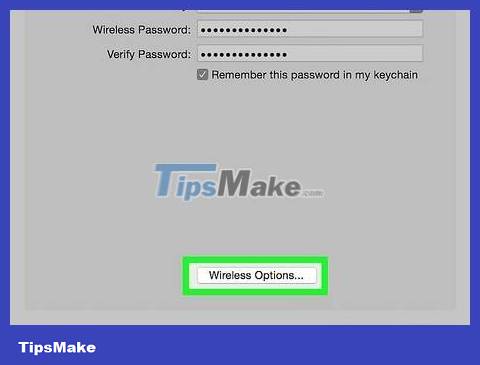
Open Wireless Options . Find the Wireless Options button near the bottom of the window, then click it.
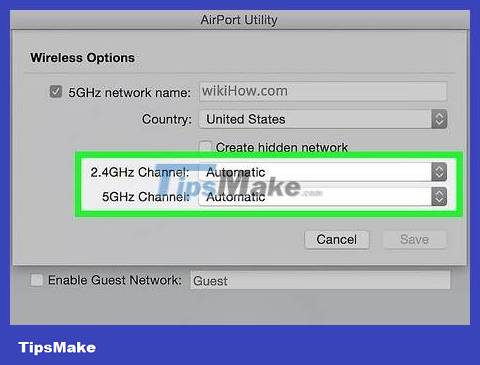
Select the channel you want to connect to. The solid screen displays a dialog box with wireless customization options. Find the Channel selection box and select the band you want to connect to (2.4GHz or 5GHz).
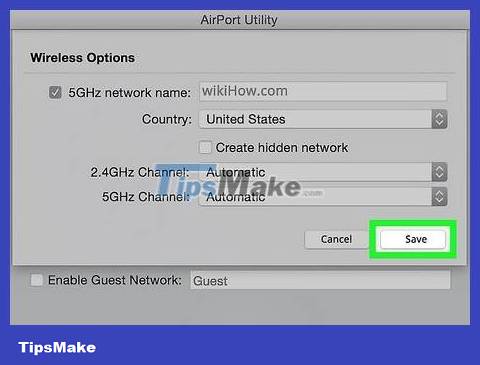
Tap Save . After you choose your favorite settings for your channel, click the Save button. This will close the Wireless Options dialog box .
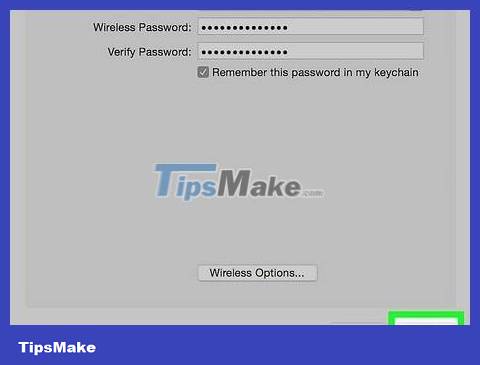
Click Update . This is the operation to apply changes to router settings. Now, your iPhone and other devices on the network will connect to the band you choose.