How to change default language shortcuts Windows 11
The default language change shortcut is Windows + Space which cannot be turned off by default, but you can also change the language shortcut according to the article below..
If you need to use multiple languages and want to switch between different languages on your Windows computer, we will need to use the language shortcut key on the computer. The default language change shortcut key is Windows + Space, which cannot be turned off by default, but you can also change the language shortcut key according to the article below.
How to change Windows language shortcuts via Settings
The Alt + Left Shift alternative language change shortcut is the remapped key.
Step 1:
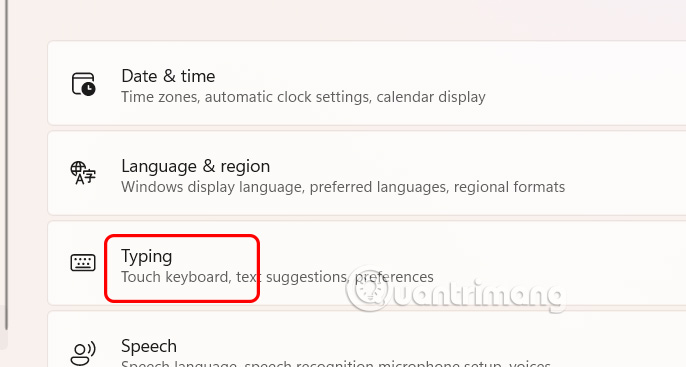
Open Settings on your computer and click on Time & Language in the left menu.

Next, look to the right, we click on Typing to adjust the entry on the computer.
Step 2:
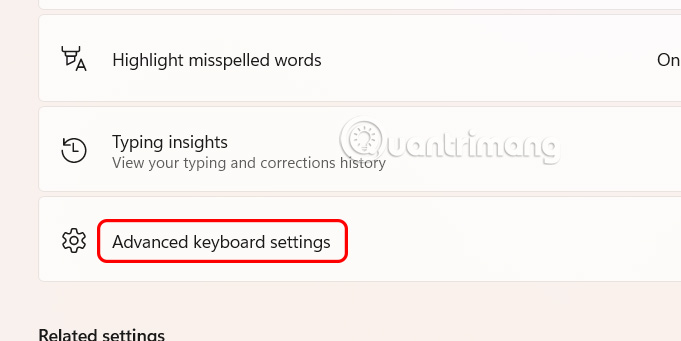
Then the user clicks on Advanced keyboard settings to open advanced keyboard settings on the computer.
Step 3:
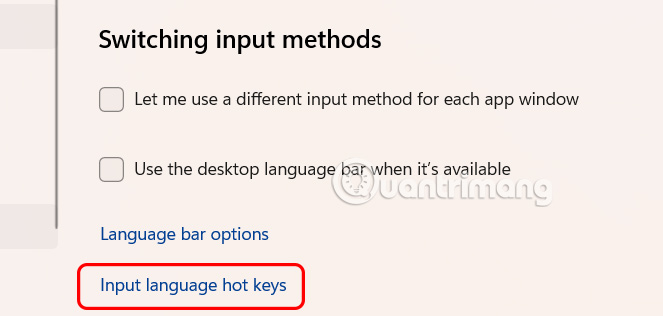
At this time, the user clicks on Input language hot keys to adjust the language shortcut keys on the computer.
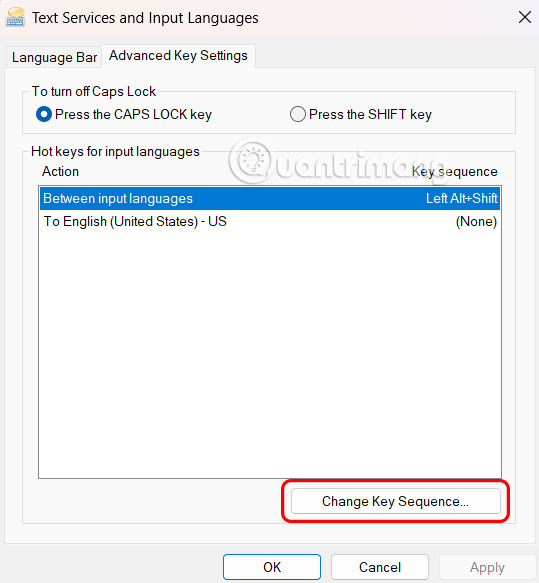
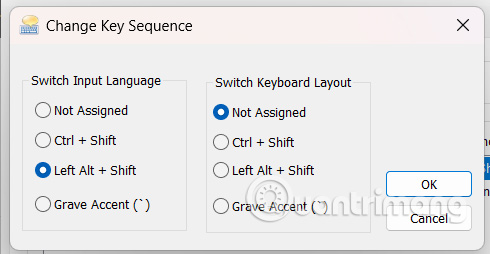
Display the new interface, click Between input languages then click Change key sequence to change keys between input languages.
Step 4:
You can unassign the shortcut or set it to Ctrl + Shift or the 'grave accent' key (located to the left of the number 1 above the QWERTY keyboard). Click OK to save.
If you want, you can go back and change the language input shortcut in Windows to instantly switch to a specific language. The options here include Ctrl or Ctrl + Shift or Alt + Left Shift and a number, tilde, or grave accent (on some keyboards, the tilde and grave accent are on the same key as Shift, so you can't select one of the options).