Table of Contents
This practical guide explains how to Block Adding Friends to Strange Whatsapp Groups through clear, ordered steps. It also covers useful settings, common mistakes, and checks that can improve the final result.
Not everyone likes being added to a strange WhatsApp group by their friends. To prevent being added to a strange WhatsApp group, users should adjust who can add you to groups on WhatsApp, adjust the objects that are allowed to add you. The following are instructions to prevent being added to a strange WhatsApp group.
Instructions to Block Adding to Strange Whatsapp Groups
Step 1:
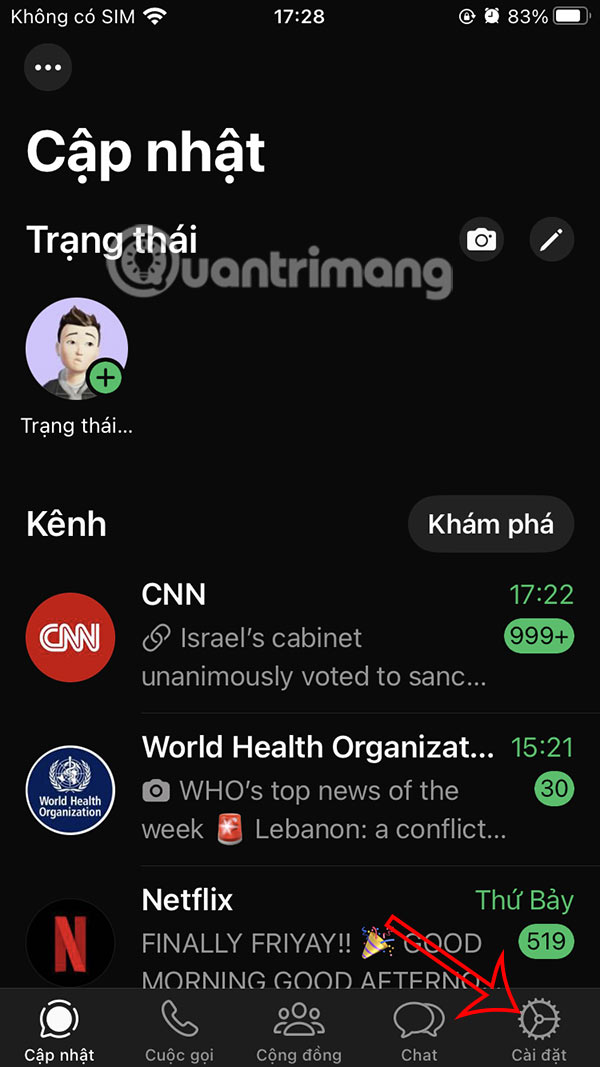
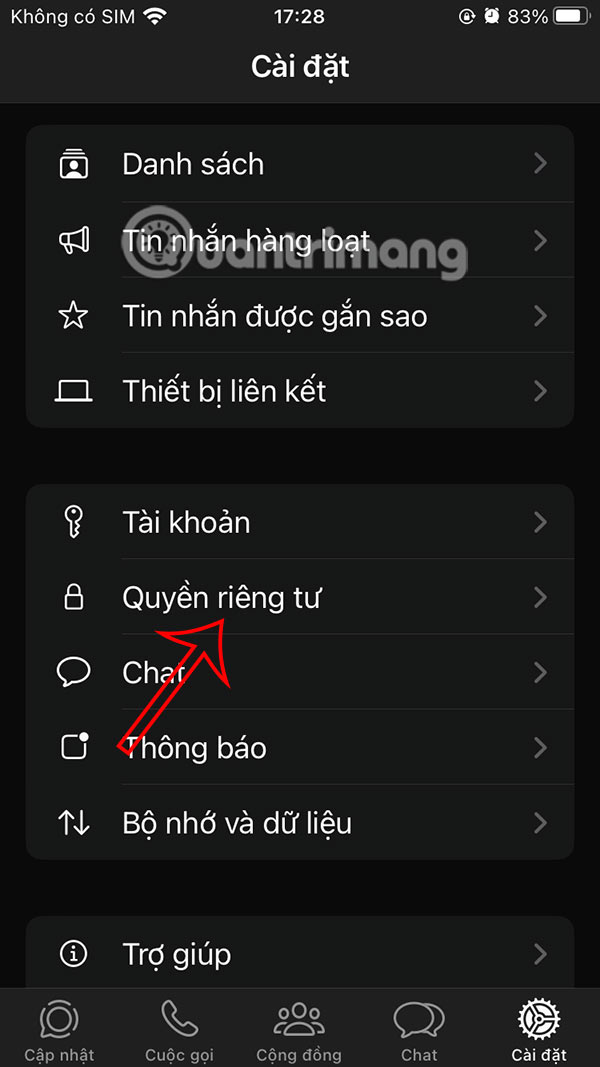
At the interface on the WhatsApp application, you click on The Settings section Below to access. The new interface displays, we click on the Privacy Section to adjust.
Step 2:
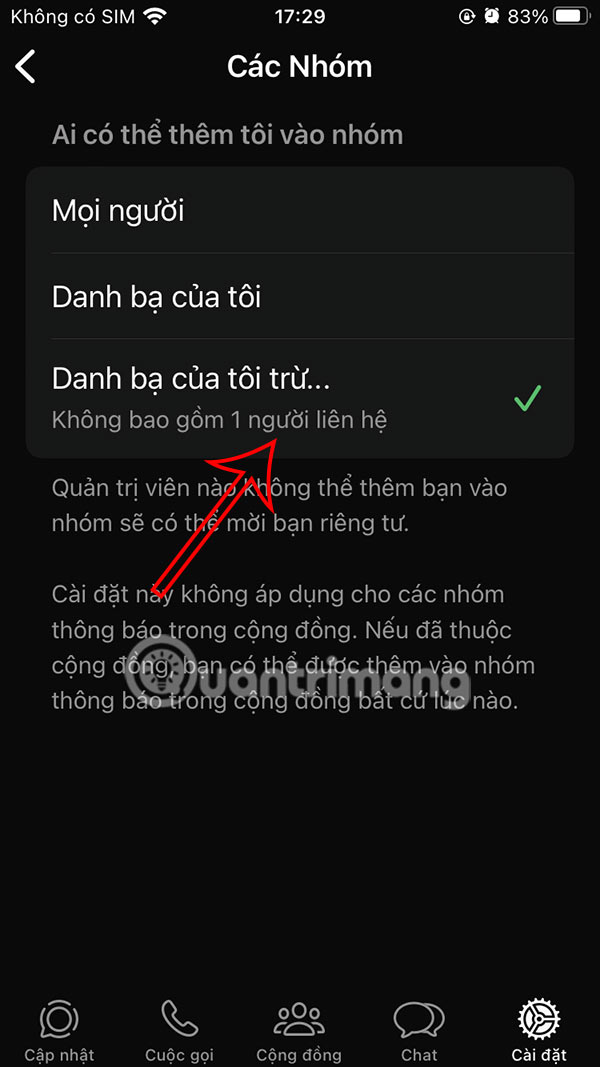
In the image below, the user Clicks on Groups To change the settings again. At this time, the user will see the selected objects to be allowed to add friends to WhatsApp groups. We Click on My Contacts So that Strangers cannot add you to WhatsApp groups .


Step 3:
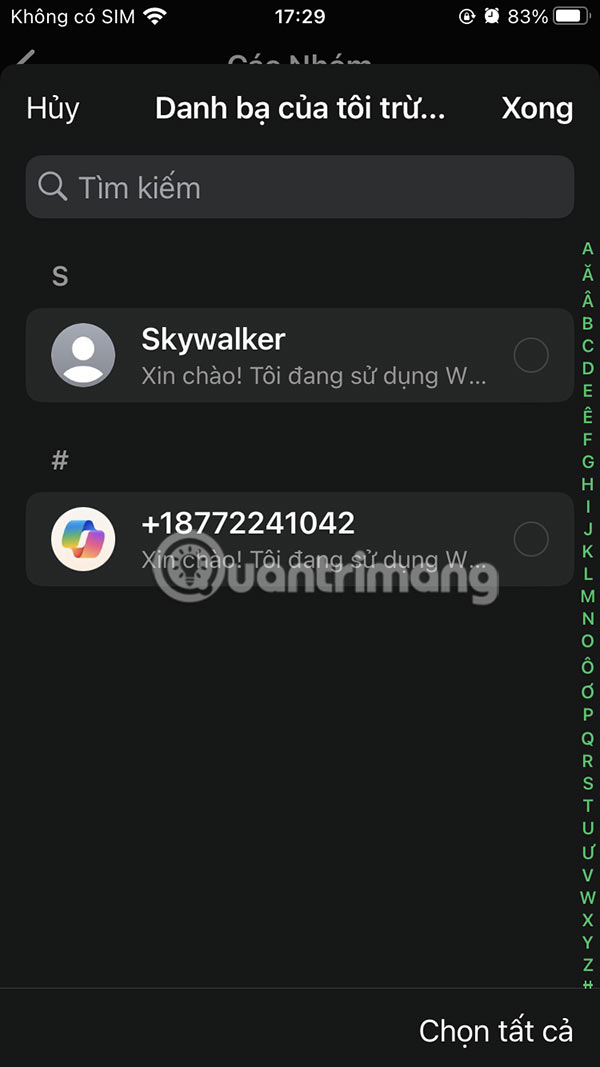
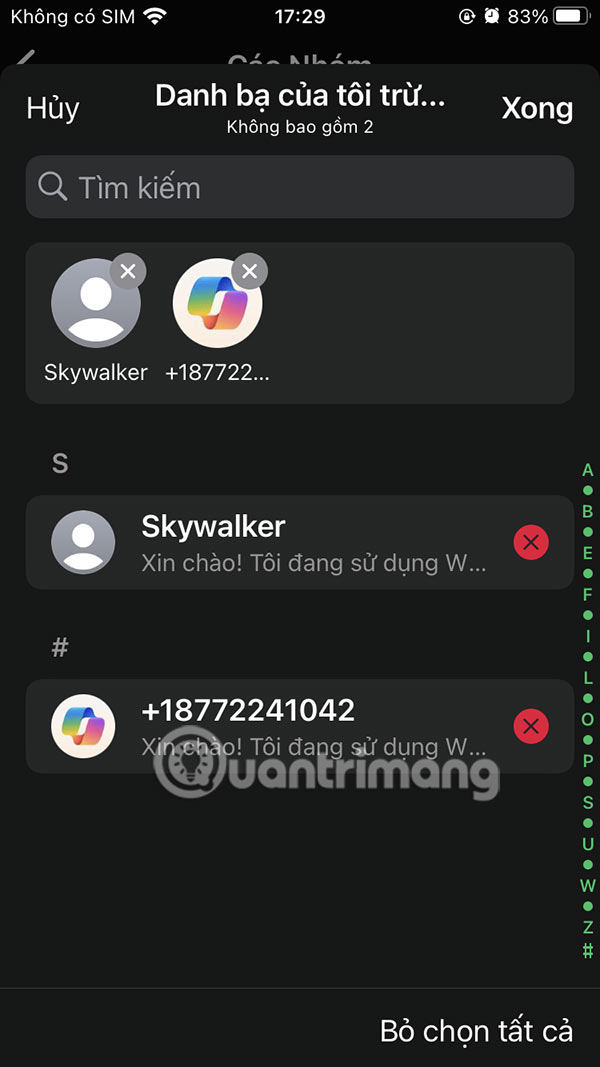
To have more control over adding friends to WhatsApp groups, we tap on My Contacts minus and Select people who do not want them to add you to WhatsApp groups . Select people and tap Done to save.
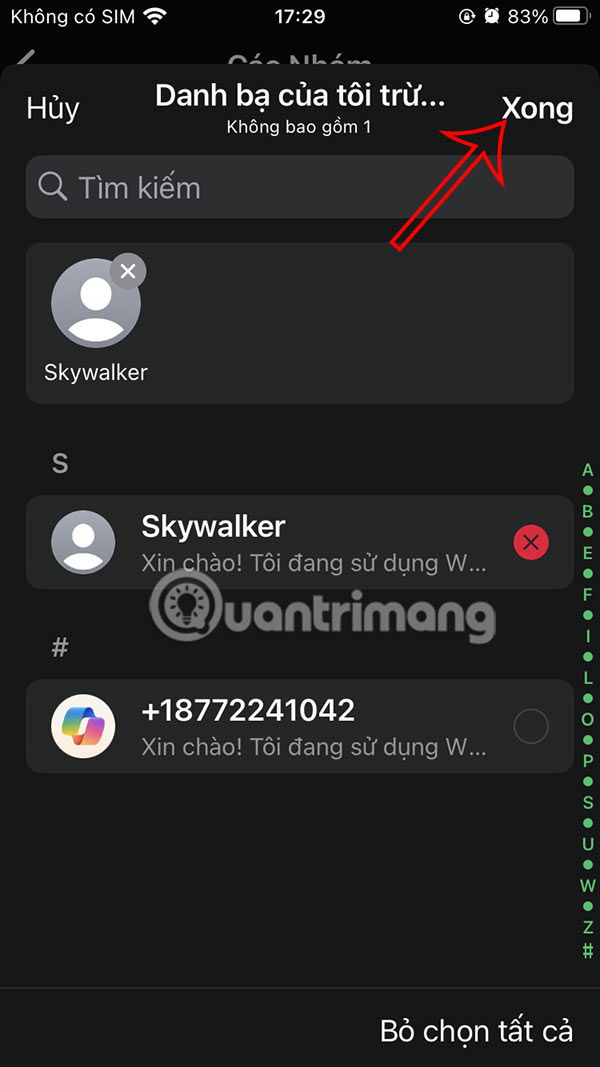
This way people on the list cannot add you to the WhatsApp group.
Step 4:
You can still change the exception list to block adding friends to WhatsApp groups if you want. You can select all contacts on WhatsApp so that no one can add you to WhatsApp groups.
FAQ
How do I Block Adding Friends to Strange Whatsapp Groups?
Follow the steps in this guide in order, verify each setting before continuing, and check the result after every major change.
What should I prepare before I Block Adding Friends to Strange Whatsapp Groups?
Confirm compatibility, install current updates, save important work, and back up data before changing system or application settings.
What can I do if block Adding Friends to Strange Whatsapp Groups does not work?
Review permissions and requirements, restart the relevant device or app, repeat the steps carefully, and use official support resources when the issue continues.
Related Articles
 How to Block Messages from Strange WhatsApp Accounts3 minutes read
 How to Block a User on Whatsapp?4 minutes read
 How to Block Ads in WhatsApp Status3 minutes read
 How to Deactivate and Exit the WhatsApp Community: Practical Guide4 minutes read
 How to Use Whatsapp to Chat, Call, Message Your Friends3 minutes read
 How to Block Adding to Groups on Facebook: Facebook Group4 minutes read
Reader Comments 0
Sign in with email or Google to join the discussion.