Table of Contents
1. Warp photos with the Warp tool
This guide explains how to bend an Image in Photoshop, with clear steps, practical tips, and important checks before you begin.

Step 1: Select the layer to edit and go to Edit menu (1) => Transform (2) => Warp (3) .

Step 2: You will see the board with small dots around the image as shown below. Now you need to move the dots to different positions to create curvature for the image.

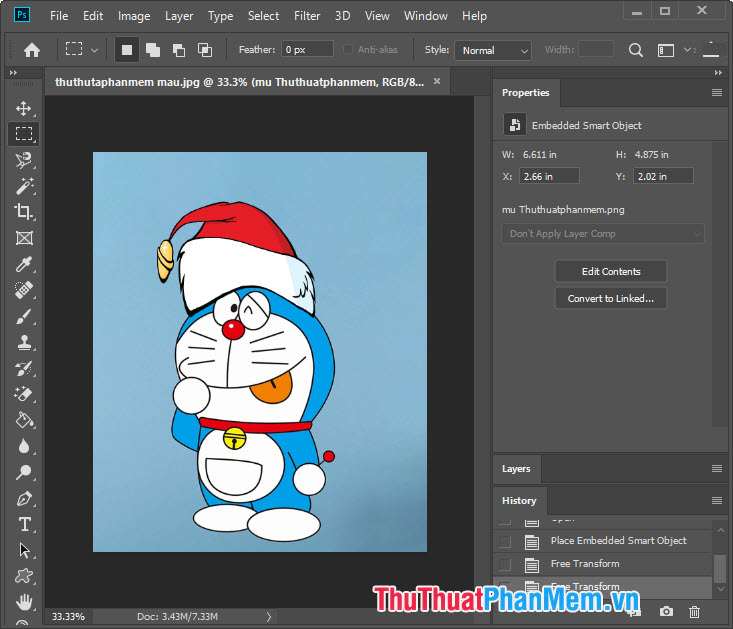
After moving to different locations, your image will move as the model below. You press Enter after editing is complete to complete the changes.

And finally, our image has been bent with the Warp tool.
2. Warp photos with Puppet Warp
Step 1: You need to create a layer mask for the image by clicking on Layer (1) => Add Mask (2) .
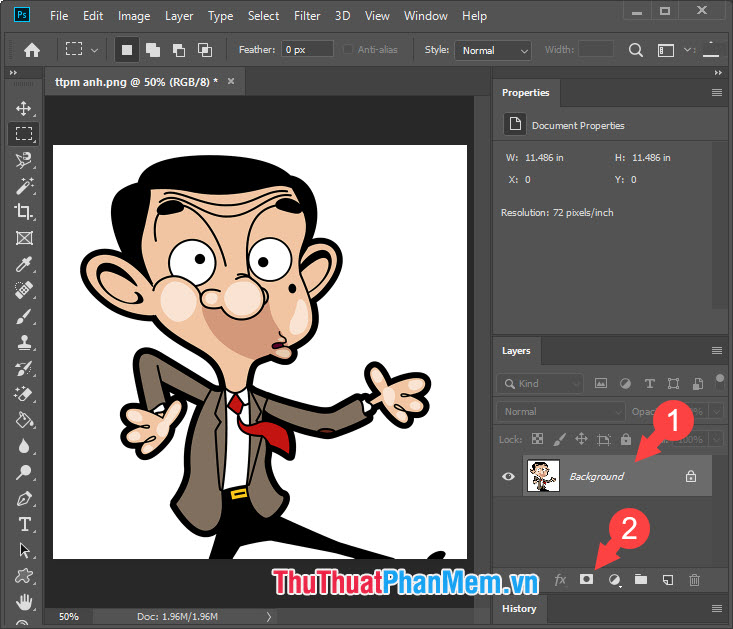
Step 2: Go to Edit (1) => Puppet Warp (2) .

Step 3: Your screen will become the shape shown below. Please click the left mouse button at many points to form small dots as shown below.

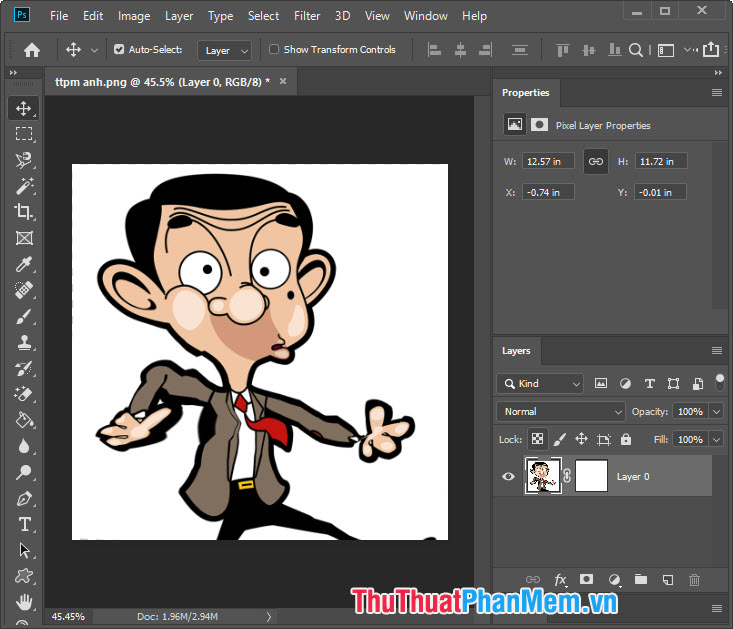
After creating the small limit, then click on the dots and move in the direction to shrink the image. Each dot will be pixel-limited, so the more dots you create, the more you can edit the curvature of the image.

Step 4: Once completed, press Enter to save the settings and we will have the complete image as shown below.
3. Bend the shape with Distort
Step 1: Go to menu Filter (1) => Distort (2) => Polar Coordinates. (3) .

Step 2: You select the operation to warp the image (1) with the Rectangular to Polar is the curved inward image and the Polar to Rectangular is curved outward => OK (2) .
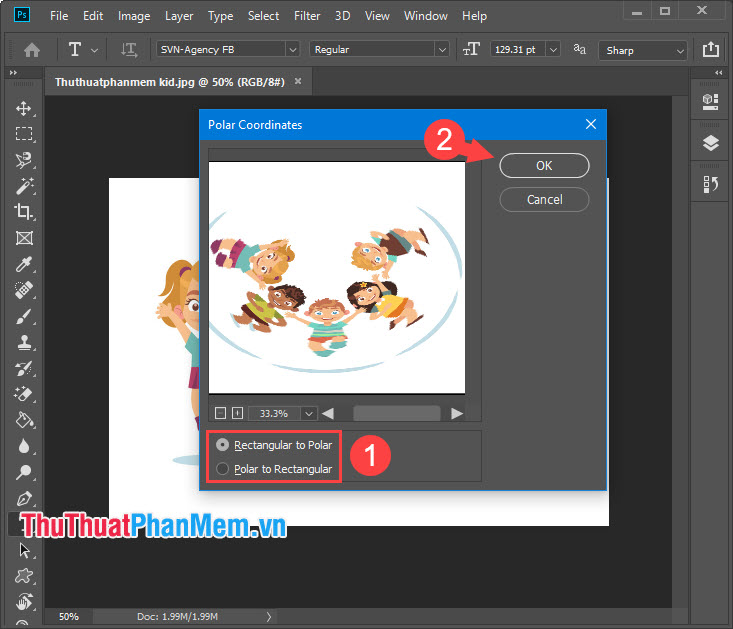
And finally, we will have a very unique curved image.
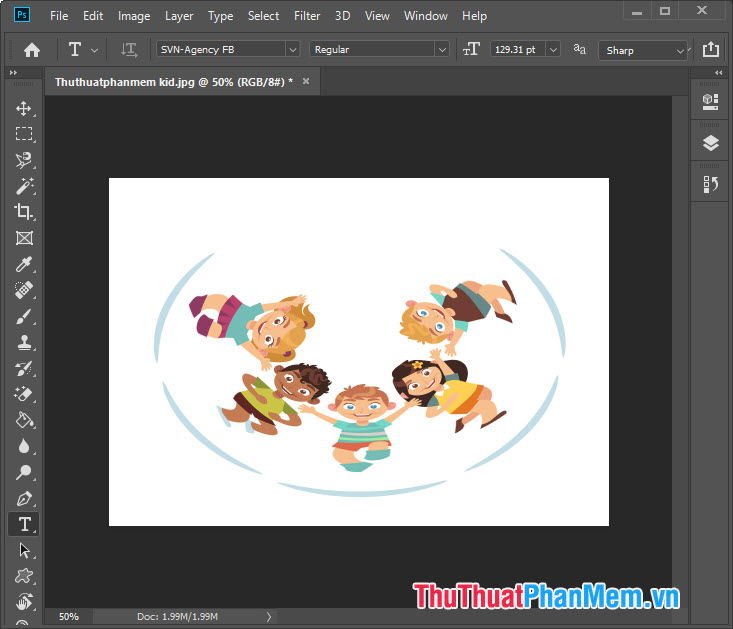
With the way to warp photos in Photoshop shared above, readers can easily create photos with new and interesting unique skills. Good luck!
FAQ
What should I know about Bend an Image in Photoshop?
Focus on the key features, requirements, limitations, and practical use cases explained in this guide.
How do I get the best results with Bend an Image in Photoshop?
Follow the recommended steps, use current software or information, confirm compatibility, and review settings before major changes.
Are there any risks or limitations?
Potential limitations depend on compatibility, data quality, cost, privacy, support, and how the product or method is used.
Related Articles
 Use Photoshop Mix to Delete Details in the Image6 minutes read
 How to Rotate a Photo in Photoshop: Step-by-Step Guide2 minutes read
 How to Nest an Image Inside Another Image in Photoshop: Clear Instructions7 minutes read
 Ways of Blending 80s Image Colors in Photoshop3 minutes read
 How to Scale Layer, Scale Image in Photoshop4 minutes read
 minutes read
Reader Comments 0
Sign in with email or Google to join the discussion.