Excel 2019 (Part 1): Getting Started with Excel
Microsoft Excel is a spreadsheet program that allows you to store, organize, and analyze information..
Microsoft Excel is a spreadsheet program that allows you to store, organize, and analyze information. While you might think Excel is only used by certain people to handle complex data, anyone can learn to take advantage of the program's powerful features. Whether you're managing funds, organizing training logs, or creating invoices, Excel makes it easy to work with different types of data.
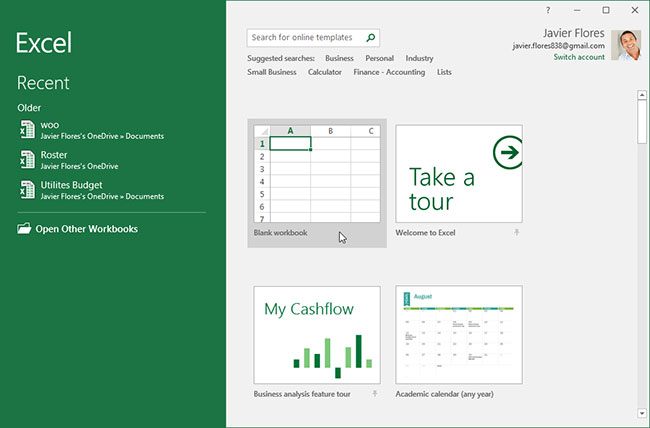
Excel Start Screen
When you open Excel for the first time, the Excel Start screen will appear. From here, you can create a new workbook, choose a template, and access your recently edited workbooks.
From the Excel Start screen, locate and select a blank workbook to access the Excel interface.
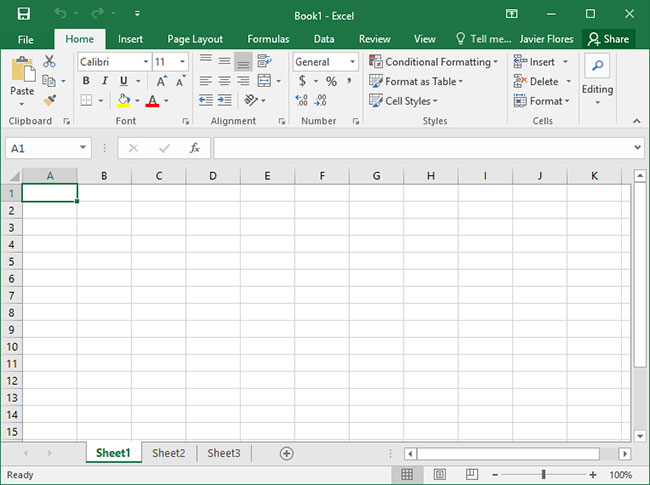
Parts of the Excel window
Some parts of the Excel window (like the Ribbon and scrollbar) are standard in most other Microsoft programs. However, there are other features specific to spreadsheets, such as the formula bar, the name box, and worksheet tabs.
Working with the Excel environment
The Ribbon and Quick Access Toolbar are where you'll find commands to perform common tasks in Excel. The Backstage view provides you with various options for saving, opening, printing, and sharing documents.
Ribbon
Excel uses a tabbed ribbon system instead of traditional menus. The ribbon contains multiple tabs, each with a number of command groups. You will use these tabs to perform the most common tasks in Excel.
- Each tab will have one or more groups.

- Some groups will have an arrow, which you can click to see more options.

- Click on the tab to see other commands.

- You can adjust how the Ribbon is displayed using Ribbon Display Options .

Certain programs, such as Adobe Acrobat Reader, can install additional tabs to the Ribbon. These tabs are called add-ins.
How to change Ribbon Display Options
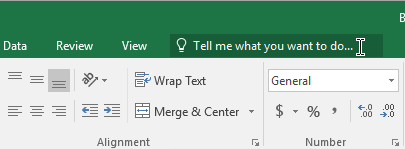
The Ribbon is designed to accommodate your current task, but you can choose to minimize it if you find it takes up too much screen space. Click the Ribbon Display Options arrow in the upper right corner of the Ribbon to display the drop-down menu.
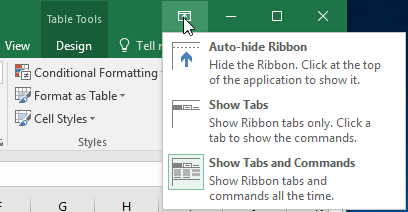
There are three modes in the Ribbon Display Options menu:
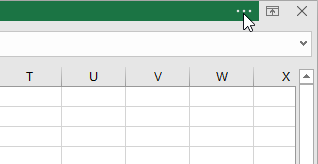
- Auto-hide Ribbon : Auto-hide mode displays your workbook in full-screen mode and completely hides the Ribbon. To show the Ribbon, click the Expand Ribbon command at the top of the screen.
- Show Tabs : This option hides all command groups when they are not in use, but the tabs will remain visible. To display the Ribbon, simply click on a tab.
- Show Tabs and Commands : This option maximizes the Ribbon. All tabs and commands will be displayed. This option is selected by default when you first open Excel.
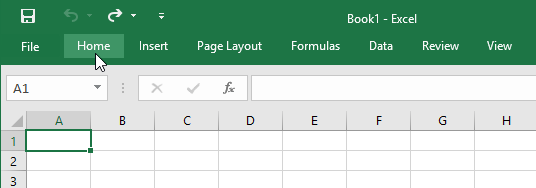
Quick Access Toolbar
Located just above the Ribbon, the Quick Access Toolbar lets you access common commands regardless of which tab is selected. By default, it includes the Save, Undo , and Repeat commands. You can add other commands to suit your preferences.
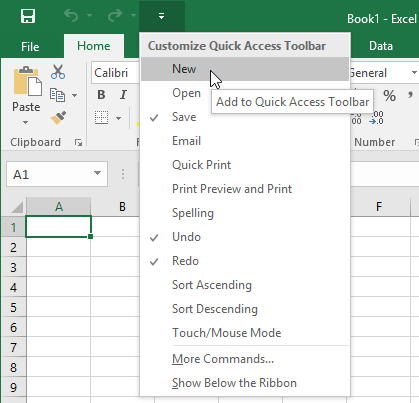
How to add commands to the Quick Access Toolbar
1. Click the drop-down arrow to the right of the Quick Access Toolbar .
2. Select the command you want to add from the drop-down menu. To choose from additional commands, click More Commands.
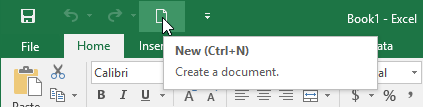
3. The command will be added to the Quick Access Toolbar.
How to use the Tell me feature
The Tell Me box functions like a search bar to help you quickly find the tools or commands you want to use.
1. Enter the content of what you want to do.
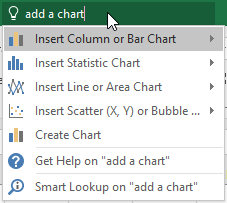
2. The results will provide you with several suitable options. To use an option, click on it just like you would execute a command on the Ribbon.

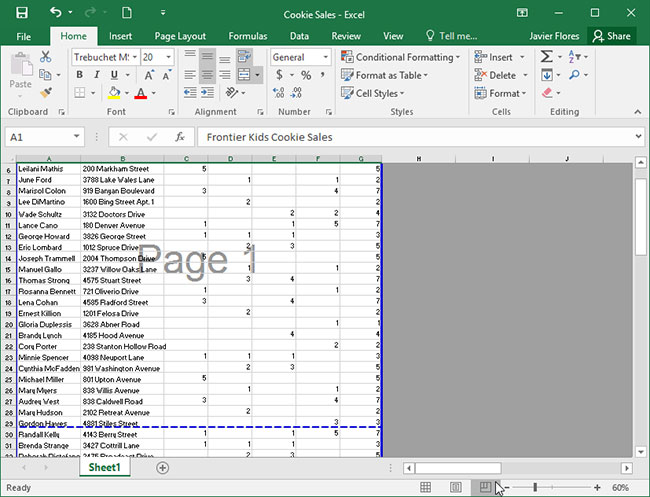
Sheet views
Excel offers several viewing options that change how a workbook is displayed. These views can be useful for a variety of tasks, especially if you plan to print the spreadsheet. To change the worksheet view, find the commands in the bottom-right corner of the Excel window and select Normal view, Page Layout view , or Page Break view .
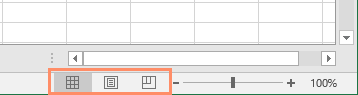
- Normal view is the default view mode for all worksheets in Excel.

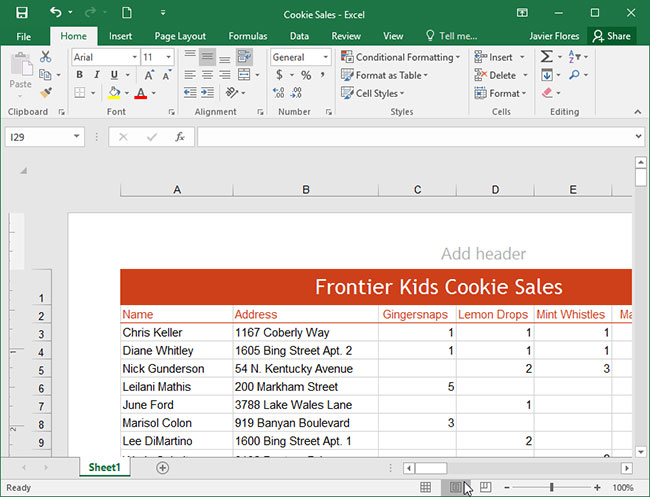
- The Page Layout view shows how your spreadsheet will appear when printed. You can also add headers and footers in this view.
- Page Break view allows you to change the position of page breaks, which is especially useful when printing large amounts of data from Excel.
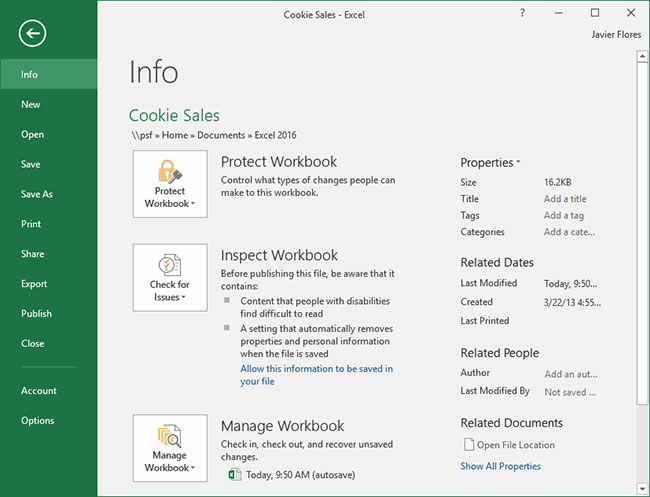
Backstage view
Backstage view provides you with various options for saving, opening, printing, and sharing your workbook.
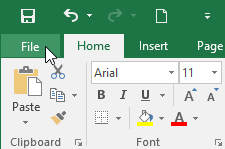
To access the Backstage view, click the File tab on the Ribbon. The Backstage view will appear.