Excel 2019 (Part 2): Creating and Opening Workbooks
Excel files are called workbooks. Whenever you start a new project in Microsoft Excel, you will need to create a new workbook..
Excel files are called workbooks. Whenever you start a new project in Microsoft Excel , you'll need to create a new workbook. There are several ways to begin working with workbooks in Excel. You can choose to create a new workbook—either a blank workbook or a pre-designed template—or open an existing workbook.
How to create a new blank workbook
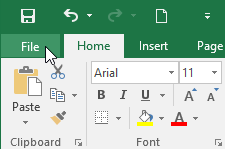
1. Select the File tab. The Backstage view will appear.
2. Select New , then click Blank workbook.
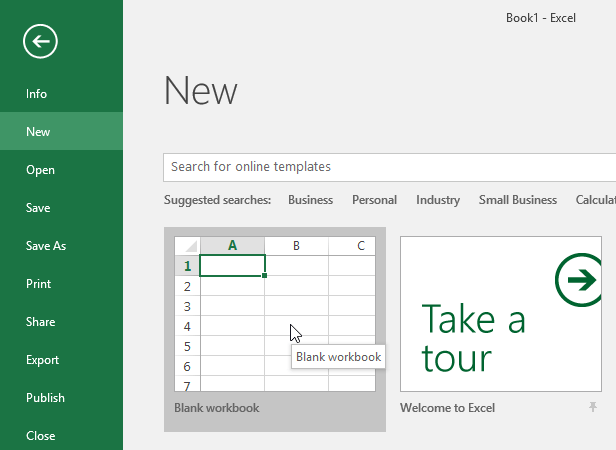
3. A new, blank workbook will appear.
How to open an existing workbook
In addition to creating a new workbook, you often need to open a workbook that has already been saved.
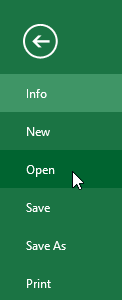
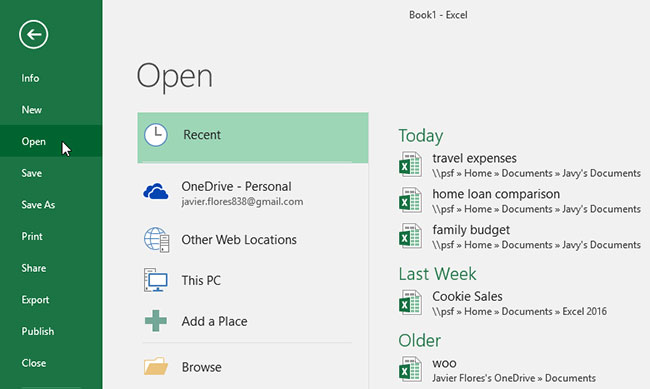
1. Navigate to Backstage view , then click Open.
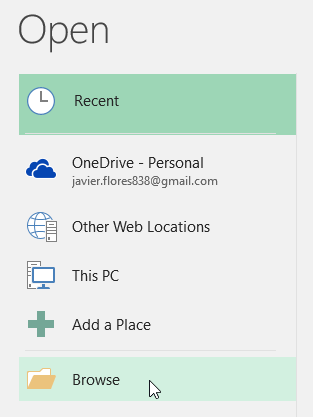
2. Select Computer , then click Browser. You can also select OneDrive to open files stored on your OneDrive.
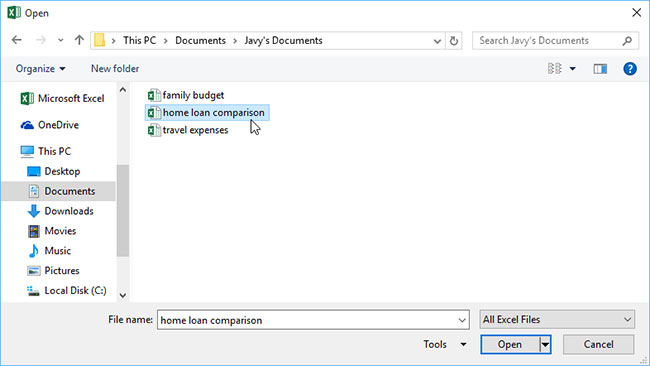
3. The Open dialog box will appear. Locate and select your workbook, then click Open.
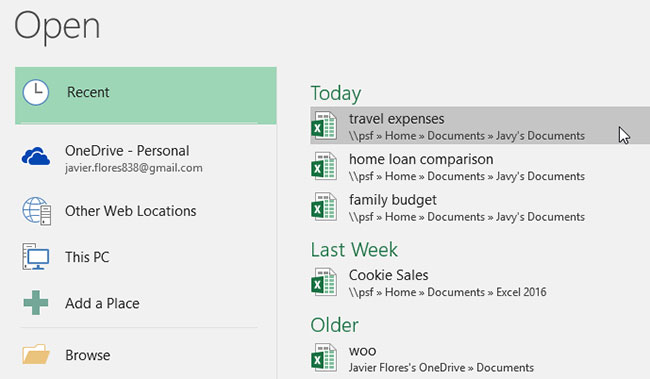
If you've recently opened the desired workbook, you can browse through it instead of searching for the file.
How to pin a workbook
If you frequently work with the same workbook, you can pin it to the Backstage view for quicker access.
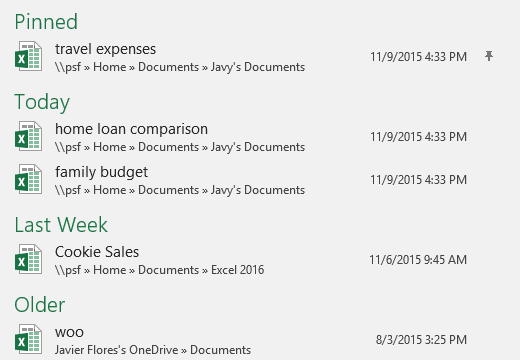
1. Navigate to Backstage view , then click Open. Your recently edited workbooks will appear.
2. Hover your mouse over the workbook you want to pin. A staple icon will appear next to the workbook. Click on that staple icon.

3. The workbook will be in Recent Workbooks. To unpin the workbook, simply click the paperclip icon again.
Use templates
A template is a pre-designed spreadsheet that you can use to quickly create a new workbook. Templates often include custom formatting and predefined formulas, so they can save you a lot of time and effort when starting a new project.
How to create a new workbook from a template
1. Click on the File tab to access the Backstage view.

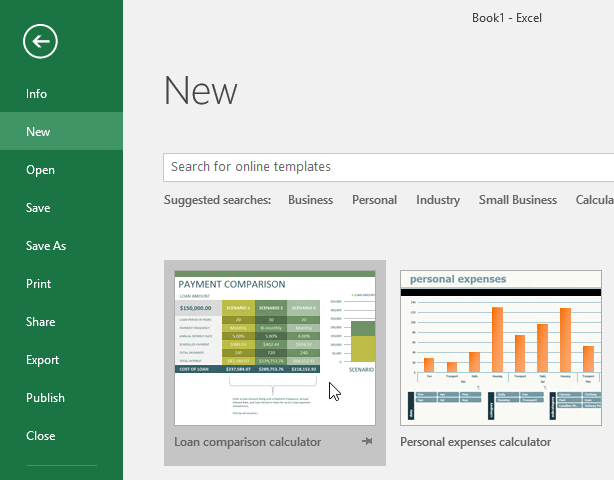
2. Select New. Several templates will appear below the blank workbook option.
3. Choose a template to review.
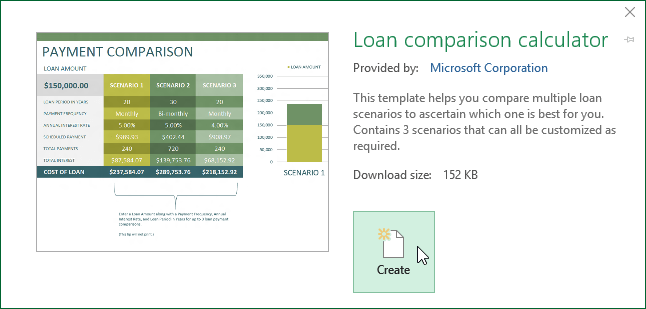
4. A preview of the template will appear, along with additional information on how the template can be used.
5. Click Create to use the selected template.
6. A new workbook will appear with the selected template.
You can also browse templates by category or use the search bar to find something more specific.

It's important to note that not all templates are created by Microsoft. Many templates are created by third-party vendors and even individual users, so some templates may work better than others.
Compatibility Mode
Sometimes, you may need to work with workbooks created in earlier versions of Microsoft Excel, such as Excel 2010 or Excel 2007. When you open these types of workbooks, they will appear in Compatibility Mode.
Compatibility Mode will disable certain features, so you will only be able to access commands found in the program used to create the workbook. For example, if you open a workbook created in Excel 2003, you will only be able to use the tabs and commands found in Excel 2003.
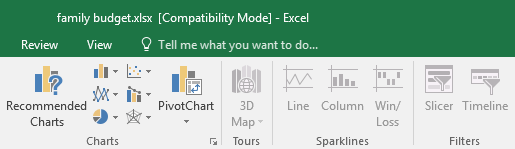
In the image below, you can see that the workbook is in Compatibility Mode, indicated at the top right of the window next to the file name. This disables some Excel features, which will be grayed out on the Ribbon.
To exit Compatibility Mode, you need to convert the workbook to the current version. However, if you are collaborating with others who only have access to an older version of Excel, it's best to leave the workbook in Compatibility Mode so the formatting won't change.
How to convert a workbook
If you want to access newer features, you can convert the spreadsheet to the current file format.
Note that converting the file may cause some changes to the original layout of the workbook.
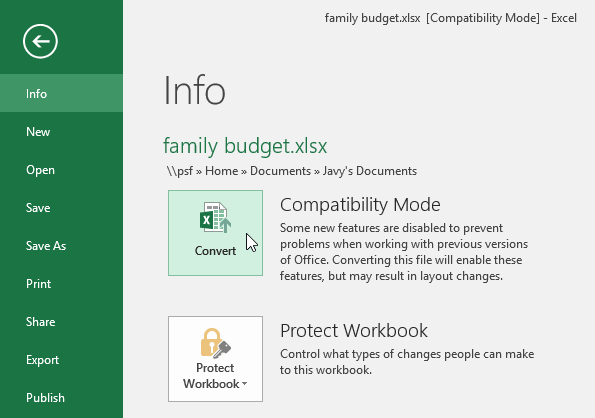
1. Click on the File tab to access the Backstage view.

2. Locate and select the Convert command.
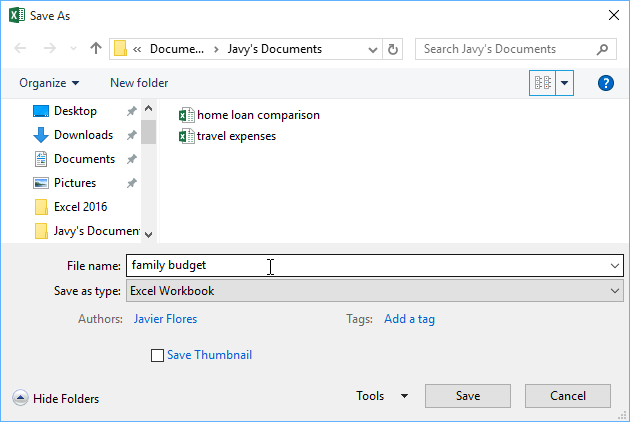
3. The Save As dialog box will appear. Choose the location where you want to save the workbook, enter a file name for the workbook, and click Save.
4. The workbook will be converted to the latest file type.