How to create a shadow border in Photoshop
This tutorial will show you how to add empty space on the canvas and add shadows to an image in Photoshop to create a simple yet stylish image border..
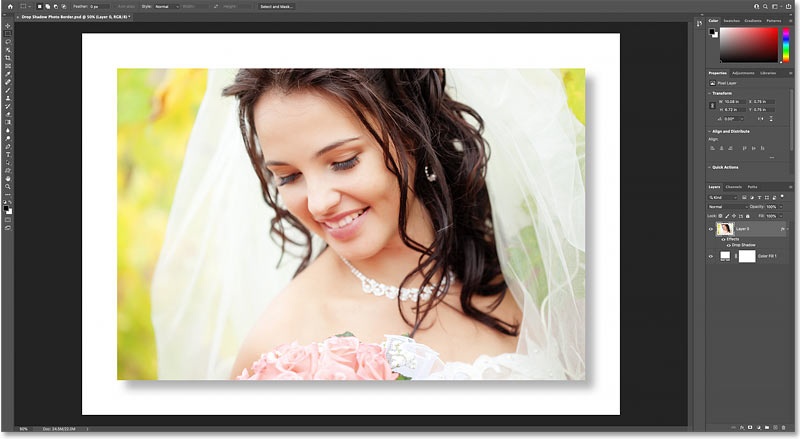
This tutorial will show you how to add white space on the canvas and shadows to an image in Photoshop to create a simple yet stylish image border. We start by creating the basic effect with a white border and black shadow. Then, the tutorial will show you how to customize the effect by selecting the border and shadow colors directly from the image itself.
Step 1: Open the image in Photoshop
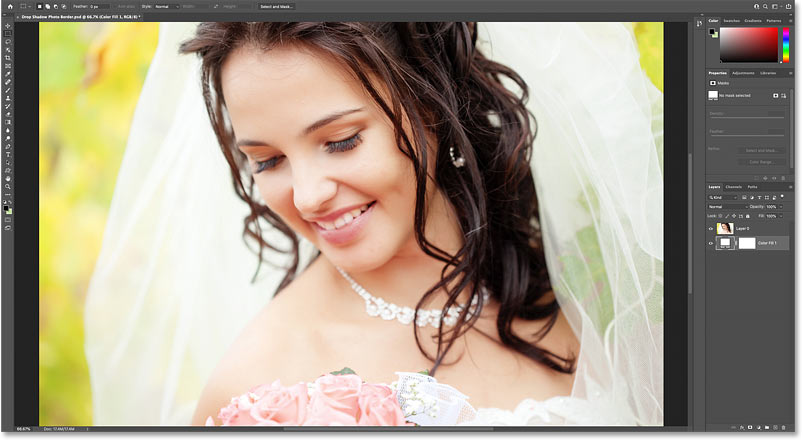
Start by opening your image. For example, we'll use this image from Adobe Stock:

Step 2: Unlock the Background layer
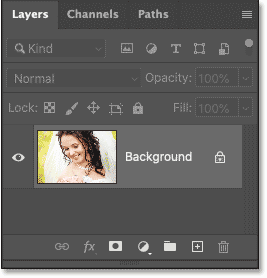
In the Layers panel, the image appears on the Background layer. At this point, the Background layer is locked, indicated by the lock icon to the right of the layer name.
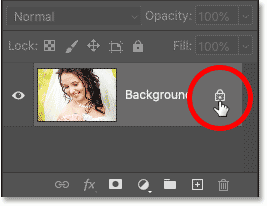
To add a border around the image, we need to add a new layer below the image. But we can't do that when the Background layer is locked. So, to unlock it, click the lock icon.
Alternatively, if you're using an older version of Photoshop and clicking the lock icon doesn't work, press and hold the Alt (Win) / Option (Mac) key on your keyboard and double-click the lock icon:
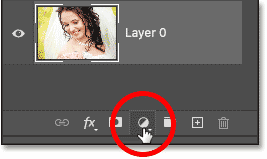
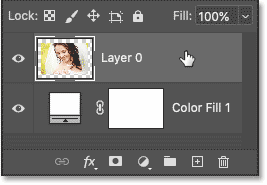
Photoshop renamed the layer from Background to Layer 0 and the lock icon disappeared:

Step 3: Add a Solid Color fill layer
To create an image border, we will use a Solid Color fill layer.
Click the New Fill or Adjustment Layer icon at the bottom of the Layers panel:
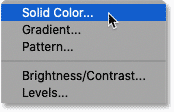
And select Solid Color from the list:
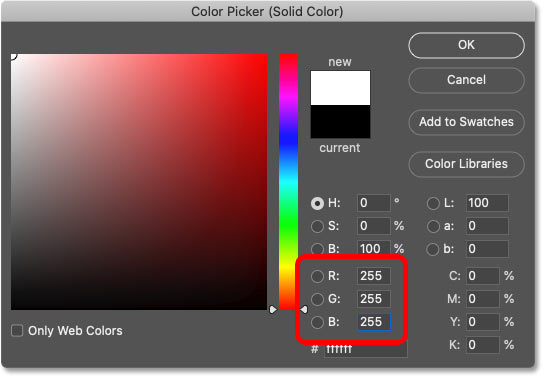
Next, in the Color Picker, select white by setting the R, G, and B values to 255. We'll use white as the border color for now and will show you how to change it later. Click OK when you're finished.
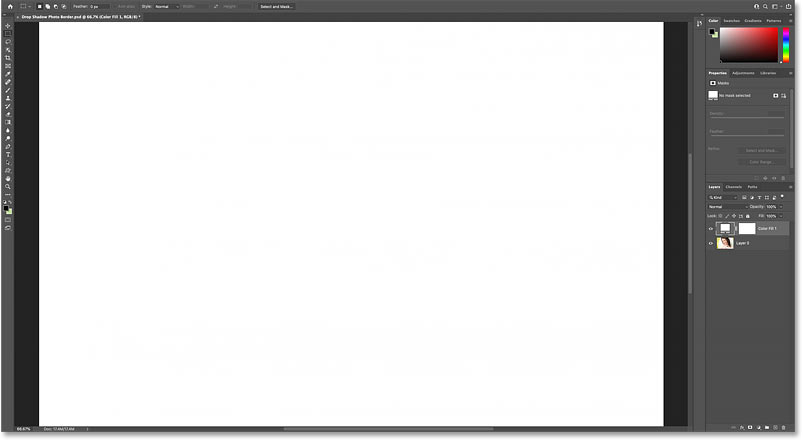
Back in the document, the white from the fill layer is temporarily blocking the image from view:
Step 4: Move the fill layer below the image.
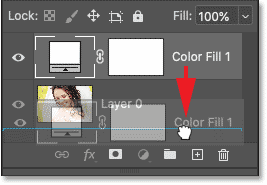
To fix that, click on the Solid Color fill layer in the Layers panel and drag it below the image:
Release the mouse button to drop it into the correct position:
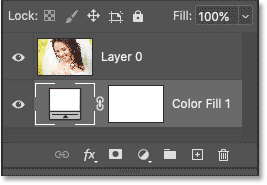
And now, let's go back to look at the image, with the fill layer hidden behind it:
Step 5: Open the Canvas Size dialog box.
Next, we need to add more canvas space around the image. This extra space will become the border. And since we want the border to be the same size on all four sides, the best way to do this is to use Photoshop's Canvas Size command.
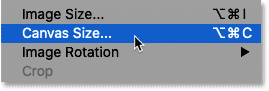
Go to the Image menu in the Menu Bar and select Canvas Size .

Step 6: Increase the width and height of the canvas.
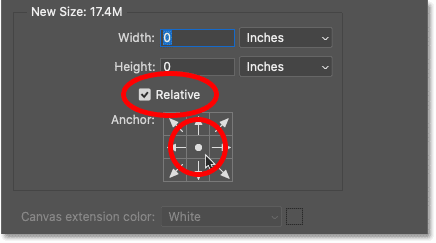
In the Canvas Size dialog box, click the Relative option . This option tells Photoshop to start with the current canvas size, and the values we entered for Width and Height will be added to it.
In the Anchor grid , make sure the center box is selected so that the additional spacing will be added evenly at the top, bottom, left, and right:
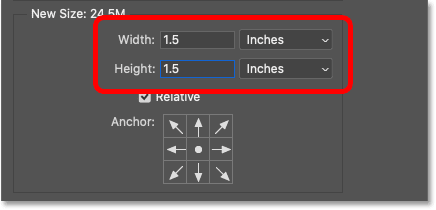
Next, enter the border dimensions into the Width and Height fields. Remember that the values you enter will be divided equally between the two sides. So, for example, entering 2 inches for Width will create a 1-inch border on the left and right sides of the image. And entering 2 inches for Height will create a 1-inch border at the top and bottom.
For the example image, a 1-inch border would be a bit wide. A 3/4-inch border would look better. So, to add a 3/4-inch border to the left and right of the image, you need to set the Width to double that amount, i.e., 1.5 inches. And to keep the border size consistent everywhere, the Height should also be set to 1.5 inches.
Click OK when you're finished to close the Canvas Size dialog box .
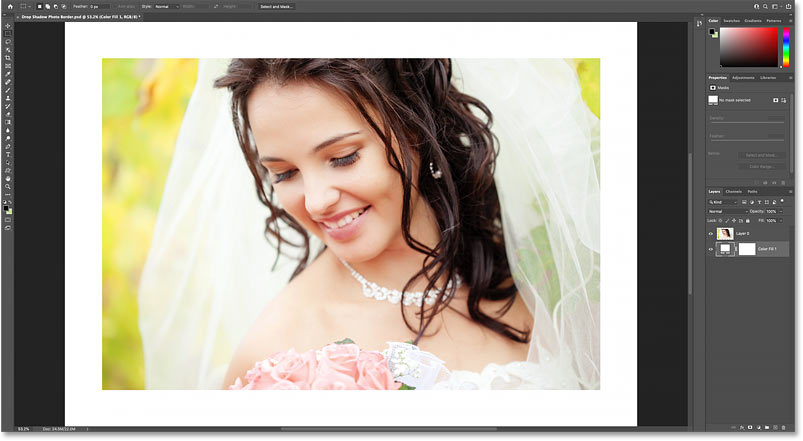
Photoshop adds extra canvas space around the image, creating an image border. Although this extra space is actually transparent, it appears white because the Solid Color fill layer beneath the image is showing through.
How to adjust the image border on the screen.
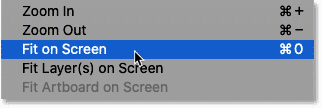
If the bezel is too large to fit the screen, go to the View menu in the Menu Bar and select Fit on Screen .
How to change the border size
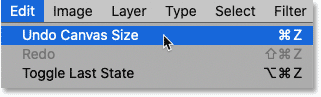
The drawback of Photoshop's Canvas Size command is that there's no way to preview the new size before accepting it. So, if the border is too wide or too narrow, go to the Edit menu and select Undo Canvas Size .
Then, go back to the Image menu , go back to Canvas Size , and try again with different Width and Height values :
Step 7: Select the image layer
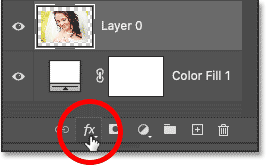
We've added the image border, now we need to add a shadow. In the Layers panel, click on the image layer to select it:
Step 8: Add shadow effects
Then click on the fx icon at the bottom:
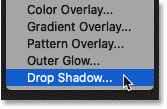
And select Drop Shadow from the list:
Step 9: Adjust Drop Shadow settings
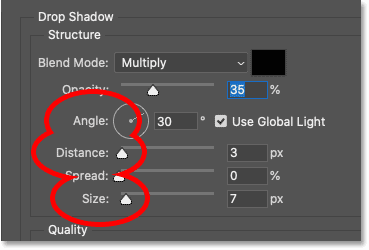
The options for Drop Shadow are opened in Photoshop's Layer Style dialog box. The three main options are Angle, Distance , and Size . Angle controls the direction of the light source, Distance is the distance the shadow extends from the object, and Size controls the smoothness of the shadow edges.
Angle and Distance options
The quickest way to set the Angle and Distance of a shadow is to simply click inside the document, hold down the mouse button, and drag the shadow to position it. As you drag, the Angle and Distance values in the dialog box will change.
Here, for example, we're dragging the shadow downwards and to the right:

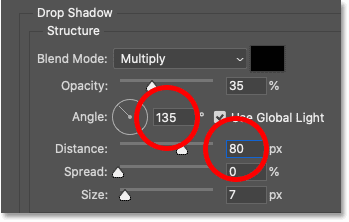
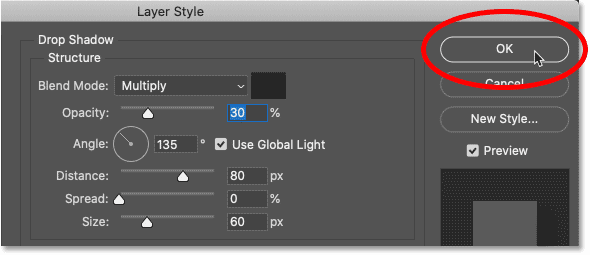
Alternatively, you can enter specific Angle and Distance values. For example, setting Angle to 135 degrees and Distance to 80 px. The values you need, especially Distance and Size, will depend on your image:
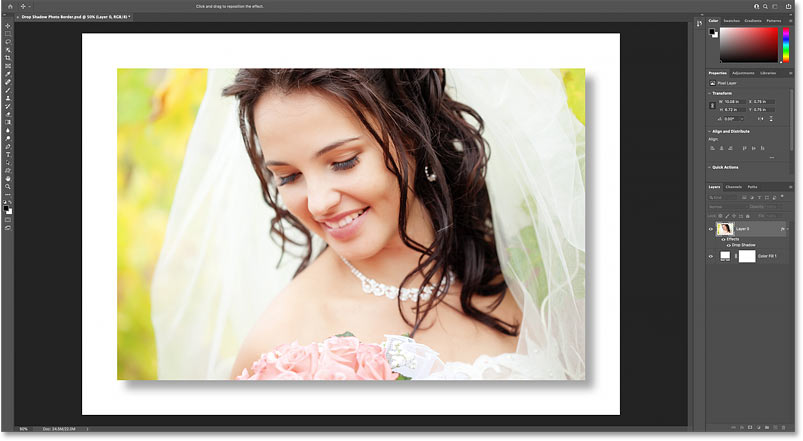
Here are the results so far:

Size Options
Then increase the Size value to soften the shadow edges. For example, setting the value to 60 px would be helpful, but again, this will depend on your image:
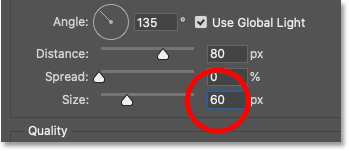
And here's the result, with the edges now softer:
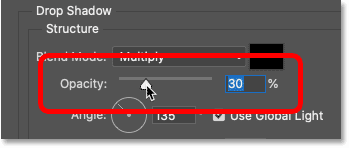
Opacity option
You can also adjust the intensity of the shadow using the Opacity slider. Higher Opacity values will darken the shadow, and lower values will lighten it. For example, lowering the value to 30% would be:
When you are satisfied with the result, click OK to close the Layer Style dialog box .
And here's the result after reducing the blur of the shadows:
How to customize border and shadow colors
At this point, the main effect is complete. We've added a border around the image and a shadow behind it. But instead of using a white border and a black shadow, we can customize the effect by selecting colors directly from the image. Here's how to do it.
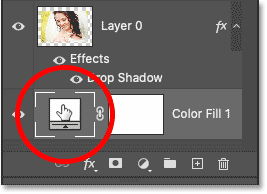
Step 10: Double-click the color swatch of the fill layer.
To change the border color, double-click the fill layer's color swatch in the Layers panel:
Step 11: Sample the new border color from the image.
This will reopen the Color Picker. But instead of selecting a new color from the Color Picker itself, move your mouse cursor over the image and click on a color to sample it.
For example, you would click on the woman's shoulder:
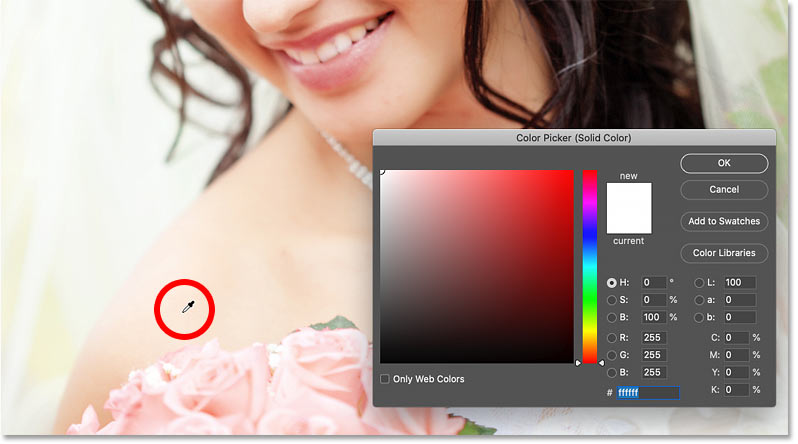
The color you sample immediately becomes the new border color. You can continue clicking on different areas of the image to find the best match. When finished, click OK to close the Color Picker.
This is the result with the border set to the new color:

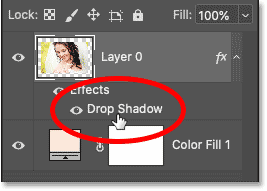
Step 12: Reopen Drop Shadow settings
Next, to choose a new color for the drop shadow, double-click the Drop Shadow layer effect below the image layer:
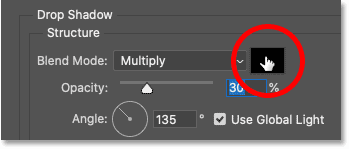
And in the Layer Style dialog box , click on the color swatch of the shadow:
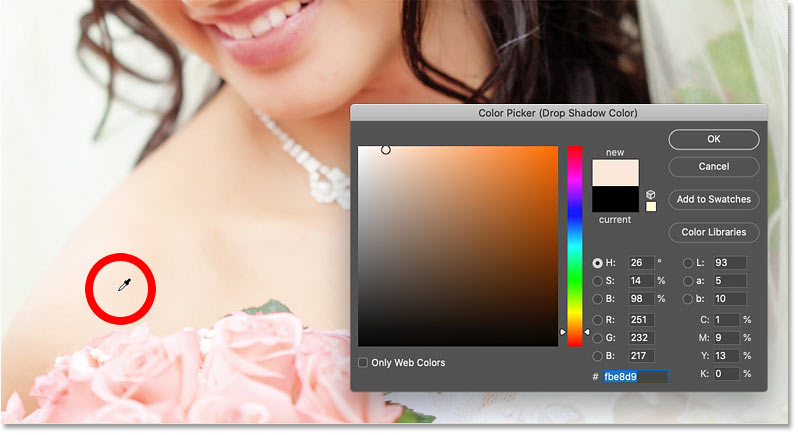
Step 13: Sample the new shadow color from the image.
When the Color Picker opens, move your mouse cursor over the image and click on a color to sample it. For example, clicking on the woman's shoulder would be:
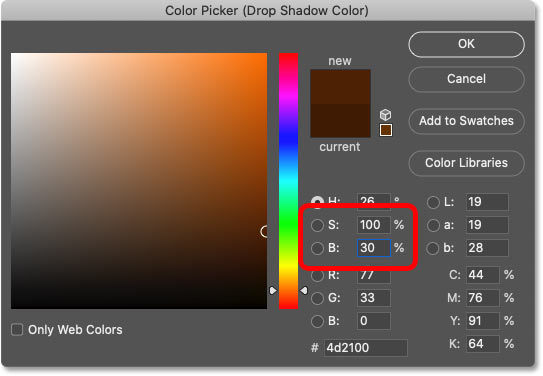
Step 14: Adjust the brightness and saturation of the color.
The shaded color needs to be dark and highly saturated. Therefore, before closing the Color Picker, increase the Saturation (S) value of the color to 100% or close to that number.
Next, darken the color by reducing the Brightness (B) value . For example, reducing the value to 30% would prevent the shadows from looking too dark, but you might want to darken them further depending on your image.
Click OK to close the Color Picker and you're done! This is the final result after using the custom border and the new color for the basketball area:
