Connecting to the HomeGroup network, the home network in Windows 7.
HomeGroup is one of three modes that allow you to join and share files, data, or music files among members of the HomeGroup. If you're unsure how to create and connect, the following guide will help you establish a HomeGroup network in Windows 7..
Windows 7 includes three built-in modes: HomeGroup, Work, and Public. Each mode has different permission settings, allowing both creators and participants to better control file sharing over a LAN network on Windows 7.

Creating and setting up Work Groups on Windows 7 is not difficult, and using them is also very simple. If you are using a home network, creating a Work Group on Windows 7 is very logical. Therefore, this guide on connecting a HomeGroup in Windows 7 will clearly show you not only how to connect but also the benefits of file sharing.
How to connect to a HomeGroup network in Windows 7 and share files within your home network.
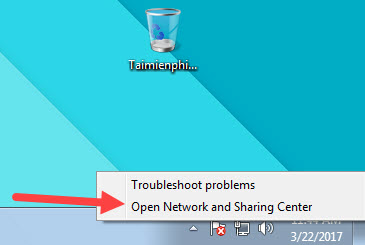
Step 1: First, look at the top right corner of the screen, where you'll find the Network icon , then right-click and select Open Network and Sharing Center .
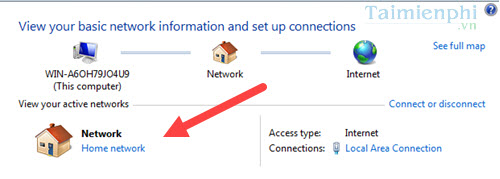
Step 2: In Network and Sharing Center , click the Network icon (in the image it's Home Network).
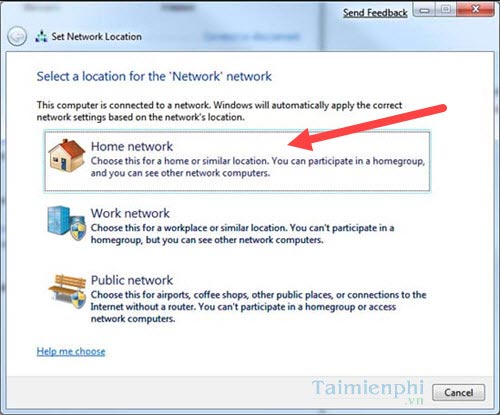
Step 3: Choose one of the three networks; of course, here we will choose the Home network.
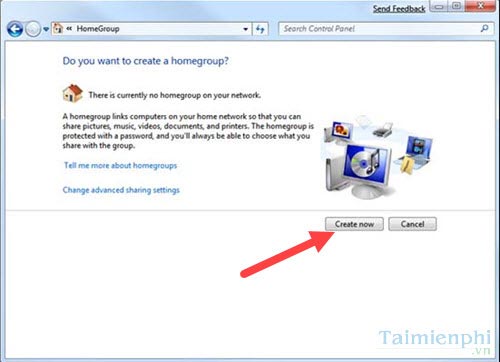
Step 4: Continue by selecting Create now to create a new HomeGroup.
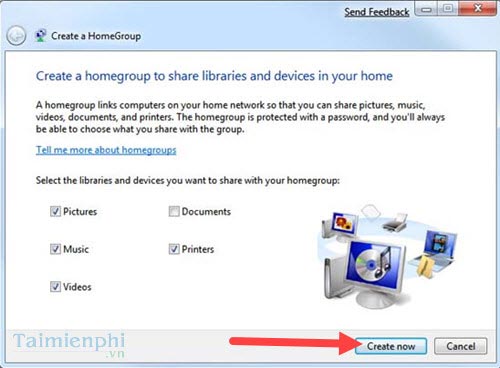
Step 5: This step allows you and other participants to share content, including pictures , documents , music , printers , and videos . If you agree to allow sharing, check the " Create now" box .
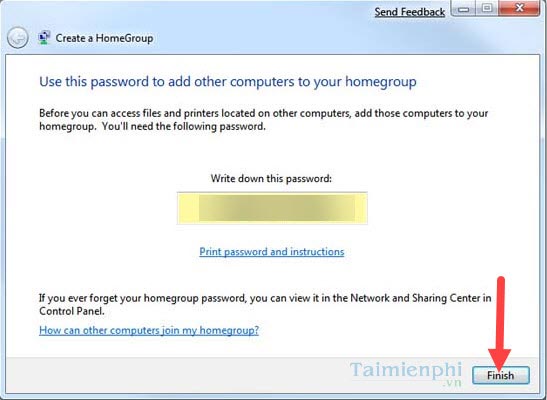
Step 6: The password will appear next. You must carefully save this password for members who want to join because it is quite difficult to remember. Once you've memorized it, press Finish .
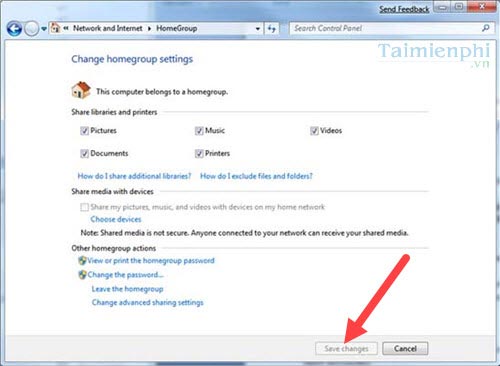
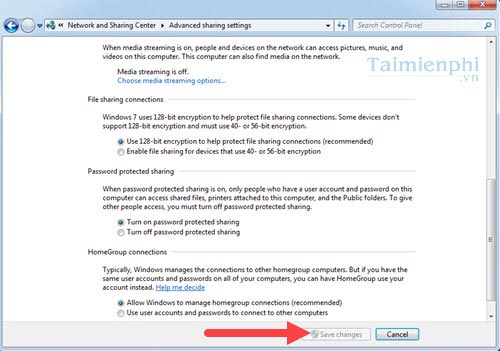
Step 7: Here you can continue to configure HomeGroup settings . If nothing changes, you can skip this step; otherwise, remember to save changes when closing.
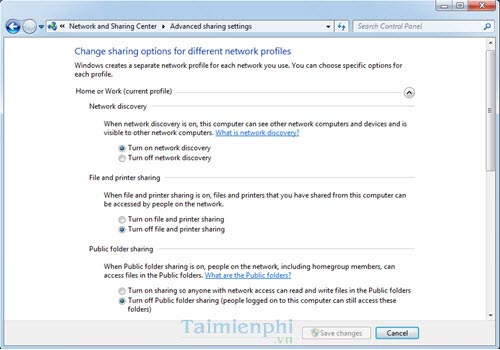
- Additionally, you can set up further sharing permissions directly in the Network and Sharing Center with 6 different options.
After you have set everything up as shown in the image, you can save the changes to save these settings, and the HomeGroup network connection in Windows 7 is complete.
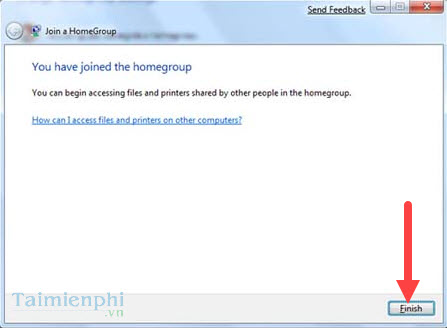
Step 8: After connecting to the HomeGroup in Windows 7, we proceed to join the network. The process of joining the network is exactly the same as creating a group, but here we will choose a pre-existing group in the network and enter the password.
Step 9: If you enter the correct password, click Finish to complete the login process.

Step 10: Once you have successfully joined, the "Share with" feature for the HomeGroup you just joined will be added to your menu bar.
So, TipsMake has just guided you on how to connect to a HomeGroup in Windows 7. Let's proceed to join the network. Connecting to a HomeGroup in Windows 7 will help you share files in a small, family environment very conveniently. But that's for sharing within a family setting. If you want to share files remotely or store files online, sharing files on Google Drive is very convenient; you should try it and apply it to your work.