Table of Contents
iPerf3 measures throughput between two endpoints that you control: one runs as a server and the other connects as a client. PowerShell is simply the shell used to launch the executable and process its output. You do not need a PowerShell module for a basic test.

What iPerf3 measures
iPerf3 generates traffic between a client and a listening server. TCP tests report achieved bitrate and retransmissions; UDP tests can report bitrate, jitter, and packet loss. It does not measure ordinary web-page loading, DNS time, Wi-Fi signal strength, or internet-plan speed by itself.
Never point iPerf3 at a public website. Run the server only on a device you own or are authorized to test. For a broader diagnosis, combine it with ping and latency tests.
Prepare two test devices
- Install matching iPerf3 versions on a server device and a client device.
- Prefer Ethernet for a wired baseline; test Wi-Fi separately afterward.
- Find the server's local IP address with
Get-NetIPAddressoripconfig. - Keep the devices on the same LAN for a local network test, or use an authorized remote server for a routed test.
- Close unnecessary traffic-generating applications so the results are repeatable.
Review the official iPerf3 documentation and verify the source of any executable. The ESnet project publishes source releases, but Windows binaries are commonly third-party builds.
Open PowerShell in the iPerf3 folder
Extract the executable and its required files into a dedicated folder. In File Explorer, open that folder, click the address bar, type powershell, and press Enter. Administrator privileges are not required to run a normal client test, although adding a firewall rule on the server requires elevation.
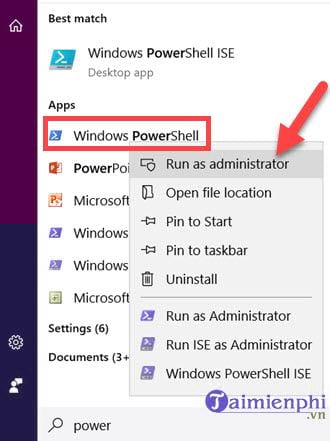
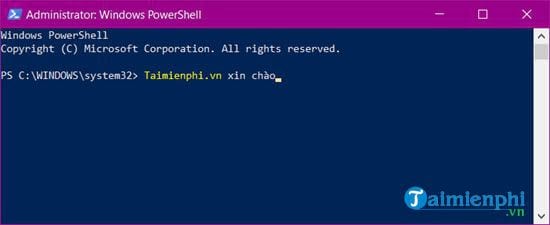
If PowerShell and Command Prompt are unfamiliar, see the comparison of Command Prompt and PowerShell. In PowerShell, . explicitly runs a program from the current directory.
Start the iPerf3 server
On the server device, run:
.iperf3.exe -sBy default, iPerf3 listens on port 5201. If Windows Defender Firewall prompts you, allow access only on the appropriate private network. A scoped temporary firewall rule can also be created from an elevated PowerShell session:
New-NetFirewallRule -DisplayName "Temporary iPerf3 TCP" -Direction Inbound -Protocol TCP -LocalPort 5201 -RemoteAddress LocalSubnet -Profile Private -Action AllowDo not forward port 5201 through the router for a routine LAN test. Leave this server window open while the client runs.
Run a basic TCP test
On the client, replace the example address with the server's IP:
.iperf3.exe -c 192.168.1.50 -t 30The -t 30 option runs the test for 30 seconds. The final receiver line is usually the clearest throughput summary. Compare the result with the slowest link in the path; protocol overhead means application throughput will be below the nominal Ethernet or Wi-Fi link rate.
Test the reverse direction
A normal test sends from client to server. Add -R to make the server send to the client:
.iperf3.exe -c 192.168.1.50 -t 30 -RRun both directions because Wi-Fi, VPNs, routing, and host performance can be asymmetric.
Use parallel streams only when justified
.iperf3.exe -c 192.168.1.50 -t 30 -P 4-P 4 creates four parallel streams. This can reveal whether one TCP flow is the limiting factor, but it is not automatically a more realistic test. Record the stream count and use the same setting when comparing equipment.
Run a controlled UDP test
UDP can evaluate loss and jitter at a selected offered rate. Start well below the expected capacity:
.iperf3.exe -c 192.168.1.50 -u -b 50M -t 30Here, -b 50M requests 50 Mbit/s. Increase the rate gradually and watch for loss and rising jitter. An aggressive UDP test can disrupt other users, so run it only during an approved maintenance window. If required, add a separate temporary inbound UDP rule scoped to the private local subnet.
Save and parse JSON output in PowerShell
iPerf3 can return structured JSON, which is more reliable than scraping formatted text:
$server = "192.168.1.50"
$json = & .iperf3.exe -c $server -t 30 --json
$json | Set-Content -Path ".iperf-result.json" -Encoding utf8

$result = $json | ConvertFrom-Json
$mbps = $result.end.sum_received.bits_per_second / 1e6
"{0:N2} Mbit/s" -f $mbps
Keep the raw JSON with the test date, endpoint addresses, iPerf3 version, link type, stream count, and direction. Those details make later results comparable. The full option set is documented in the iPerf3 command reference.
About the old iPerfAutomate instructions
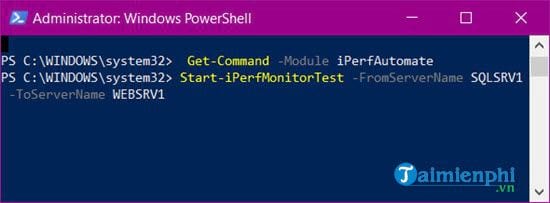
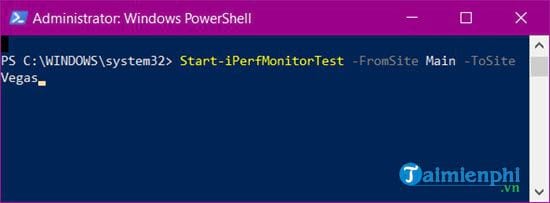
The screenshots below show an older workflow that installed a community PowerShell Gallery module named iPerfAutomate and used commands such as Start-iPerfMonitorTest. That module is not required for iPerf3 and should not be installed blindly. A PowerShell module can execute code with the user's permissions, so check its publisher, source, current maintenance, and commands before trusting it.
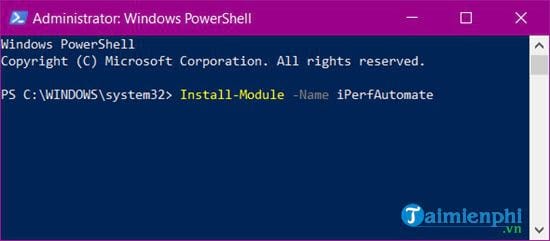
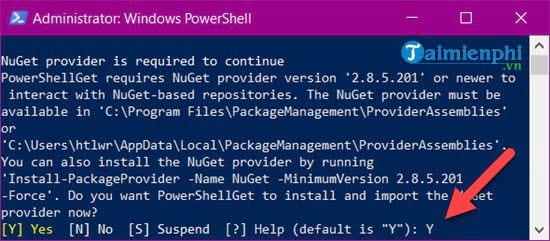
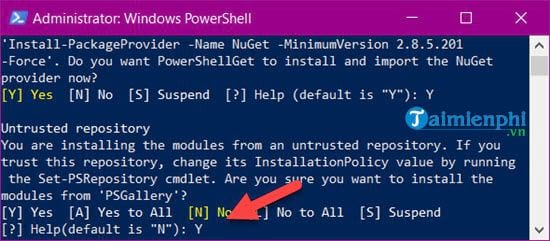
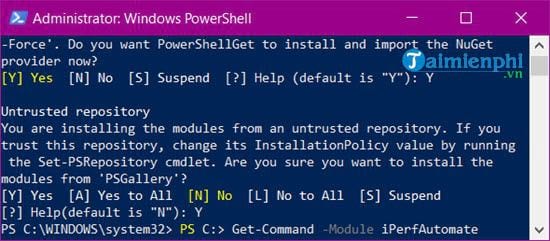
The old server-name and site-name commands depended on module-specific configuration; they were not native iPerf3 commands and could not test an arbitrary website.
Interpret the result without overclaiming
- Low throughput on both wired directions: check link negotiation, cables, adapters, CPU load, VPNs, and security software.
- Good Ethernet but poor Wi-Fi: investigate signal, channel congestion, band, client capability, and access-point placement. TipsMake's Wi-Fi troubleshooting assistant can help organize those checks.
- Good local test but slow internet: the bottleneck is likely outside the tested LAN path; test the ISP connection separately.
- One direction is slower: repeat the reverse test and check duplex, Wi-Fi airtime, host CPU, and traffic-shaping policies.
- UDP loss begins at a specific rate: the path or endpoint cannot sustain that offered load under the test conditions.
Stop the server with Ctrl+C and remove any temporary firewall rule when finished:
Remove-NetFirewallRule -DisplayName "Temporary iPerf3 TCP"Related Articles
 How to Measure Network Performance Using Iperf and Powershell5 minutes read
 Measure Your Internet Speed Online, No Software Required19 minutes read
 Microsoft Cites Three Reasons Not to Use the iPerf3 Tool on Windows Explained6 minutes read
 About Powershell15 minutes read
 PowerShell and Everything You Need to Know About It: What You Need to Know31 minutes read
 How to Check Computer Performance6 minutes read
Reader Comments 0
Sign in with email or Google to join the discussion.