Capture and edit images in Word
The Screenshot feature (screenshot capture) is a new feature in the Microsoft Word editor. You can absolutely take screenshots and edit photos right in Word. No need to install screen capture software, just use the screenshot feature in Word to create your own images as you like.
The article shows you how to take screenshots and edit images with Screenshot in Word 2010.
Take photos
If you want to take a picture of what you need to open the program, the application first, then the program will be updated into Screenshot.
Method 1: On the menu bar of the word you select the Insert tab -> Screenshot you will see all the opened programs are displayed. You just need to select the image you want to capture as that image is displayed in word.

Images will be displayed in the word content.

Method 2: You can capture image area by selecting Insert -> Screenshot -> Screen Clipping .
Now the mouse cursor is in the form of + sign with white screen and active programs, you drag the mouse cursor to select the area you want to capture. When you have finished selecting, release the mouse button and the image you select will be displayed in the word.

Edit the image just taken
Microsoft Word gives you lots of tools to edit the photo in the Format of Picture Tools .
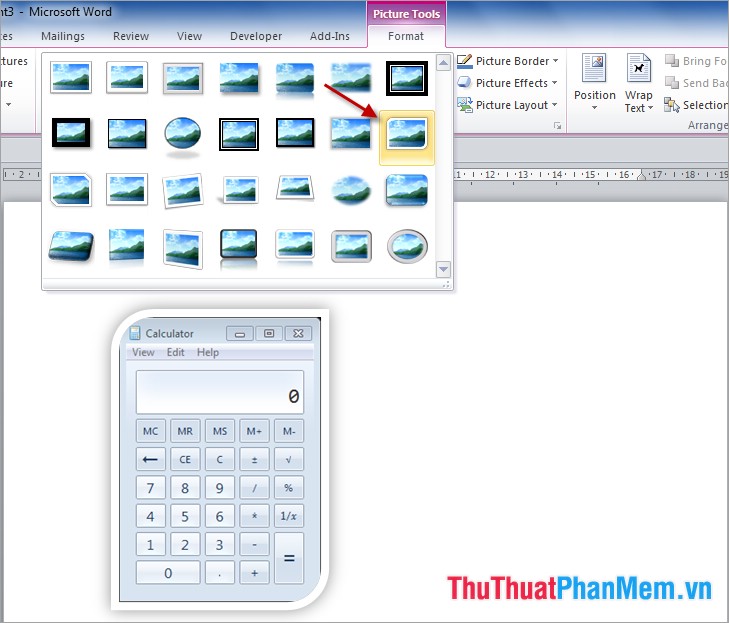
- To crop the image: You select the image you want in Picture Styles .

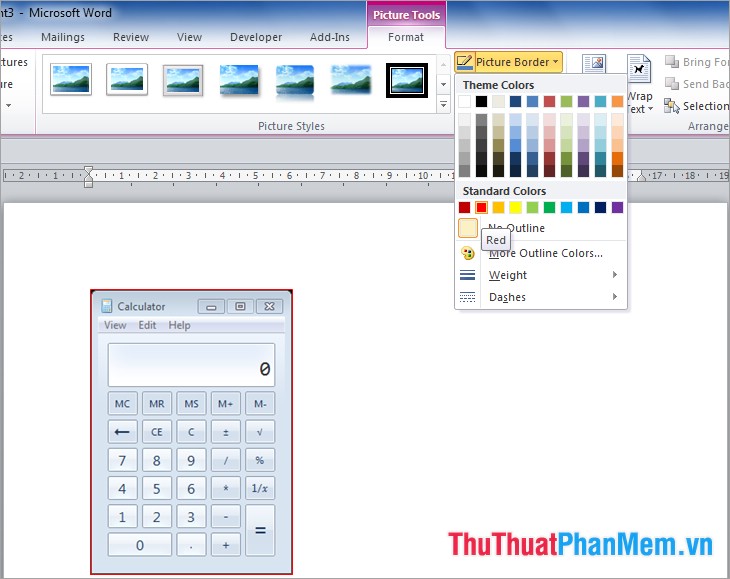
- Create borders for images: In the format you select Picture Border and select the color for the border (Colors) and the size of the border (Weight), the type of border (Dashes).

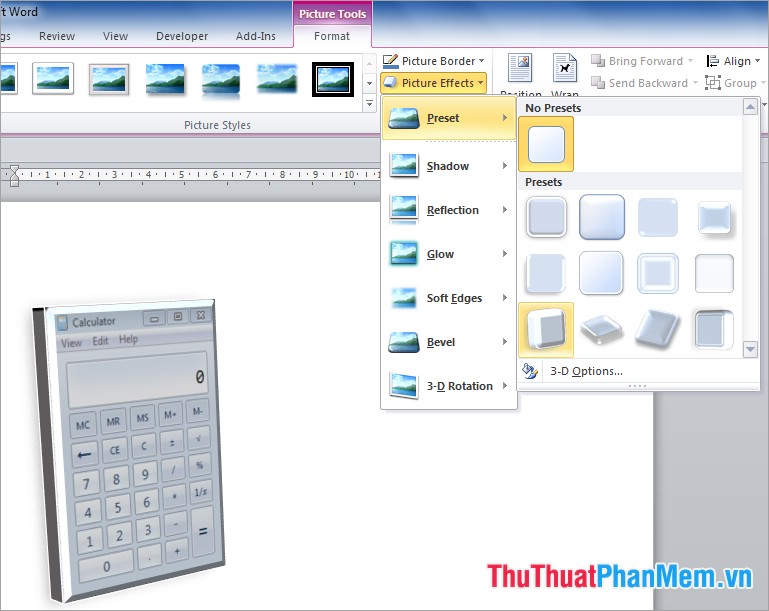
- Create 3D effects: In Format you select Picture Effects and select the effects you want.

Using direct screenshot feature on word, you can save more time in taking screenshots and editing screens. With just the simple steps you have taken and edited screenshots quickly. Good luck!