Table of Contents
Use Google Lens when you want visually similar images, object identification, text extraction, or webpages related to a picture. Use TinEye when you want exact or modified copies and need sorting options such as biggest, most changed, newest, or oldest crawled match.

Google Lens and TinEye compared
| Tool | Best for | Useful result controls |
|---|---|---|
| Google Lens | Similar images, objects, products, text, and related webpages | Crop to a region and add words to refine the image query |
| TinEye | Matching or edited copies of the submitted image | Best Match, Most Changed, Biggest Image, Newest, and Oldest crawled |
Reverse-search with Google Lens
Step 1: Open Google Images or google.com and select the camera icon for image search.
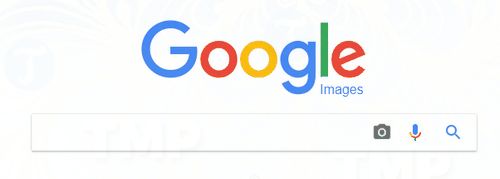
Step 2: Upload an image, drag it into the search box, or paste an image link. If you are searching an image already on a webpage, Chrome can also offer Search image with Google Lens from the right-click menu.
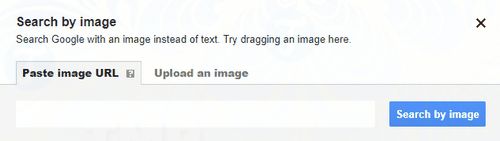
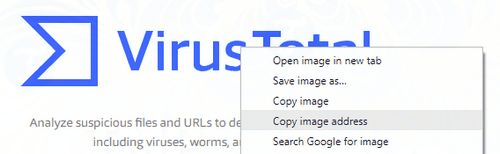
Step 3: Review the results and adjust the selection box around the most distinctive part of the image. Add descriptive words when the full picture produces unrelated matches.
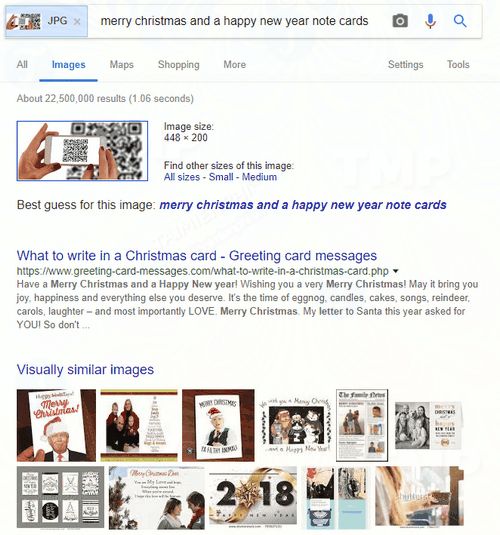
Step 4: Open pages that appear to contain the same or a closely related image. Check the page date, author, caption, and whether it links to an earlier source.

Google documents uploads, image URLs, drag-and-drop, and browser searches in its Google Lens image-search guide.
Reverse-search with TinEye
Step 1: Open TinEye. Upload, paste, or drag an image, or provide a direct image URL.

Step 2: Review matching pages. TinEye focuses on copies and transformations rather than identifying every object shown in the picture.
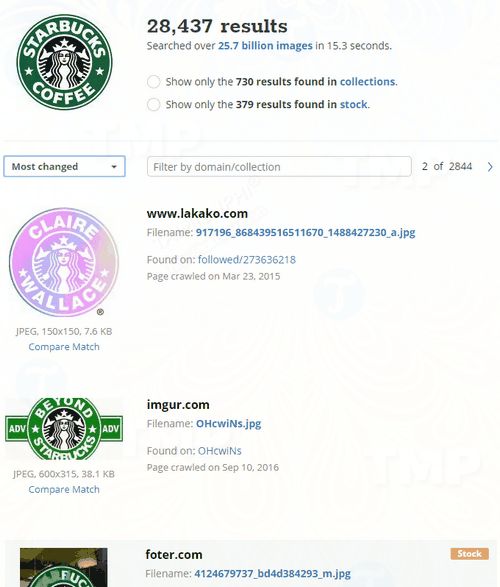
Step 3: Change the sort order:
- Best Match puts the closest visual matches first.
- Most Changed emphasizes heavily edited versions.
- Biggest Image helps find higher-resolution copies.
- Newest and Oldest use TinEye's crawl dates, not guaranteed publication dates.
Step 4: Use the comparison control to switch between the submitted image and a result. This makes cropping, color changes, added text, and other edits easier to see.
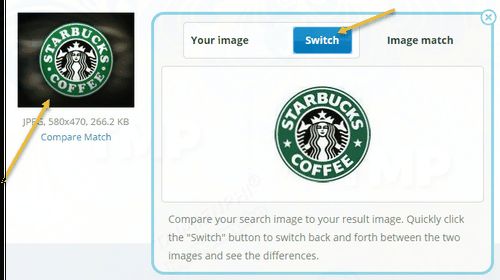
TinEye's official tutorial explains its upload, URL, sort, filter, and comparison controls.
How to trace a likely original source
- Search the full image in both tools.
- Repeat the search with a distinctive crop, especially when the image contains a border, screenshot, or collage.
- Open the oldest credible pages, but do not assume the oldest crawler date is the first publication.
- Look for an identified photographer, publisher, product page, archive, or licensed stock listing.
- Compare resolution and edits. A larger file may be closer to the source, but size alone does not prove ownership.
- Verify licensing and attribution on the source page before reuse.
Important limits
- No match does not prove that an image is new, authentic, or unpublished.
- A match does not prove that the matching website owns the copyright.
- Reverse image search cannot reliably establish when a picture was taken.
- AI-generated, heavily cropped, mirrored, or substantially edited images may be harder to match.
- A face match or similar-looking person is not reliable identity verification.
Protect privacy when uploading
Do not upload a private photo, identity document, medical image, confidential screenshot, or picture of a child without considering how the service processes the submission. Review the current privacy policy and remove unnecessary personal details or metadata first.
For more mobile choices, see TipsMake's reverse image search apps. Before sharing a personal photo, review the guide to checking embedded image metadata.
Related Articles
 10 Top Reverse Image Search Apps for iPhone and Android: Best Options Compared9 minutes read
 Reverse Image Search on iPhone7 minutes read
 Whatsapp Is About to Launch Reverse Image Search Feature4 minutes read
 minutes read
 Use the Reverse Image Search to Find the Right Photos7 minutes read
 How to Search by Image: Step-by-Step Guide10 minutes read
Reader Comments 0
Sign in with email or Google to join the discussion.