Turn on and off the Protected View feature in Office 2010, 2013
In recent versions of Office 2010, Office 2013 supports the Protected View feature. Protected View is a feature that only allows you to read documents, helping you avoid malware originating from the Internet..
In recent versions of Office 2010, Office 2013 supports the Protected View feature. Protected View is a feature that only allows you to read documents, helping you avoid malware originating from the Internet.

You can turn on / off the Protected View feature in Office 2010, with Office 2013 similar to the steps below.
Step 1: First, you need to open the application you want to turn on / off Protected View (Word, Excel, Power Point).
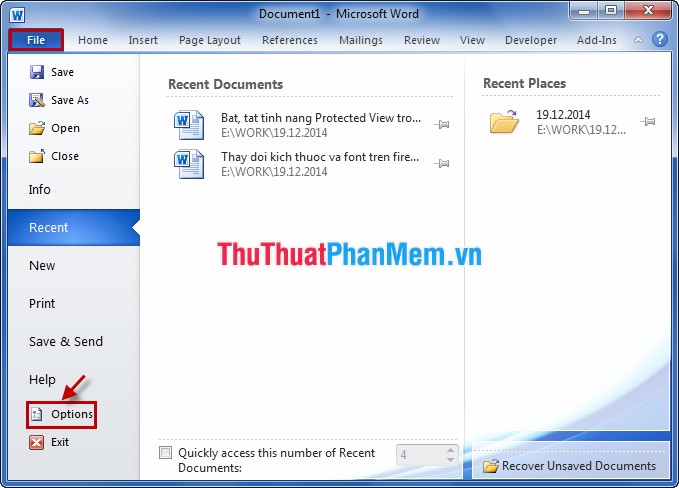
Step 2: Select File -> Options .
Step 3: In Options, select Trust Center in the left menu.

Step 4: Next, select Trust Center Settings .

Step 5: In the left menu, select Protected View .

Step 6: In the Protected View section on the right, if you want to turn off Protected View , you deselect in the 3 squares as shown.

If you want to turn on the Protected View feature, check all 3 boxes.
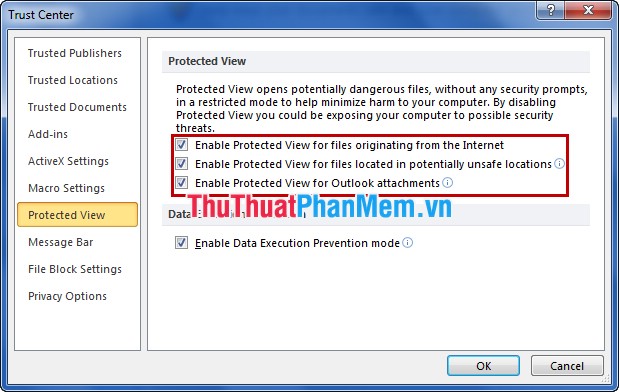
Then choose OK to finish.
How to perform the turn on / off Protected View feature in Office is very simple, with other Office applications you do the same as with Microsoft Office Word in the previous article. Good luck!