Turn mobile device into Portable Web Server system
The following article will show you how to turn a portable storage device (here is a USB drive) into a Portable Web Server system.
TipsMake.com - The following article will show you how to turn a mobile storage device (here is a USB drive) into a Portable Web Server system .
Here, we use XAMPP Lite, the latest version is 1.7.3, including Apache, MySQL, and PHP support features, which are compatible with a wide variety of website and webapps. You can choose the full version with many features like FileZilla FTP server and OpenSSL.
Download the * .exe version of Xampp Lite here. Then proceed with the installation and choose where you want to store:

Select your removable drive, or a specific folder. Note that USB drives should be at least 250 Mb free:

Click Install to start the installation, this process can take place quickly or long depending on the write-read speed of the USB drive:

The above process ends, a command line window appears to inform the completion. If you want to create a shortcut at the start menu and the desktop, type Y , otherwise N :

Next step, select Y to customize the specifications:
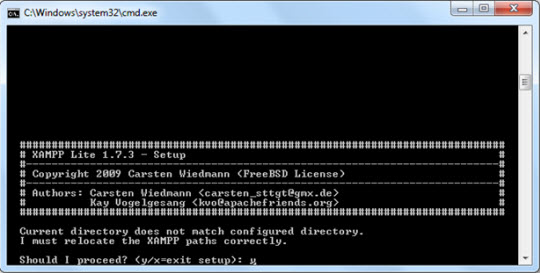
Go to this step, select Y to complete the complete XAMPP turn-on process. The program is configured and set up server system to operate without a fixed location, so this server will work any time, anywhere:

XAMPP will complete the final changes, press Enter:

After that, the program will automatically activate the XAMPP command line interface. At the first line, set the time zone to match the system time:

At the next step, select 1 to start XAMPP, or other options:

To accompany the program, you may need portable browsers like Firefox, Chrome, or SeaMonkey.
Page 2 : Use XAMPP portable
Use XAMPP portable
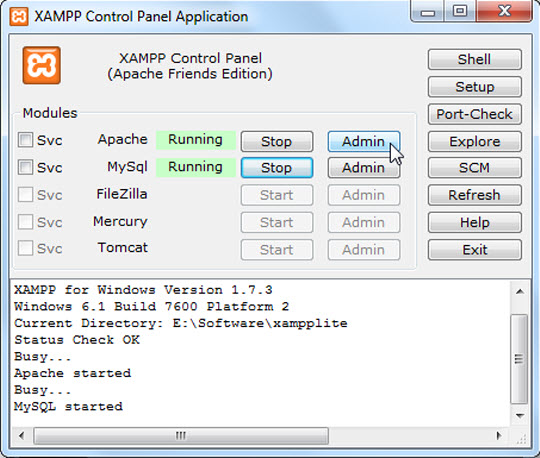
Very simply, just open the archive folder and run the file xampp-control.exe :

Continue to click Start in Apache and MySQL to start activating webserver:
Note : Do not check the box Svc, this will turn the server into a mandatory service of Windows. If you tick the Svc box, XAMPP will no longer be portable

For Windows systems with Firewall, it will notify the server to block the operation. Select Allow for webserver to work:

Then, click Admin to open the XAMPP admin page from the system browser, or use the address http:/// localhost / , http://127.0.0.1 :
If all is not a problem, you will see the first page of XAMPP as follows:
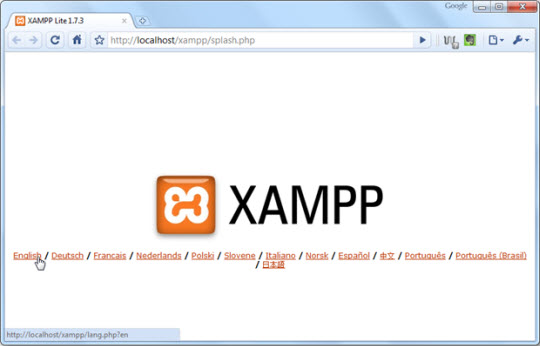
Select the appropriate language, here is English :
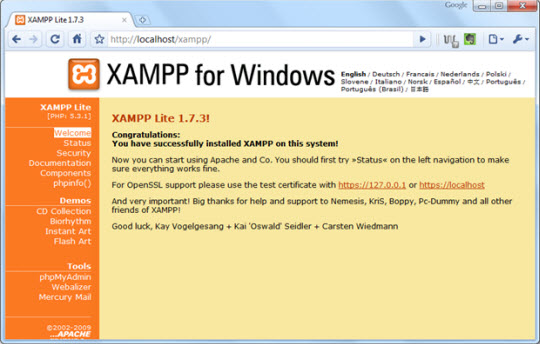

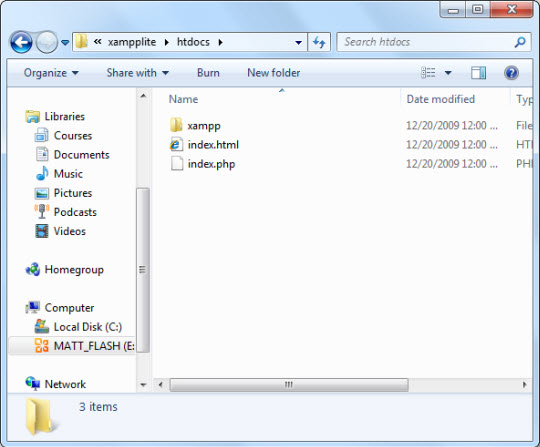
You can save custom web pages to the xampplighthtdocs directory to facilitate access and later work:
Page 3 : Install WordPress on a portable server system
Install WordPress on the portable server system
Currently, WordPress is the most popular CMS and blogging platform today. The next steps, TipsMake.com will introduce you how to install, configure and customize WordPress with Apache.
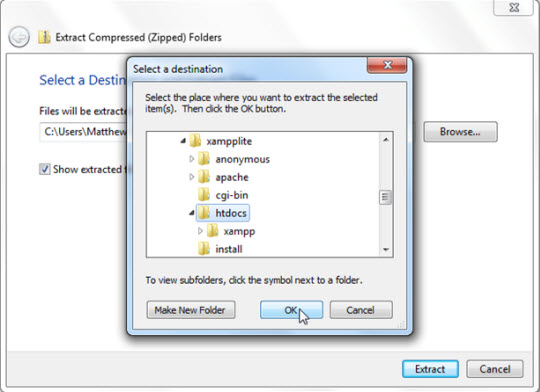
Download WordPress here: http://wordpress.org/download/. Then unzip to the xampplitehtdocs folder:
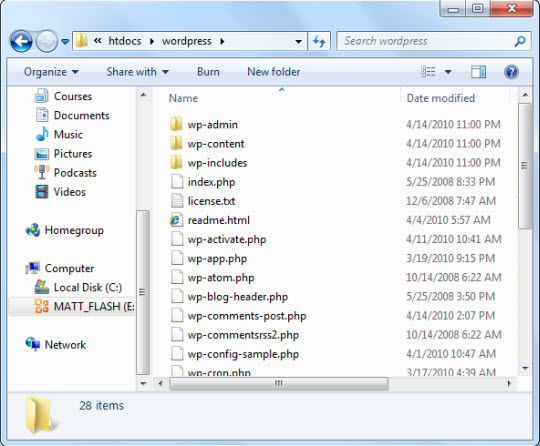
After successful decompression:
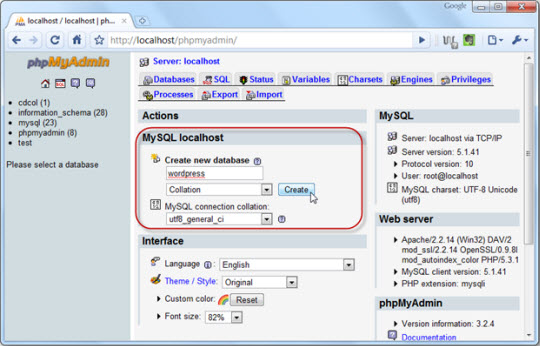
Next, open http:/// localhost / phpmyadmin / and create a new database for WordPress. Type the database name in the Create new database box and click Create :
Select the Privileges tab, and Add a new User :
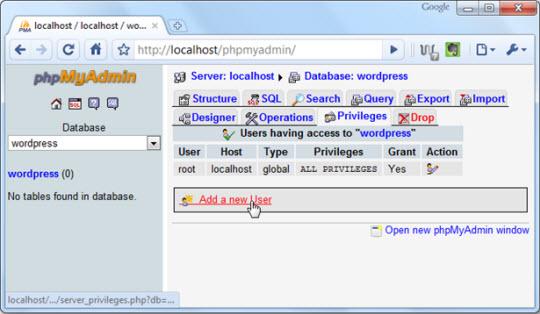
Create an account username and password for the account, then select the Go button at the bottom of the page:

Page 4 : Use WordPress
Use WordPress
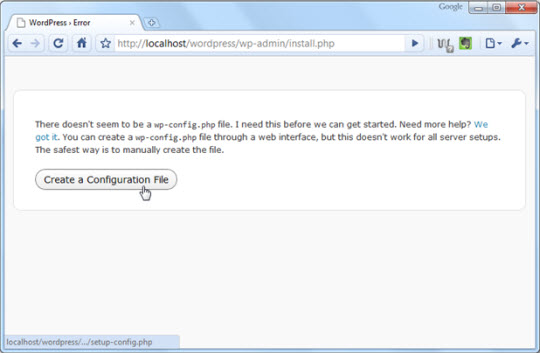
Next step, log into the path http:///localhost/wordpress/wp-admin/install.php. Select Next Create a Configuration File to continue:
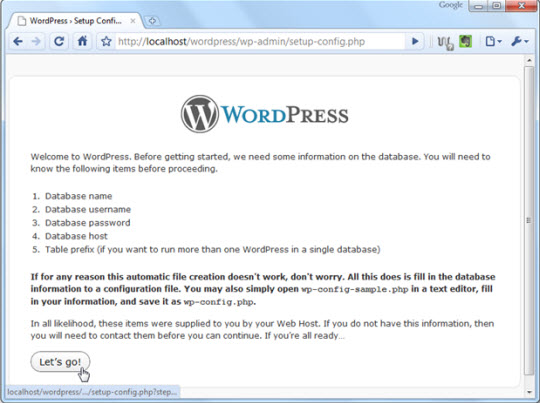
Make sure there is a username and password for the database, click Let's Go! :
Next, enter the database name, username and password, leave the next 2 lines blank and click Submit :

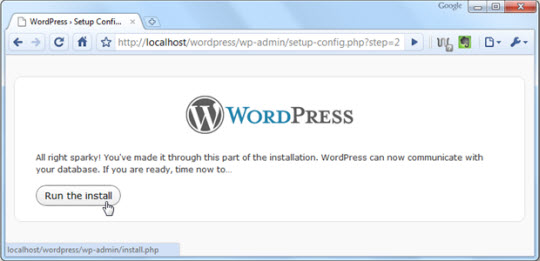
Next, click Run the install to finish the installation process:
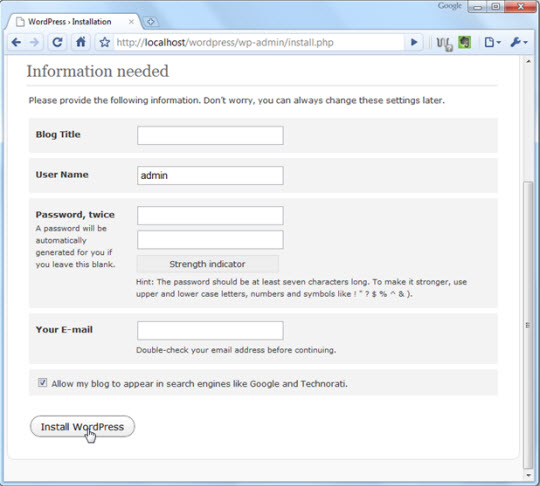
Fill in information such as title, username, and password, email. Click Install WordPress :
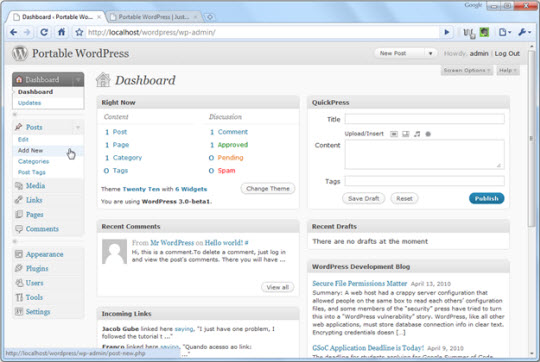
So you have completed the portable version of WordPress installation. Select Log In to login to the admin page of WordPress:

Here, you can add small pages, posts, themes, extensions . or any details of the regular WordPress system:
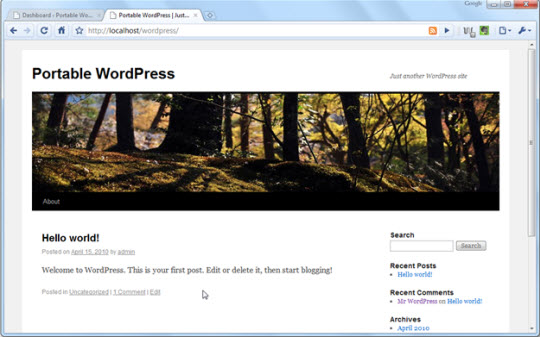
You can preview the WordPress page you just created with the URL http:/// localhost / wordpress /
If you want to stop the server operation, just press the Stop button corresponding to XAMPP services, if you press the Exit button at the top right, XAMPP will collapse under the system bar and not turn it off:

Or you can use the xampp_stop.exe file in the xampplite directory:

Good luck!