Instructions for installing WordPress on localhost - Part 2
In the previous section of the article, TipsMake.com introduced you to localhost, how to install XAMPP, create a database ... and this time, we will continue with the main part - installing WordPress on localhost .
Table of Contents
In the previous section of the article, TipsMake.com introduced you to localhost, how to install XAMPP, create a database . and this time, we will continue with the main part - installing WordPress on localhost .
- See part 1 of the tutorial on installing WordPress on localhost
Install WordPress on localhost:
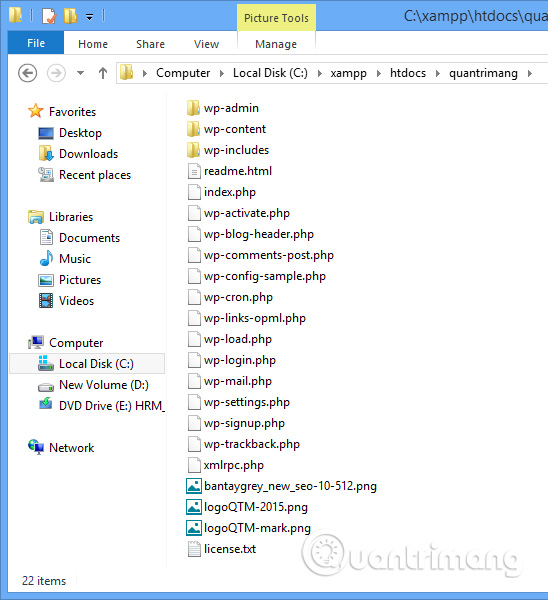
After downloading the WordPress installer to your computer as a compressed file, you can extract and copy all WordPress files into the C: xampphtdocsquantrimang folder:
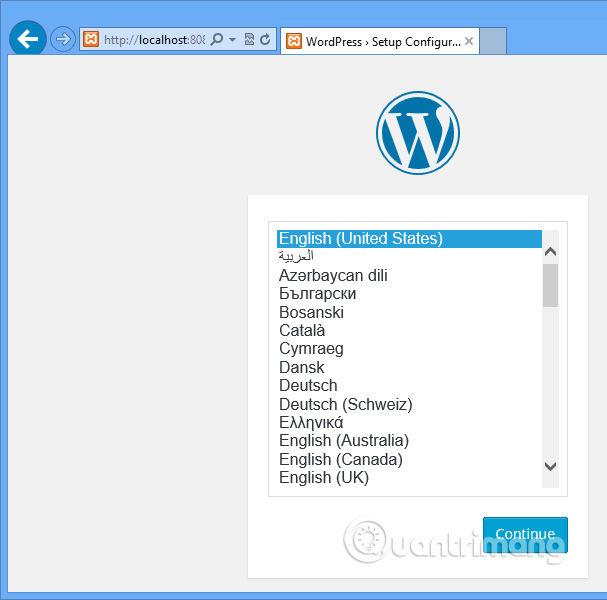
Then open http:/// localhost: 8080 / quantrimang to start installing WordPress. Select the language and click Continue to continue:
Some information is prompted by WordPress before installing, you notice at the database creation section and then press Let's go! at the bottom left corner:

Enter database information as shown below, click Submit to continue:

Once done, just click Run the install :

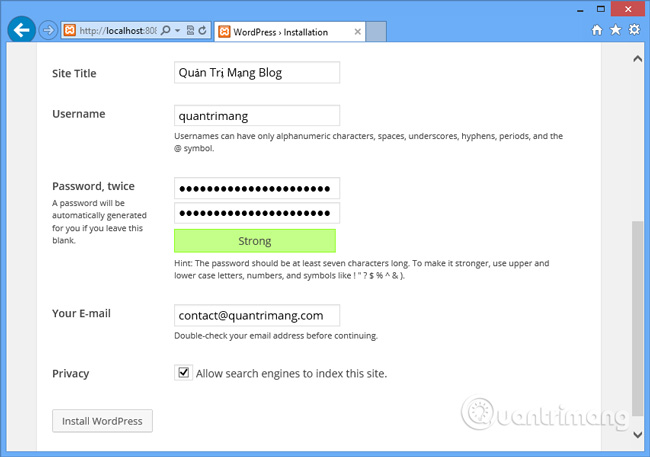
Enter some administrative information as follows:
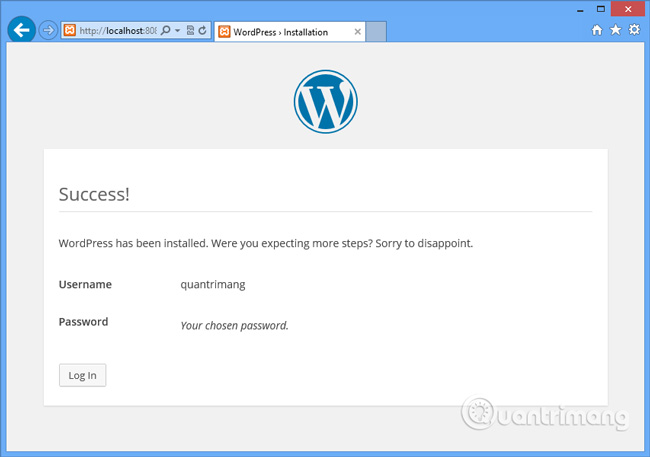
Click Install WordPress. As shown below, the WordPress installation process is complete:
Login to any WordPress admin account:
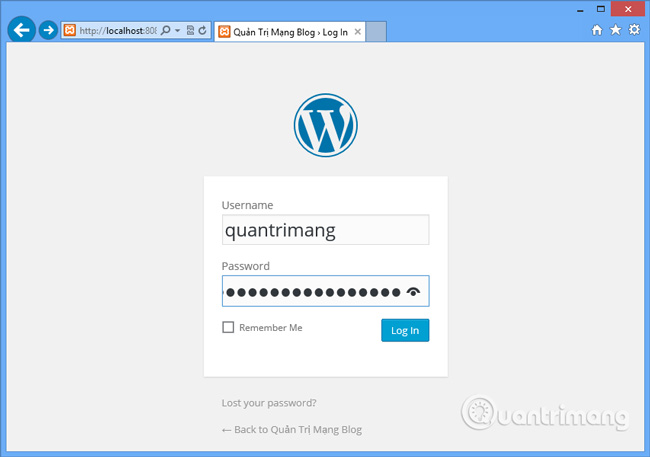
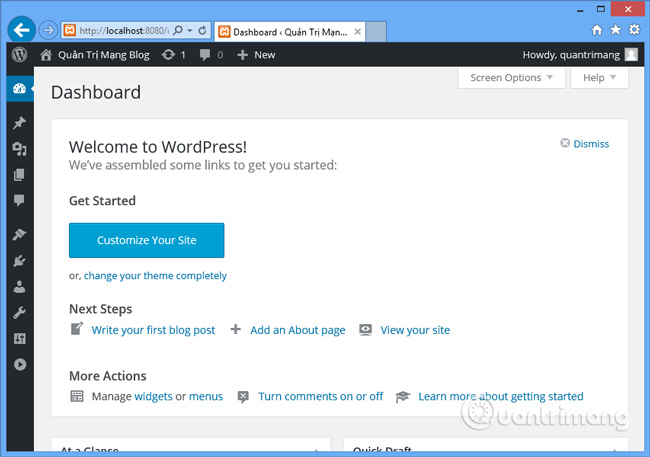
OK then:
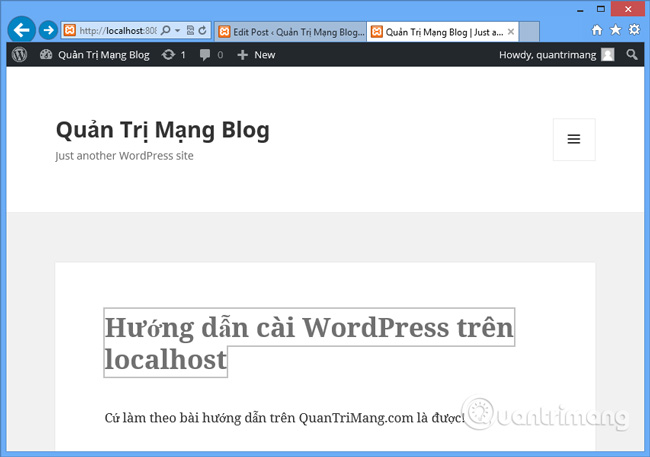
External interface of WordPress on localhost:
Good luck!
Was this article helpful?
Your feedback helps us improve.
Related Articles
 Instructions for installing WordPress on localhost - Part 15 minutes read
 How to change the font in WordPress3 minutes read
 Instructions for creating web pages in Wordpress from A to Z (Part 2)9 minutes read
 What is localhost?3 minutes read
 Instructions for installing WordPress on the Vitual Server with Cloud94 minutes read
 Instructions for installing WordPress on Bluehost11 minutes read
Reader Comments 0
Sign in with email or Google to join the discussion.