Instructions for installing WordPress on localhost - Part 1
Actually there are many ways for you to install and set up WordPress, but TipsMake.com would like to introduce you how to install WordPress with XAMPP on localhost for testing first.
- Download WordPress the latest version
- Download XAMPP for Windows
Install and set up XAMPP on localhost:
Understand this is that in this step we will "create" a server system right on my computer, and that's called localhost. And XAMPP will help you do that, because simply XAMPP is a software package that contains everything the web server system needs. Include:
- Apache : This is probably the most popular, popular webserver.
- PHP : create a PHP runtime environment (because WordPress is programmed with PHP).
- MySQL Server : create and store database (also called database).
- PHPMyAdmin : to view and manage the database.
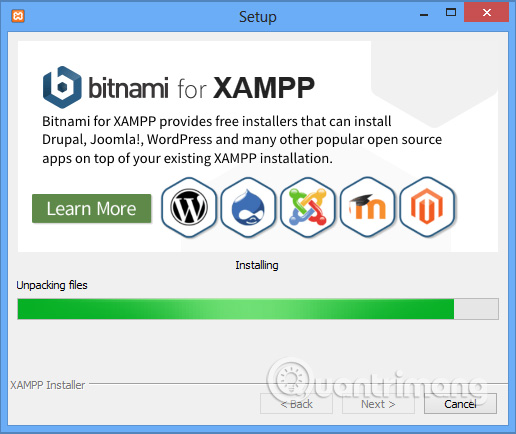
So let's consider the theory part, now we will start to practice. After downloading XAMPP in the above link to your computer, install it as usual, just Next> Next :

Note that XAMPP only has a 32-bit version, but still works fine on 32 and 64-bit Windows. Keep the XAMPP installation directory in this step, so Next:

Then wait for this process to take place (it will take 2 - 5 minutes).
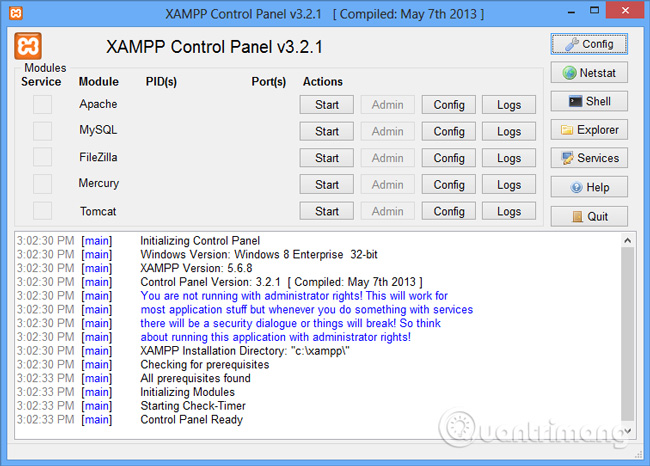
And when done, XAMPP's main console will look like this:
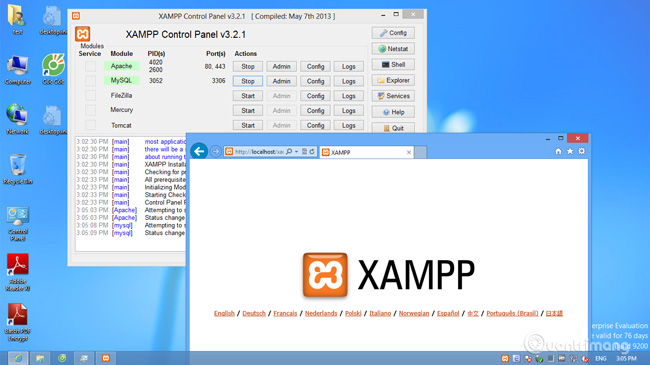
Test whether localhost is ok by starting Apache and MySQL . Then open the browser and type localhost in the address field> Enter :
Some points to keep in mind with localhost:
What do we need next here? A website or blog must be stored in a directory on localhost or hosting, as the example here is localhost. And the working mechanism of WordPress is no different, all that needs to be installed by WordPress will be inserted into a certain folder. Follow the C: xampphtdocs path and create a directory of whatever name you want (the example is quantrimang for example):
- C: xampphtdocsquantrimang
And also the domain root directory http:/// localhost / quantrimang. To check, copy any image, or any file, to the folder quantrimang, then check it on localhost:
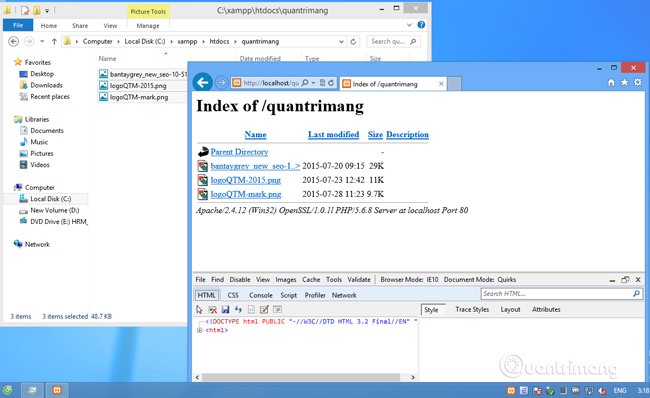
So ok, localhost still works fine.
Create MySQL database:
This action we can do while installing WordPress but . well, doing it on localhost to try it out in advance. The database will contain the following main sections:
- Database name.
- Password.
- Database user name.
- Database host.
To create a database on localhost, go to http:/// localhost / phpmyadmin , click the Databases button in the upper left corner as shown below:

Note that for localhost, we do not need to create a user for the database but use the information as below:
- User name database : root
- Password : leave blank
Name the database, here is quantrimangblog , in the next box select utf8_unicode_ci mode and click Create :

Then, check in the left directory tree that the database named quantrimangblog means that the database creation process was successful:

Our database will have the following properties:
- Database name : quantrimangblog
- Database host : localhost
- Database user : root
- Password : leave blank
Sometimes my localhost does not run, how to fix it?
This is a problem that many of you encounter. Sometimes you just need to turn off XAMPP and then turn it on to localhost again, or open another program that localhost cannot run. Why? Because we haven't changed the port for localhost. After successfully installing XAMPP, localhost will run through port 80 by default, meeting another program running the same port will cause an error and localhost cannot run. To handle this, let's change this port value in XAMPP:

Click Apache 's Config button> select Apache ( httpd.conf ), find the Listen 80 line and change it to Listen 8080:

Save, then restart XAMPP and run localhost via http:/// localhost: 8080:
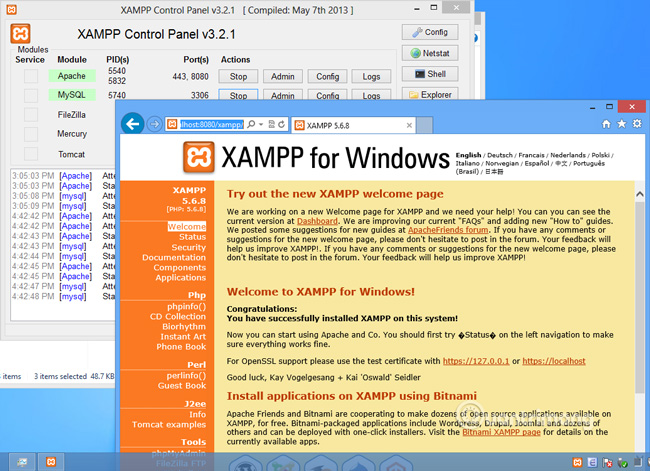
So OK, localhost still works fine after changing the port. Now we are ready to move on to the next step - installing WordPress . Please continue to see part 2 of the article!