Install web applications with Windows Web Platform
TipsMake.com - Do you want to run WordPress directly or other online applications on your computer to check and develop more features? In the following article, TipsMake.com will introduce you to this method .
Many web applications today, such as WordPress, MediaWiki . are open source and run for free from any computer with a simple web server system. But the implementation doesn't seem to be as simple as other complex installations, and the number of other required components such as PHP and MySQL. And Microsoft has brought a tool that is convenient, simple and easier than ever with the Windows Web Platform Installer application. Specifically, in the tutorial, TipsMake.com will guide step by step the installation details of WordPress and Visual Web Developer 2010 Express to modify the code with the Web Platform Installer. For other web applications and tools, the same way.
Begin
The path to download the Web Platform Installer here
The download file will be downloaded in very small size, run the file and the Web Platform Installer download process starts, the program is compatible with Windows XP, Vista and 7 as well as other Windows Server versions:

Wait a while, the Web Platform Installer application will activate and collect the latest version information accordingly:

Select components to install on demand:

On the other hand, you can choose Customize under the options:

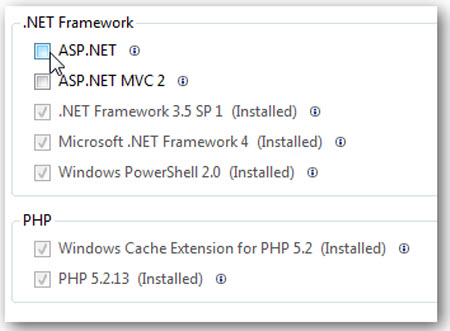
And choose exactly what you want, note that the installed components will be highlighted and gray:
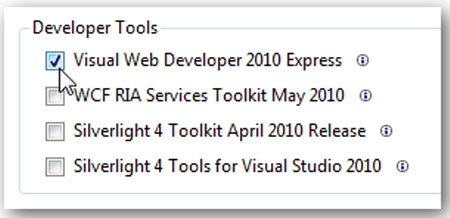
Here, we choose Visual Web Developer 2010 Express :
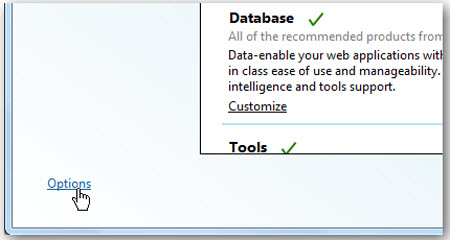
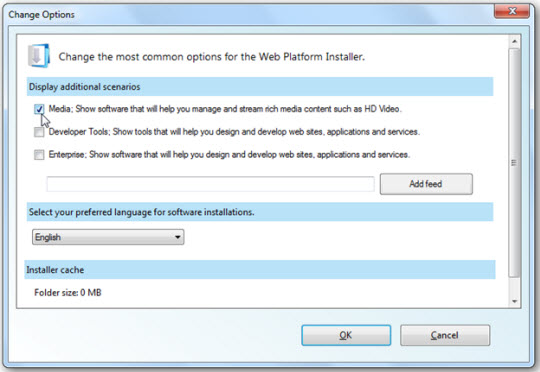
Or if you want more options, press Options at the bottom of the window:
Examples are as follows:
Select web application to install
Here we will proceed to install WordPress, so select the Web Applications tab on the left, the right window will rank according to three criteria A to Z , Most Popular , or Highest Rating :
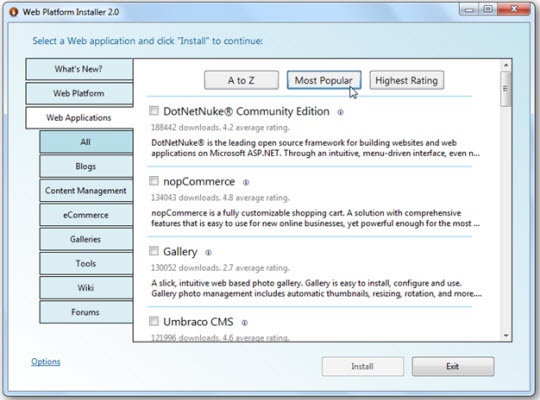
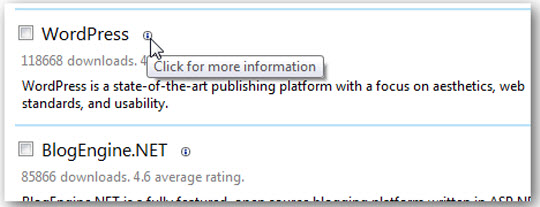
Check the checkbox next to the application you want to install, or click the letter I next to see details:
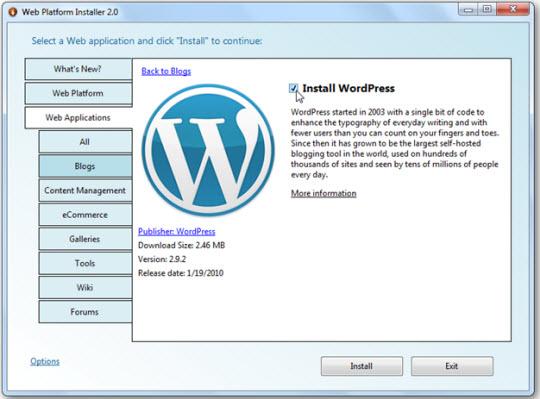
Here is the details window about WordPress, check Install WordPress to start the installation:
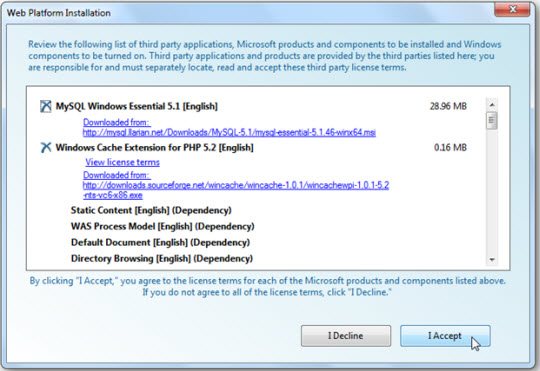
The Web Platform Installer will indicate the components you choose, including the auto-select component. Note that we only need to install WordPress and Visual Web Developer 2010 Express, but the application will automatically choose MySQL and PHP. Click I Accept to start:
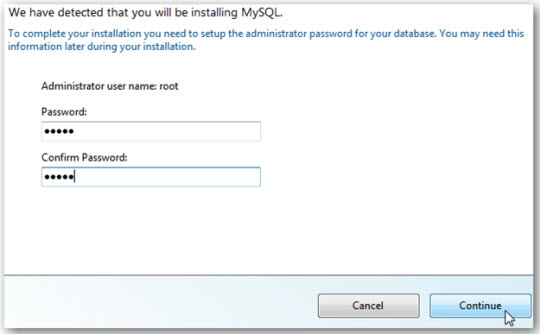
Enter the admin password for MySQL first:
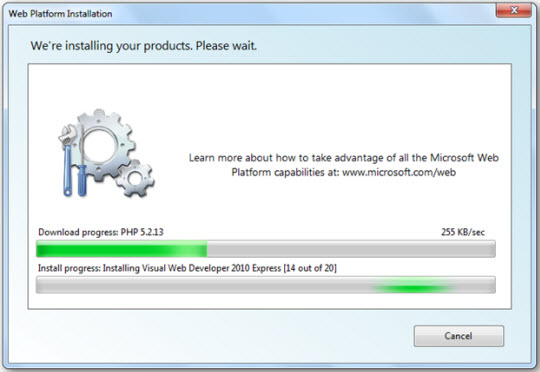
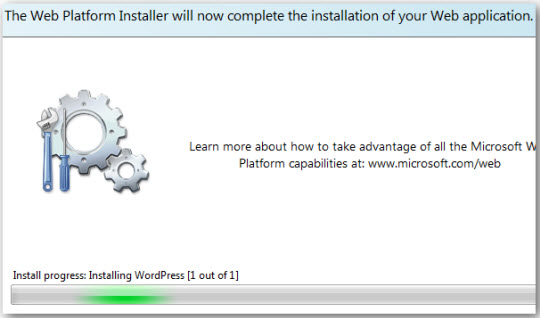
And the installation process actually started, the Web Platform Installer will download, install the necessary components, and activate other Windows services. This process depends on the number of components selected and the speed of Internet connection:
Set up test website
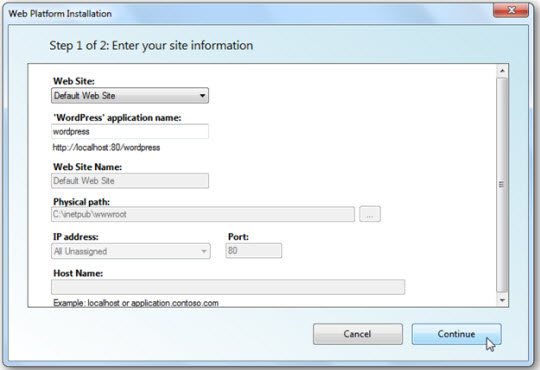
When the installation process is finished, you need to fill in information about your site. Simply accept the default plan or fill in the information, then click Continue :
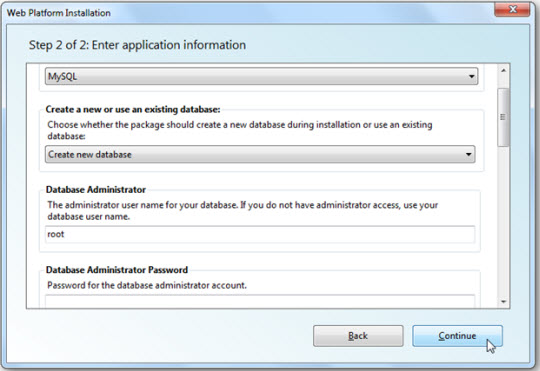
Next is the MySQL database, but for local testing it is not really necessary. Select Continue :
Wait a while for Web Platform Installer to install WordPress and MySQL. When finished, the system will operate with the minimum level of customization:
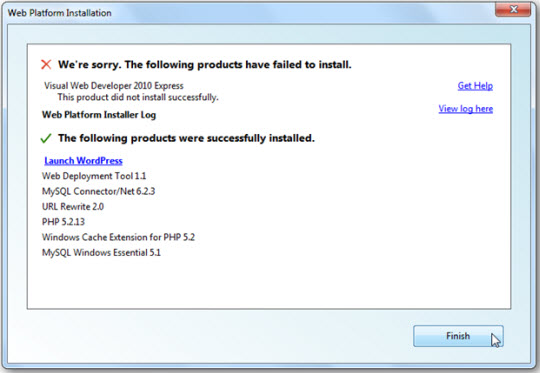
The message panel will display which components are installed successfully or failed. In this test, Visual Web Developer 2010 Express failed and could not install successfully. Sometimes this problem is caused by the Internet connection process, click Finish and proceed to install the application again.
Select the Launch WordPress link and enter the address http:/// localhost: 80 / wordpress into your browser to get started:
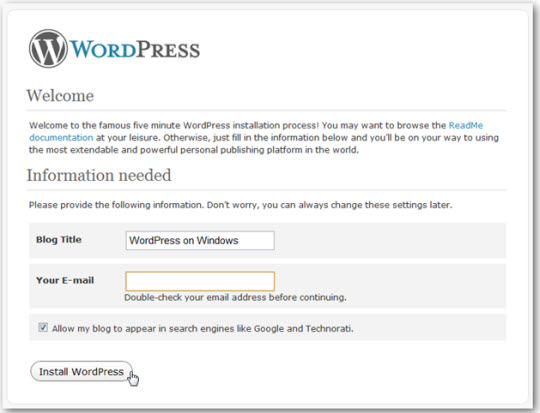
Next, enter the blog name and email address. Then click Install WordPress :
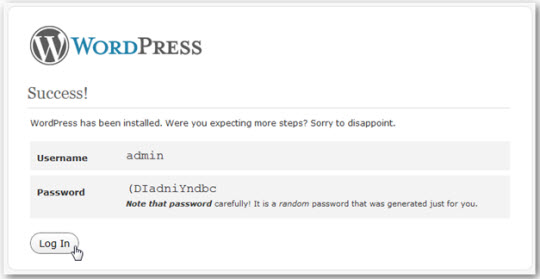
When the installation is successful, WordPress will display a message via the Success page ! With a username and a temporary password (remember to change it in a later step). Click Log In :
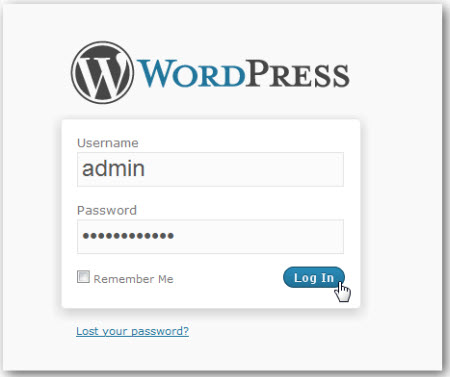
Enter the admin username and password saved above, click Log In :
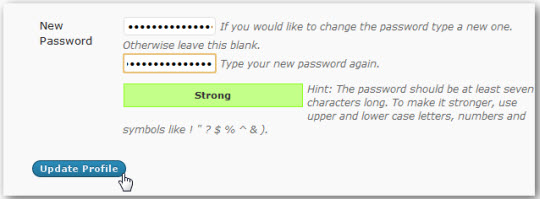
After logging in, WordPress will prompt you to change your current password, click on the Yes, Take me to my profile page :

Enter your password, then select Update Profile :
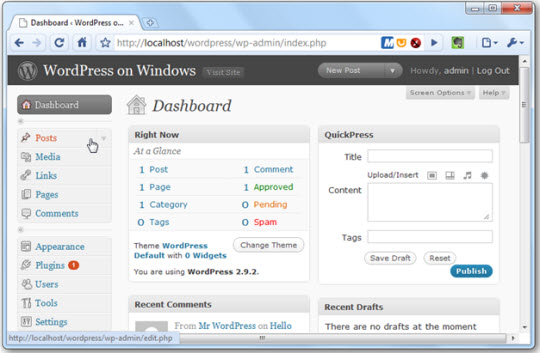
So you've completed the steps to install WordPress on Windows. Next, you can add effects that support plugins, themes or anything on a regular WordPress page. The following is the main control panel running on localhost:
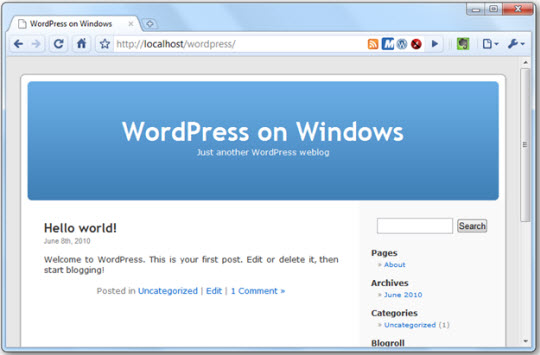
And this is a simple interface:
Visual Web Developer 2010 Express setup
As the above situation occurs, Visual Web Developer 2010 Express installation fails the first time. But the second time was smooth and successful, starting the application from the Start Menu bar:

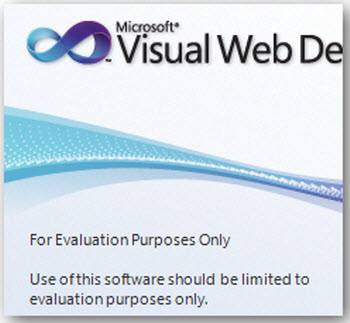
The introduction screen appears, reminding the user that this is a trial version: For Evaluation Purposes Only . And we have to register to use:
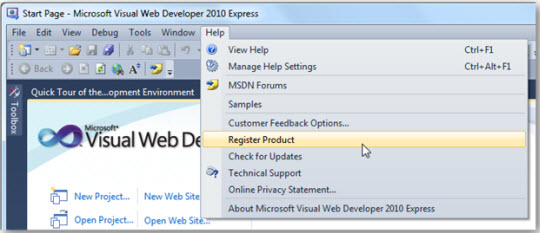
Typically, the program will be limited to 30 days for users to register. Select Help > Register Product :
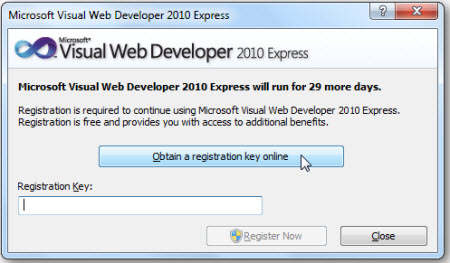
Select Obtain a registration key online on the popup window:
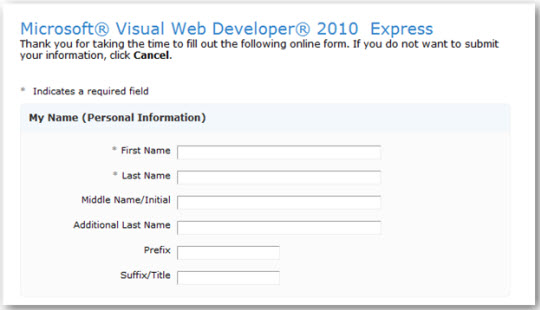
To continue, you need to log in with your Windows Live ID account and fill in the form provided:
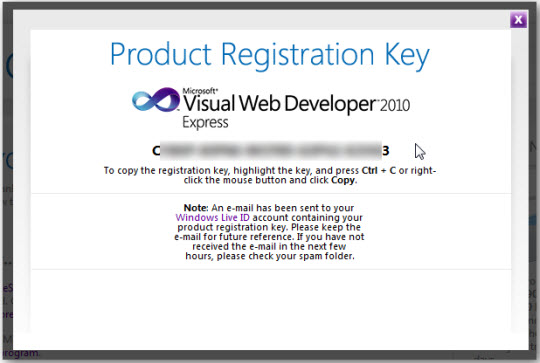
Upon successful registration, you will receive the registration key, copy and paste into the registration form of Visual Web Developer:
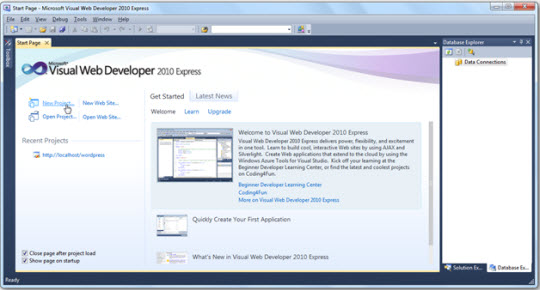
This is a fully functional web application development program and integrates IntelliSense technology to optimize development stages. Compatible and works well with applications running on the local:
Good luck!