Steps to set up VPN on Windows 10
You are afraid that the public WiFi network is not secure for your computer and you need to set up a VPN. The article shows how to create a VPN on Windows 10.
Table of Contents
VPN (virtual private network) is often used for security and privacy purposes when using the network in a public place like a coffee shop. Nowadays, creating your own VPN is quite easy, you don't need to use other software like Hotspot Shield anymore. The article will show you how to create a VPN for Windows 10 computers , follow along!
1. How to Create a VPN Profile on Windows 10
The first thing you need to do is create a VPN configuration on your computer. Follow the steps below!
Step 1: Click on the Windows icon in the lower left corner of the screen > Select Settings .

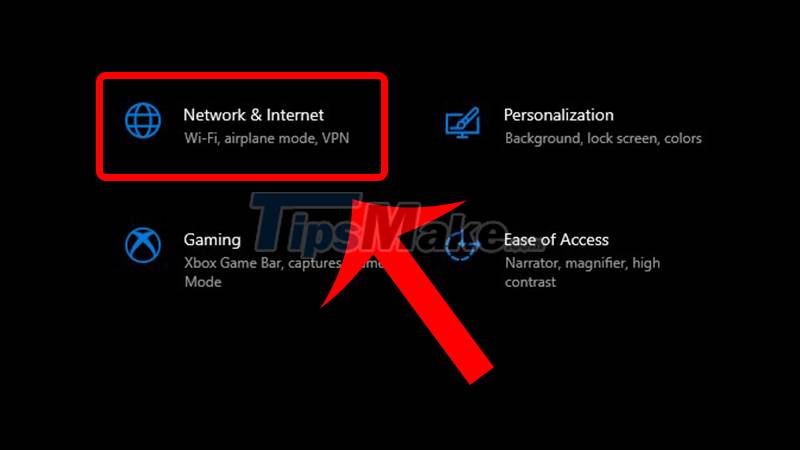
Step 2: Select Network & Internet .
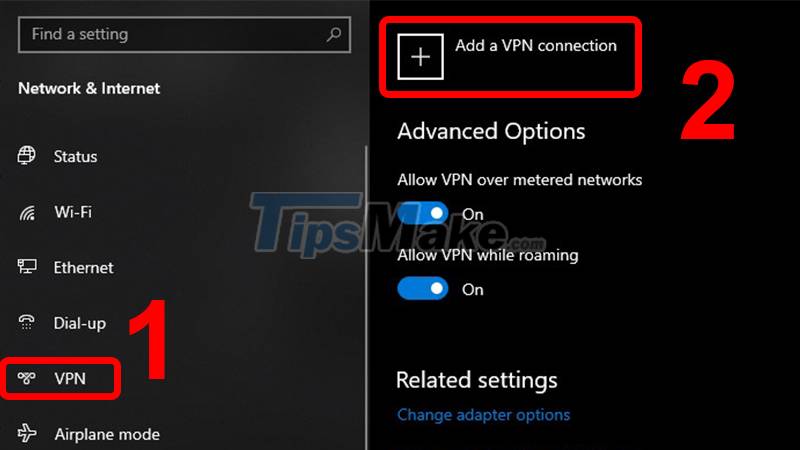
Step 3: In the VPN section , select Add a VPN connection .
Step 4: When the new interface appears, please fill in some necessary information below, then select Save to save.
- VPN provider: Select Windows (built-in) .
- Connection name: Enter your desired connection name (similar to the WiFi name you set up specifically for your phone).
- Server name or address: Enter the server name or IP address of that server .
- VPN Type: Select Point to Point Tunneling Protocol (PPTP) or L2TP/IPsec with pre-shared key .
- Type of sign-in info: Select User name and password .
- User name: Enter the username.
- Password: Create your own password.

In case you use a personal computer, you can tick Remember my sign-in info so that the system automatically saves your login information. If you're setting up a company machine, you can leave this option unchecked for your own security.
2. How to Connect to a VPN on Windows 10
Once you've finished creating your own VPN profile, you need to connect to that VPN on your computer.
Please perform the following steps: After clicking Save , the screen will return to the main interface of VPN , this time you select the newly created VPN and select Connect .

In case you want to change the VPN settings, follow these steps:
Step 1: Select Advanced options .
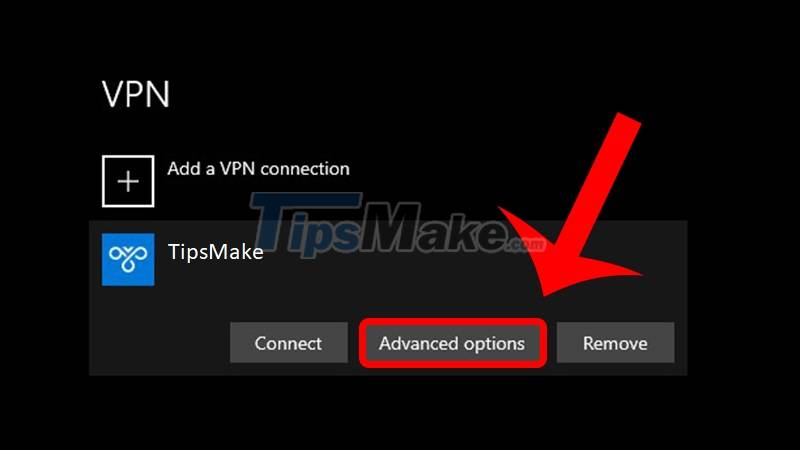
Adjust the information at Advanced options
Step 2: Select Edit to proceed with editing.

After completing the above steps, you have created a VPN right on Windows 10. However, you should not use this virtual private network VPN too much because it may be related to your own safety and security. .
3. How to Disconnect VPN on Windows 10
In case you have no need to continue using the VPN or want to remove a server from the list, you can disconnect or remove it completely. Please follow the next steps.
Step 1: At the VPN interface , select the VPN you want to disconnect > Select Disconnect .

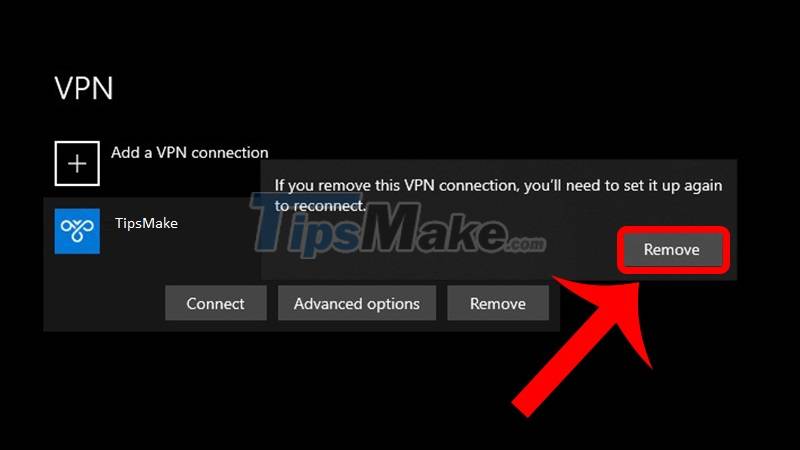
Step 2: Select Remove .
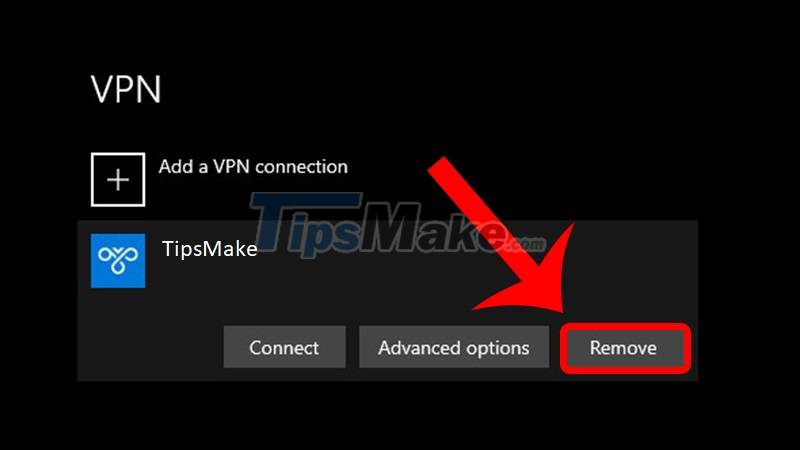
Step 3: Select Remove again to confirm.
The article showed you how to create a dedicated VPN for your computer, leave a comment below if any problems arise! Wishing you success!
Was this article helpful?
Your feedback helps us improve.
Related Articles
 5 simple steps to help increase safety and security of Windows 104 minutes read
 Instructions for upgrading Windows XP to Windows 7 or Windows 107 minutes read
 The trick to 'transform' the Lock screen of Windows 11 is more diverse2 minutes read
 Instructions on how to upgrade from Windows XP to Windows 85 minutes read
 10 steps of 'defense' for Windows8 minutes read
 7 steps to successfully overcome Windows network6 minutes read
Reader Comments 0
Sign in with email or Google to join the discussion.