Steps to fix Windows 10 update error 0xC1900107
0xC1900107, Windows 10 update error 0xC1900107 is quite common when upgrading to new versions. Follow these steps to fix the problem quickly.
Table of Contents
Windows 10 update error 0xC1900107 is quite common when upgrading to new versions. Follow these steps to fix Windows 10 problem quickly.
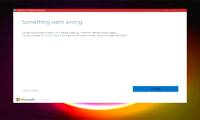
Error code 0xC1900107 when updating Windows 10
When upgrading Windows 10 from one version to another, most users face the error code 0xC1900107. This error is quite common. When decoding this error, what Windows is saying is that you need to delete the previous installation files, if you upgraded to the new version.
When you upgrade Windows 10 to a newer version, it saves the previously installed files into a folder in the root folder of drive C. These files help you downgrade if you don't like or have problems with the Windows version. 10 new. If you do not delete the previous installation files, Windows 10 cannot be upgraded to another new version.
To fix the 0xC1900107 update error, you need to delete the previous Windows 10 installation files. To do that, follow the steps below.
Steps to fix Windows Update error 0xC1900107
Because errors are caused by previous installation files, you need to delete them to fix them. Follow the steps below to fix the updated error code 0xC1900107 in Windows 10.
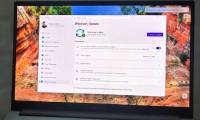
1. Open the Settings application .
2. Go to the System page .
 Go to the System page
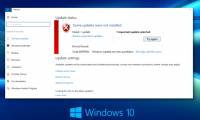
3. Click the Storage tab on the left panel.
4. On the right panel, click the Configure Storage Sense link or run it now .
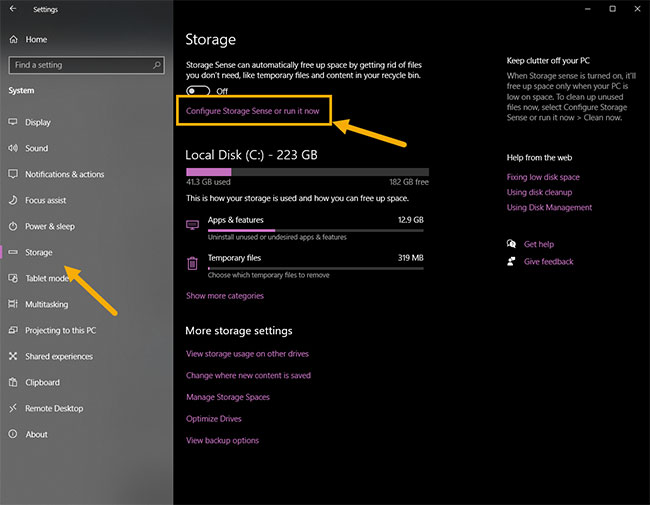 Click the Configure Storage Sense link or run it now
5. Scroll down and select the Delete previous version of Windows checkbox .
6. Click the Clean now button .
As soon as you click this button, Windows 10 will delete the previously installed files. After deleting the files, you will see a checkmark next to the Clean Now button . Since the previous installation files have been deleted, the error 0xC1900107 will be fixed and you can proceed to upgrade Windows 10.
Use the Disk Cleanup tool (Alternative method)
You can also use the Disk Cleanup tool to delete previously installed files and fix 0xC1900107 errors in Windows 10.
1. Open the Start menu .
2. Search and open the Disk Cleanup tool .
3. Select C drive from the drop-down list and click OK.
 Select C drive from the drop-down list
4. Click the Cleanup system files button .
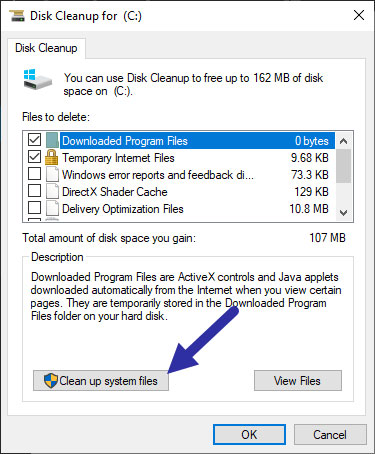 Click the Cleanup system files button
5. Select C drive from the drop-down list and click OK.
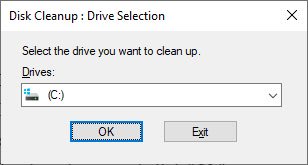 Select C drive and click OK
6. Select the Previous Windows Installation (s) checkbox .
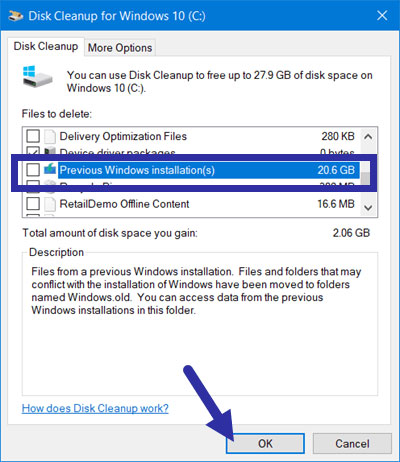 Select the Previous Windows Installation (s) checkbox
7. Click the OK button .
As soon as you click this button, Windows will delete the previously installed files. Once done, the error code 0xC1900107 will be automatically corrected. You can now proceed to upgrade to the new version of Windows 10.
Was this article helpful?
Your feedback helps us improve.
Related Articles
 Why do your Windows updates keep failing (it's not the internet)?5 minutes read
 Steps to fix error 0x800F0922 update in Windows 104 minutes read
 Steps to fix Windows 10 update error 0xC19002084 minutes read
 How to fix error 0x8007045A ERROR_DLL_INIT_FAILED when using Windows Update3 minutes read
 How to fix Windows Update error 0x801900016 minutes read
 Some Windows 10 machines are locked to update after updating KB5003214 and KB50036902 minutes read
Reader Comments 0
Sign in with email or Google to join the discussion.