Run Google Android on your computer
TipsMake.com - Would you like to try the latest version of Android OS of Google without buying a phone? The following article will help you fulfill this desire with the Android SDK simulation version .
Android is the latest mobile operating system to make the technology world crazy. However, not everyone has the opportunity to access this device. Fortunately, there is still a simple way to run Android on Windows, Mac or Linux operating systems. Google provides a simulated version of Android, which enables users to test it before deciding to run the operating system on their phones. Here's how to test Android on your computer.
Prepare
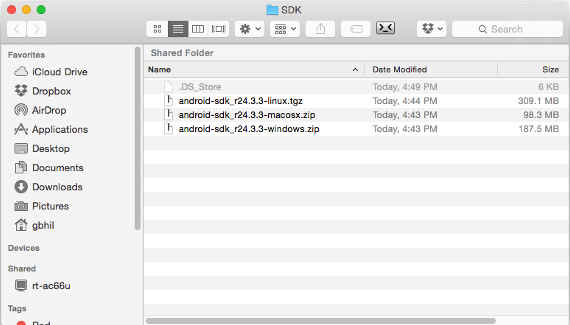
As I said, it's easy to install Android SDK. Just download the SDK directly from Google, scroll down the page and see the section marked SDK Tools Only , save them in the most visible place, such as the desktop. In this article we will extract it into the best position to prepare for the next step.
The downloaded file is a zip file so you need to extract the file before activating it.
Extract the compressed file to the following location:
- Windows : C: drive .
- OS X : Home Directory .
- Linux: Home directory .
Please rename the extracted folder to " Android ". And below will be the SDK installation instructions.
Prerequisites
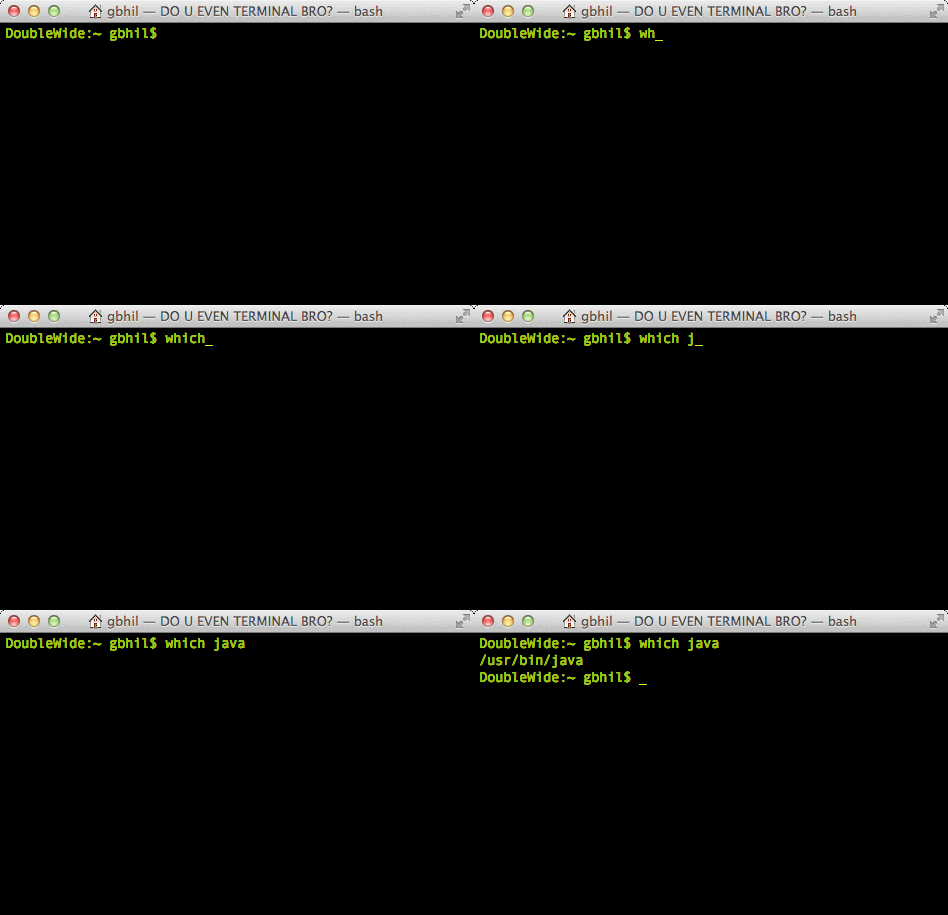
You will need to use Java to enable the SDK. So most of the things you need to do with the SDK, both Open Java and Sun Java from Oracle will work.
On Mac, it's very simple because you have Java pre-installed. If you have removed this application, install it now.
On Windows, visit the Oracle website and download the appropriate version for the computer (32-bit or 64-bit). When any error occurs, you should check your computer. Because Java cannot be installed, it means that the Android SDK cannot be used.
On Linux, you also need to install Java. You can find x86 and x64 binaries for Sun Java from Oracle on the official website. Most of the things you need to do with OpenJDK are similar to the SDK and all installation instructions are available on the OpenJDK website. If you need more help or want to use the package manager to install Sun Java, you should consult the documentation for your operating system.
Linux users need to ensure that there are several 32-bit installations running on 64-bit operating systems. If using Ubuntu or another Debian version, install ncurses5 and stdc ++ 6 via the terminal.
sudo apt-get install lib32ncurses5 lib32stdc ++ 6
Other packages for distros like Slackware or Fedora need to be available. Please see your computer information.
Install PATH
PATH in the computer operating system indicates the location to watch when you want to run a command from a terminal or command line. For example, to run the adb command, you need to type and provide the full path to the command - that is, specify the abd directory that is inside the SDK directory or have the location placed in the PATH variable itself. It's a bit confusing but it's much easier to do than explain it.
In order for these guidelines to work best as in this article, you will need to follow the right steps. First, extract and rename the SDK download folder as I mentioned above and place it in the exact location as shown in the tutorial.
Begin
Simulation version of Android requires Java. So if you don't have Java yet, download and install this application before running the simulation.
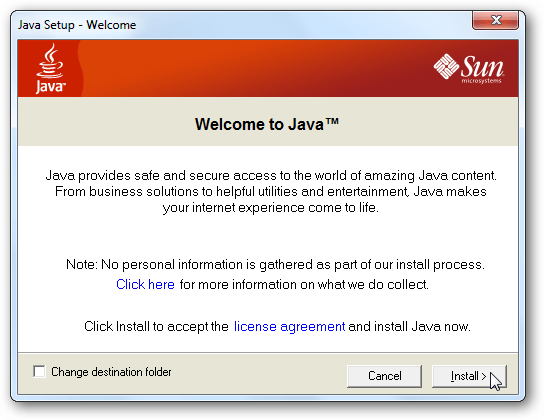
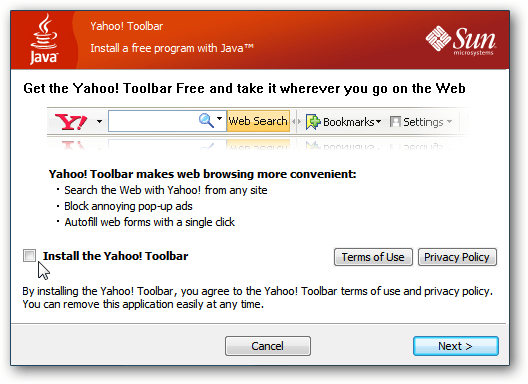
Note : When installing Java, make sure you don't install any crapware (such as the Yahoo toolbar). Crapware is a trial software installed by the manufacturer on the computer before being shipped. These software are often not necessary for users, they occupy hard drive capacity, slow down the boot process and affect system performance.
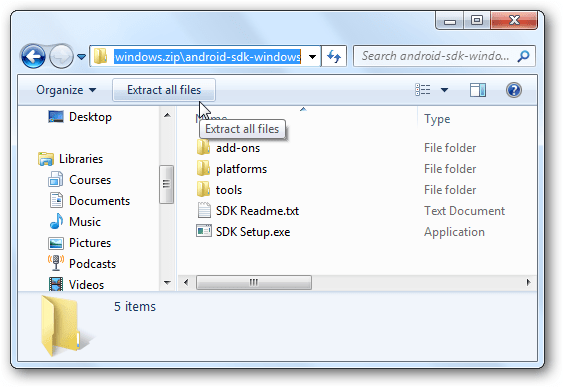
Then, download the Android SDK from Google and remember to choose the right version for your computer. Download, unzip the file as usual.
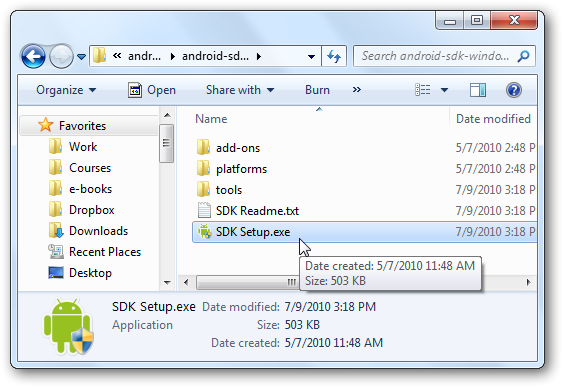
In Windows, run SDK Setup.exe to start running Android on your computer.
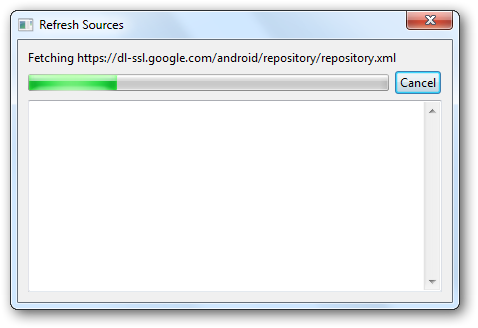
The SDK will check the information on Google's servers.
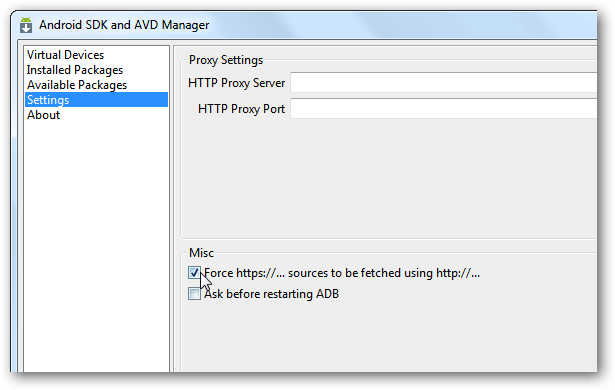
If you see an SSL error message, click the Setting tab to the left of the SDK and AVD Manager window. Force Force https box .
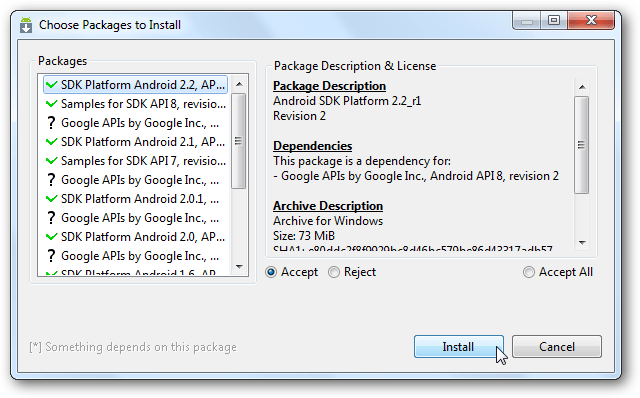
Package Installer displays, select the package you want to install and click Install to begin installing Android emulation on your computer.
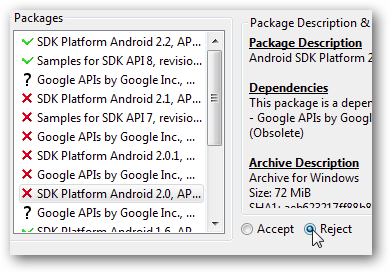
By default, all SDKs, samples, and APIs of the SDK will be selected for installation. Therefore, it will take time to download these files. If you just want to run Android, select the version you want. For example, if you select SDK Platform Android, click Reject > Install.
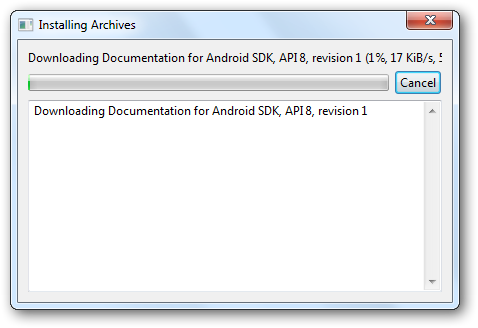
Starting the installation, there will be a window showing the download and installation process. This process will take a few minutes, depending on your Internet speed.
There will be some Android icons in your taskbar.
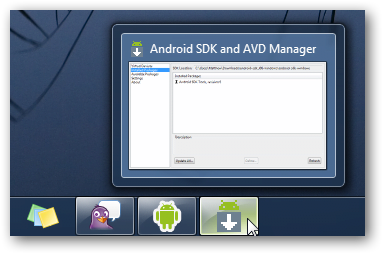
Windows
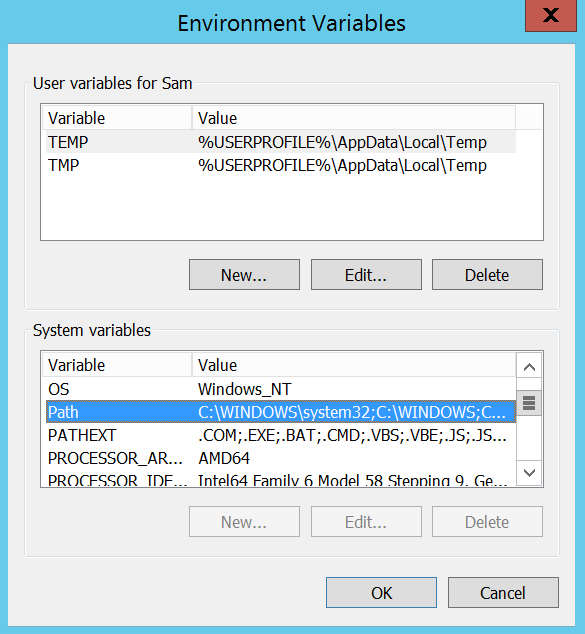
Unless using an older version of Windows, you do not need to install PATH in autoexec.bat or autoexec.nt file. You will need to update the Enviroment Variable system settings instead. In this example, the computer uses Windows 8:
- Press the Start button on the keyboard.
- Type Enviroment Variables .
- Soon, you will see the Edit the system environment variables option, click on it.
- In the Enviroment Variables window, select the PATH item in Systems Variables section , then click Edit.
Add a full path to the Android SDK tool and the Android SDK platform folders in the edit box, separated by semicolons. The path will have the following:
C: Androidtools; C: Androidplatform-tools
For older versions of Windows, refer to the documentation that came with the computer for assistance with the PATH settings. And vice versa, if you have installed the SDK in a different location than Android, the same customization is required.
OS X
You need to install PATH on the computer using OS X in the bash profile. This operation is relatively easy and all is done in one file.
In the Home folder , open the .bash_profile file with any text editor.
You may see a blank file or a full file of other information. What to do is add a few lines to the top of the file:
export PATH = "$ HOME / Android / tools: $ PATH"
export PATH = "$ HOME / Android / platform-tools: $ PATH"
Now, back up the file and restart the computer.
Linux
Installing PATH on a Linux-based computer is similar to Mac, you just need to edit a few different files.
Using your favorite text editor, open the ~ / .bashrc file. The file may be available with some other items. However, sometimes this file will not exist, you simply need to create a new file and save it as ~ / .bashrc when done.
You need to add the following two lines at the end of the .bashrc file :
export PATH = "$ HOME / Android / tools: $ PATH"
export PATH = "$ HOME / Android / platform-tools: $ PATH"
Save the file and close the terminal window. Open a new terminal and type the following command:
Source ~ / .bashrc
All changes do not affect the files so the SDK will remain in PATH.
After performing the above steps, you have successfully installed Android SDK and can now use tools like adb and fastboot. Right now your Android phone is ready to connect.
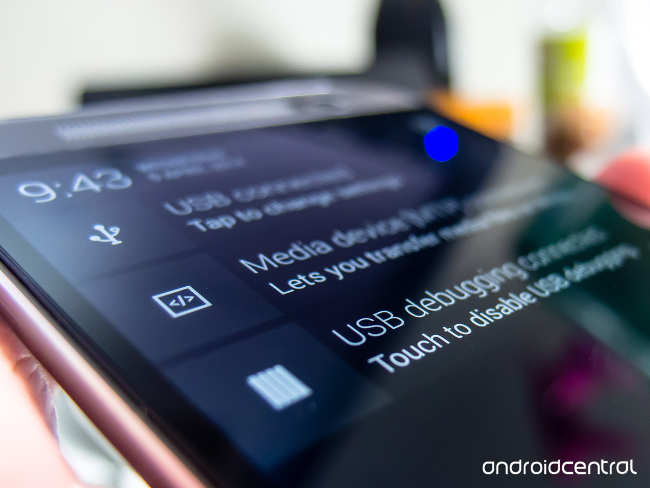
Install Android Emulator
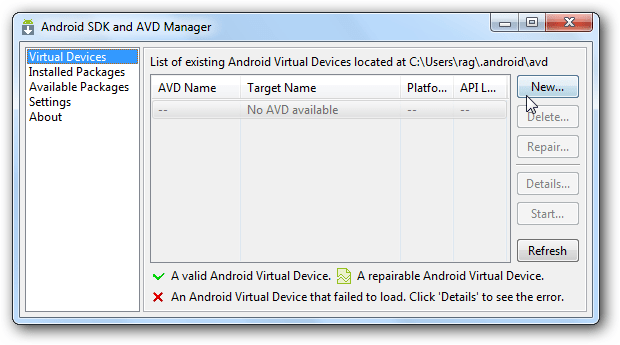
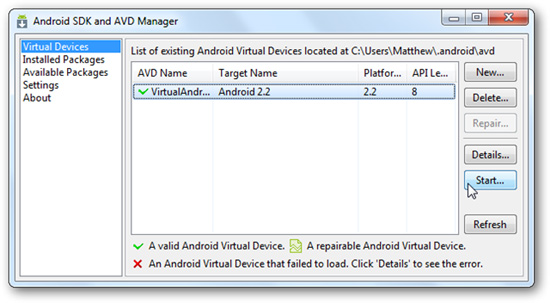
Installation process is complete, you can install the Android trial simulation version on your computer. Select Virtual Devices on the left menu, select New .
Enter a name for your virtual Android version, select the version you want to use (show the version you selected earlier)
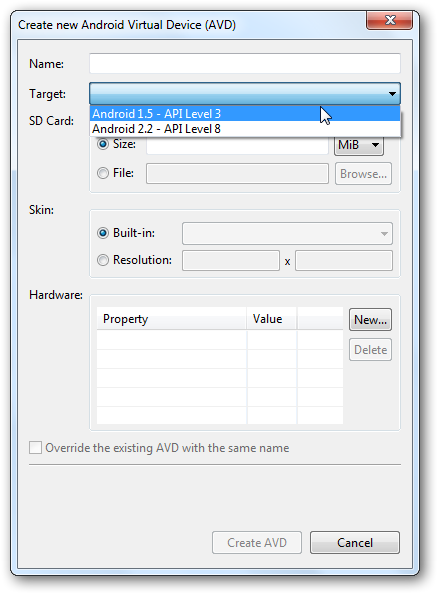
Enter capacity in SD Card. This is the virtual SD card that Android will use to store the settings and files into it. Next, you will have to choose the screen size.
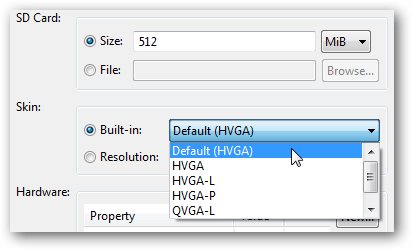
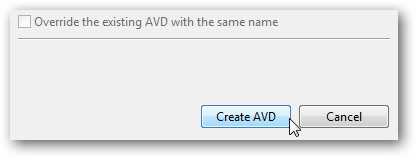
Select Create AVD.
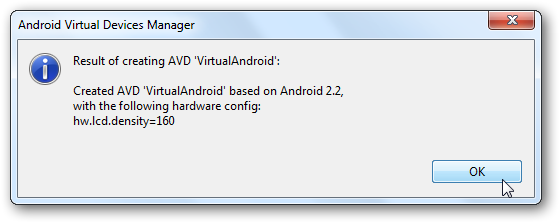
Please wait until the confirmation window is available
Now your computer is ready to run the Android operating system. Choose your virtual Android version and click Start .
You can resize the display screen to suit your computer screen.
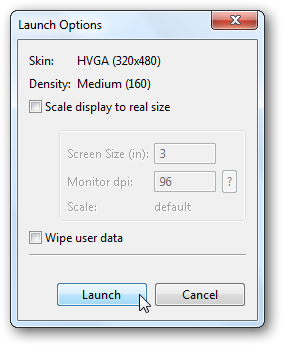
Android operating system will start the simulation version. Some command windows will open, then you can see the real simulation version. There will be a large screen with virtual keyboard displayed.
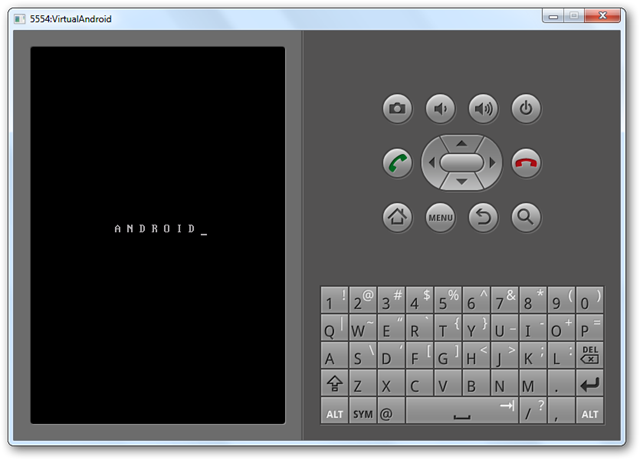
It will take a few minutes for Android to work, especially with the first time you run it.

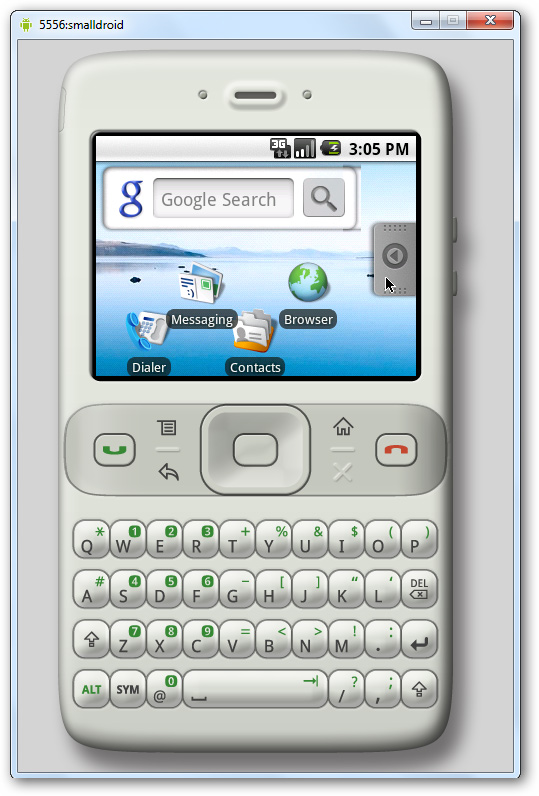
Finally, you will see the display of Android. Use the mouse as usual. Note that you do not have to double-click to open the application.
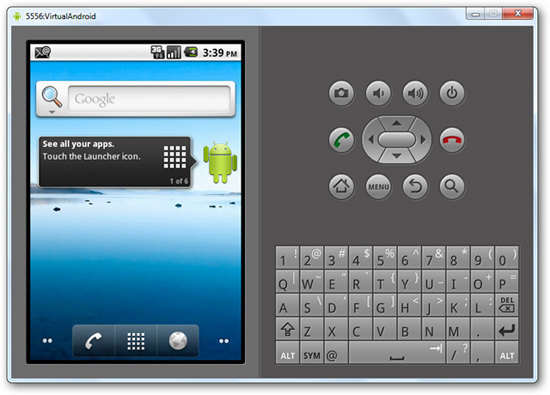
You can open previously installed applications from the menu, although this simulation version does not include the Android Marketplace.
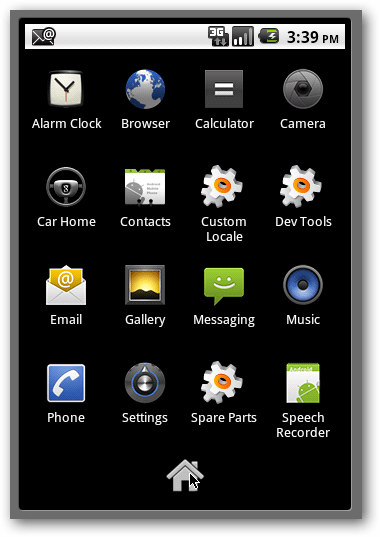
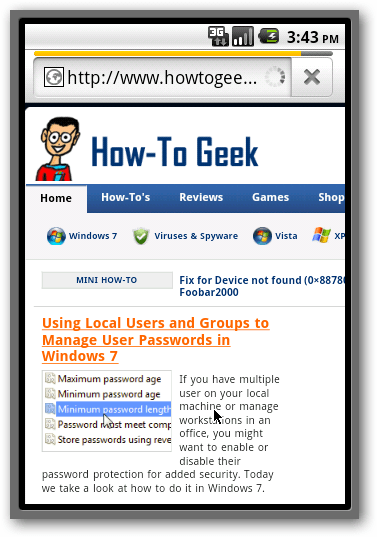
Display your favorite website with the web browser, it will convert to be displayed on Android device. You can add characters on the virtual keyboard screen or with your keyboard.
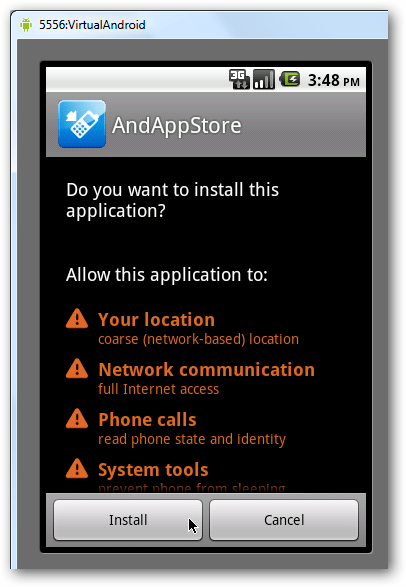
You can also install available online applications
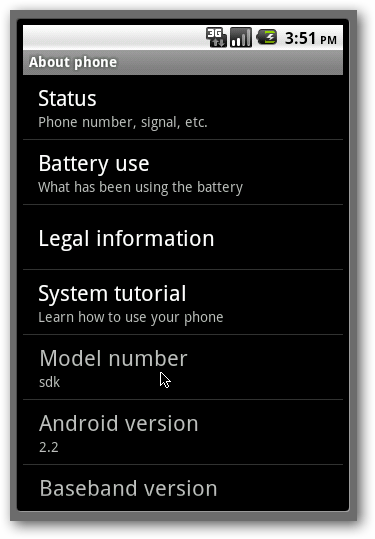
The default application is Email and you can see most of the settings in Android.
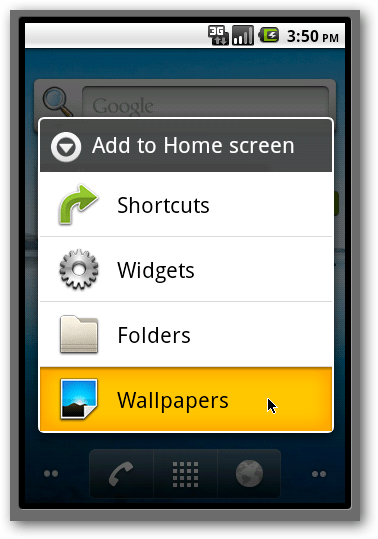
Click and hold on the screen for a while to change the background or try the widgets.
You can even see the Android screen locked if you leave the virtual screen within minutes. Just click the arrow and move it to the other side to unlock the screen.
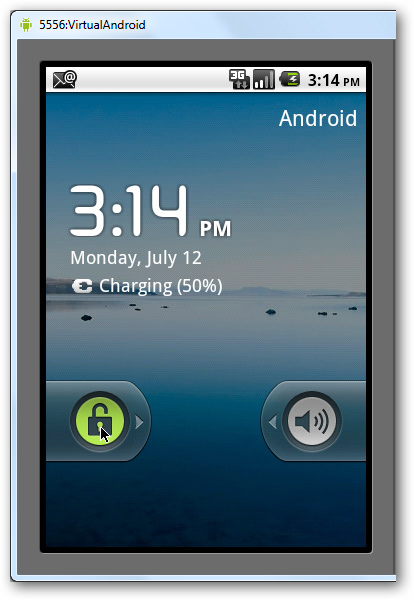
You can repeat the steps above to create a new Android screen.
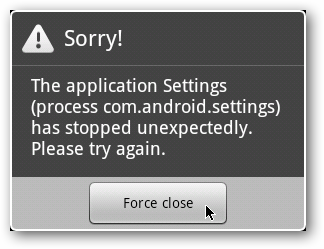
Sometimes during the experience, some errors will occur.
Test virtual Android later
Whenever you want to run a simulated Android virtual machine, simply run the SDK Setup.exe file , choose from the list of Virtual Devices. Alternatively, you can run the simulation by going to the Android SDK folder and opening the Tools folder. Press Shirft and right-click and choose Open Command Window Here.
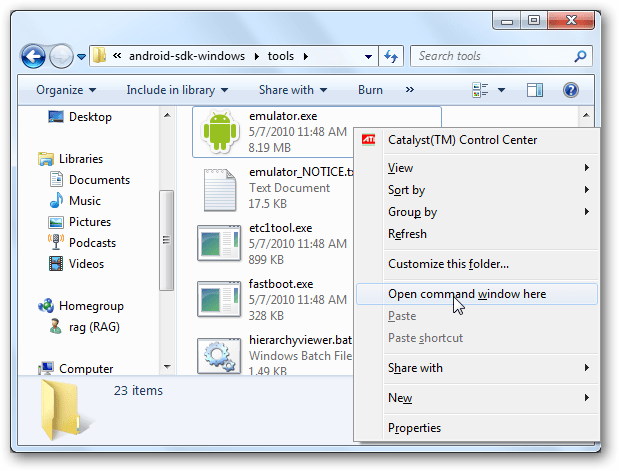
Then, type the command: emulator @your_device

Create Shortcut for Android
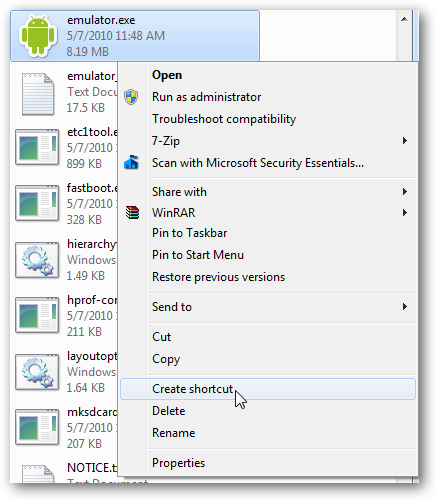
Right-click Emulator.exe in the SDK Tools folder and select Create Shortcut.
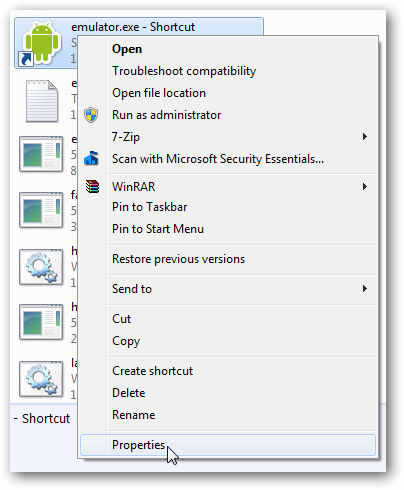
Right-click the shortcut and select Properties
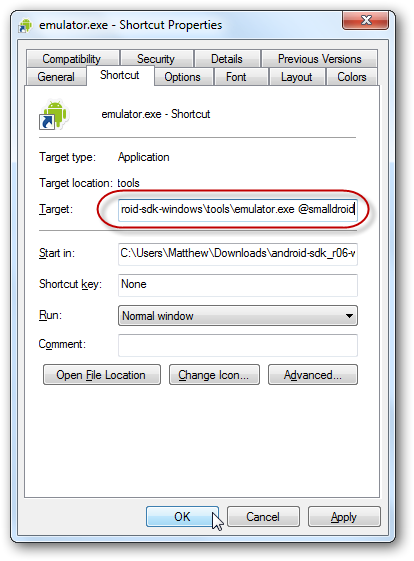
Select the Shortcut tab and go to Target . Enter the name of the Android virtual machine in it and click OK
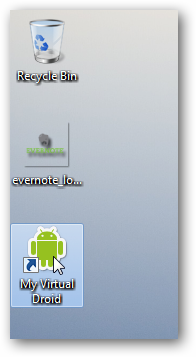
Now you can run Android virtual machine directly from the screen or from the Start menu.
Conclude
Any of you are a technology developer who wants to create apps for Android operating system or simply you are curious about Android and want to try this OS without spending much money, the simulation version of Android is the best way for you to fulfill your wishes.