Protect your Google account with USB 'security key'
Did you know that every day we are using a whole range of Google services: search engines, Gmail services, Play Store, and many other services. Therefore protecting your Google account is quite important. The simplest way to protect your Google account from being logged in by unauthorized bad guys is 2-step verification..
Did you know that every day we are using a whole range of Google services: search engines, Gmail services, Play Store, and many other services. Therefore protecting your Google account is quite important. And the easiest way to protect your Google account from being logged in by unauthorized bad guys is to use 2-step verification.
If you previously used 2-step verification with text messages or voice messages, Google didn't integrate and introduced the 2-step verification feature with a USB security key not long ago.
Protect your Google account with USB "security key":
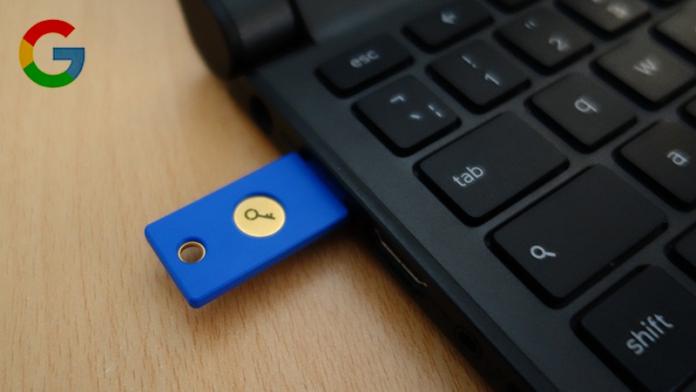
Just insert the USB protection key and login the password to access your Google account. Essentially this process is to use hardware to verify the account.
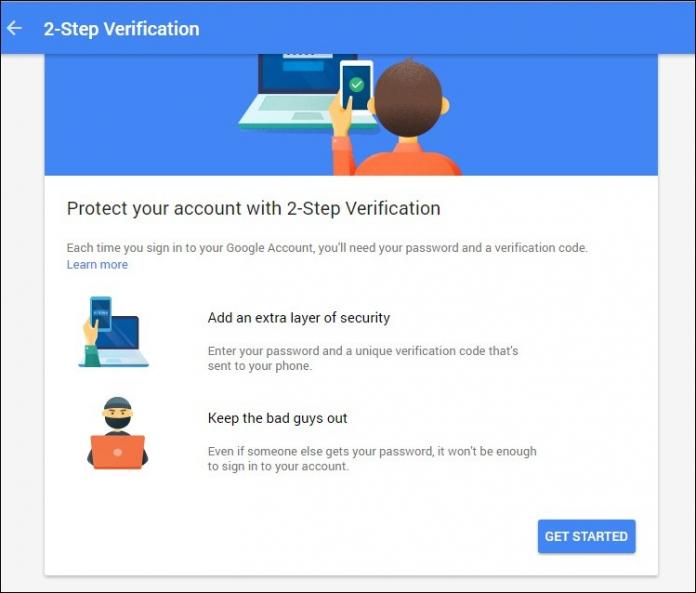
Step 1:
First access the link https://myaccount.google.com/security to access Sign in & Security on your Google account.

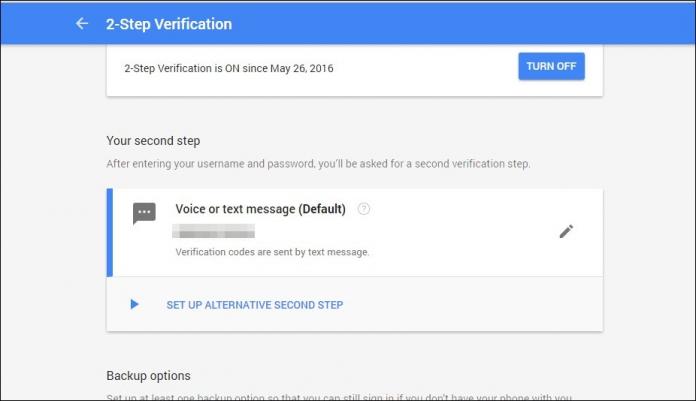
Step 2:
Find the Two-Step Verifications option and activate the option (in case if you have not activated the option).

Step 3:
Click Get Started , then proceed to login your Google account password.
Step 4:
Activate 2-step verification by confirming the code you received.
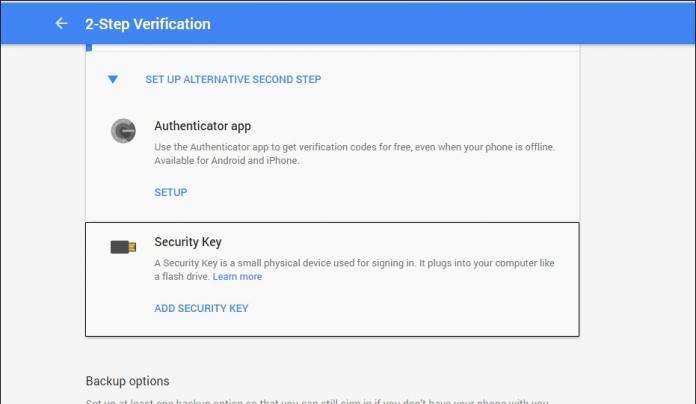
Step 5:
Next select Set up Alternative Second Step , then select Security Keys => Add Security key (add security key).
Step 6:
Click Register , then plug in your USB drive. Once done, click Done.
At this time, the Gmail account verification feature with USB is enabled.

From now on you do not need to confirm the notification you receive on the mobile device anymore. Just enter your username, password and insert the USB drive to log in to your account on your computer or Laptop.
Refer to some of the following articles:
- Instructions for deleting Gmail and Google accounts
- How to detect someone accessing your Google account
- Block Google account with just 4 simple ways
Good luck!