Manage more compact Desktop monitors with Fences
Fences software has the function of supporting Windows computer users to rearrange desktop screen more neatly, bar different items according to user arrangement. If your computer screen looks messy, you can do it ....
For those who are in the habit of saving every recording on the Desktop for easy access, soon your screen will look like a "matrix" with dozens of tiny icons. If anyone has fewer icons, the search is not difficult. But for anyone with a long queue shortcut that covers the entire Desktop, finding a tool, or a folder, takes less of your time.
So why don't you try to think of your screen cleaner becoming more neat, icons bundled into separate items that still appear right on the Desktop? With professional screen management, the Fences tool will take care of the desktop design much more neatly. Along with the Network Administrator to find out how Fences works.
1. How to register for a trial of Fences on your computer:
Fences allow us to try it out within 30 days and will register via email account.
Step 1:
You download Fences following the link below and run the program. We will tick the box to sign the terms , then click Next to continue.
- Download Fences software

Step 2:
Next, you will be redirected to the new window interface. Here, we uncheck the box in the Yes, also install Start10 box to avoid not installing other unnecessary programs. Click Next .

Step 3:
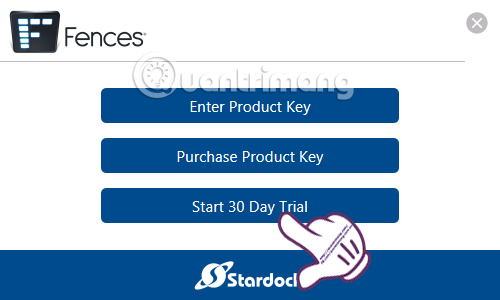
The next thing is to click Next and wait for the automatic installation process. After that, the program will start automatically and a small window will appear. Download the trial version, so click on Start 30 Day Trial to use it.
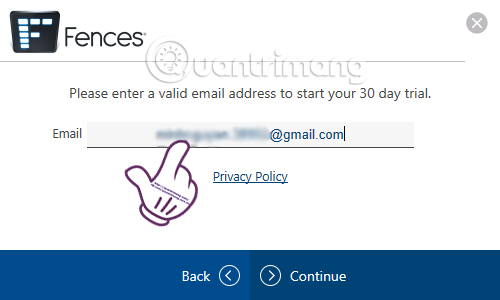
The software will ask you to enter your email address to receive free activation.
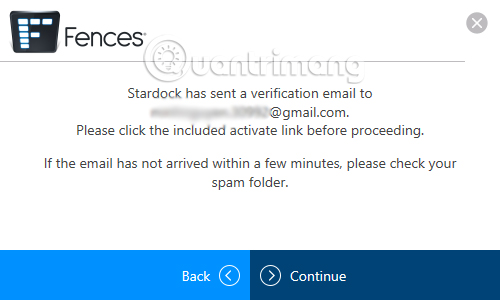
After pressing the button, press Enter and a message window will appear as shown below. Leave the activation window on the screen.
Step 4:
You open Fences activation email account. Click the blue Activate 30-Days Trial button to try it out.

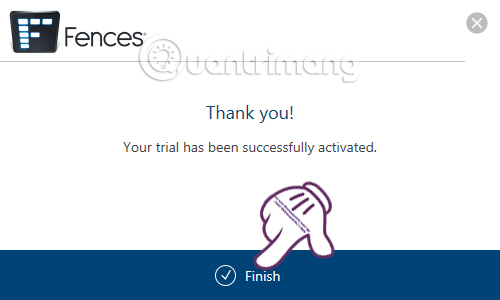
As soon as you click on, Fences' activation window will automatically update and we have finished activating the trial. Click Finish to finish.
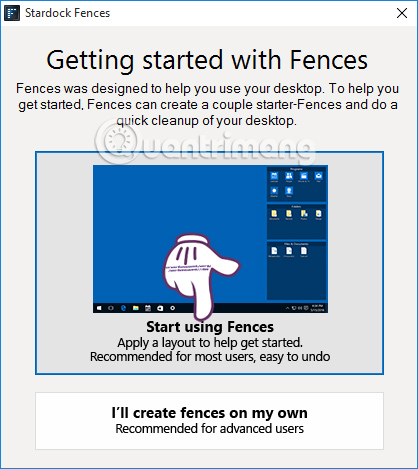
Step 5:
Soon the Stardock Fences window interface will appear. Click Start using Fences to use the program.
2. How to arrange Desktop by Fences:
The setting window of the program will appear as shown below:

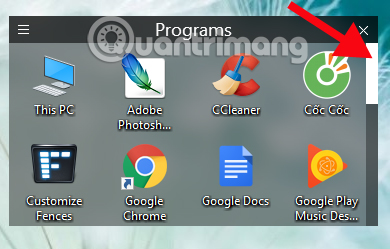
Step 1:
Immediately, your Desktop screen has been divided into 3 different categories , including: Programs , Folder , Files & Documents .

In an item if there are many different programs, you will use the mouse wheel to find the program you need.
Step 2:
You open the program's setup window . On the left menu will be the setting options when using Fences. Currently you will be automatically using Quick-hide layout .

With this arrangement, if we double-click the left mouse on the Desktop, the entire icon will be gone, leaving only the background. To appear again, we double-click again.
Step 3:
If you want to add certain files or programs , just drag and drop into that management area .

Step 3:
To create more folders, left-click on the screen area to create and hold, drag to create a new shortcut container. You can create new area widths as much as you like.
When you release the left mouse button, there are 2 options. Click Create Fences here to create a new entry.

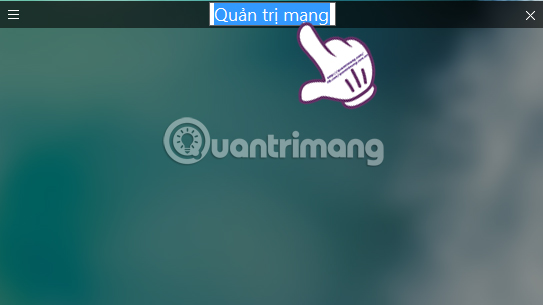
Step 4:
Finally, we'll name that management area .
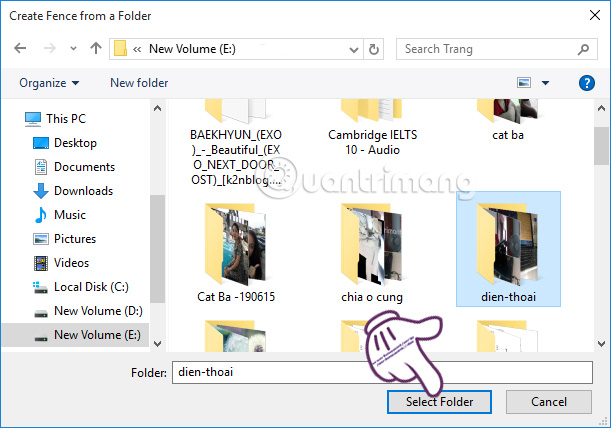
Step 5:
With the Create Folder Portal here option , we will be able to select the folder in the computer to create the management area . Select the folder and click Select Folder .
Soon, the folder will appear on the screen and form the management area. We click on the 3 dashes icon to bring up options for this management area .

As such, we have instructed you to complete the Fences registration steps and how to arrange the Desktop by Fence. Your screen looks tidy and tidy, right ?! From now on, we don't need to strain our eyes to find the program we need.
Refer to the following article:
- Instructions for filming the screen with CyberLink Youcam
- Instructions for filming a screen with Bandicam
- How to show and display screen of Windows Phone on computer
I wish you all success!