Instructions on how to use Outlook 2013 for new people
Many companies use Outlook not only because of its email features, but also other features like scheduling, tasks and contacts. A company can connect Outlook to an Exchange server and people can share the same address book and calendar.
Table of Contents
Many companies use Outlook not only because of its email features, but also other features like scheduling, tasks and contacts. A company can connect Outlook to an Exchange server and people can share the same address book and calendar.
Most people don't install an Exchange server at home and probably don't even know it. However, Outlook also works well on home computers and will still provide all the features that make it a powerful productivity tool such as email, tasks, appointments, address books and many. Other features too.
Outlook is one of the Microsoft Office ecosystem applications, so there are many factors that are familiar to users. Unlike other popular office applications, like Word primarily for creating text documents, Excel makes spreadsheets and PowerPoint presentations, Outlook is a feature-rich application.
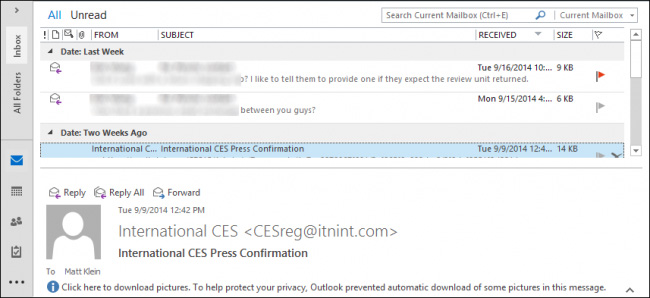
The default view of Outlook is the inbox, the top is Ribbon. Ribbons appear everywhere in Office so users don't need to waste time searching for them. If you want to quickly hide or display the Ribbon, just use CTRL + F1 .

When you click on any menu function at the top, the Ribbon will appear for you to select functions and tools. If you want the Ribbon to always be displayed for easy access, just press " CTRL + F1 " or click on the small pin icon in the bottom right corner.
Home tab

The Home tab on the Ribbon changes according to the context depending on the mode being accessed. In the screenshot above, the Home tab is for Mail .
In the picture below, the Home tab changes when selecting the Calendar option. Note, the pinned ribbon should be changed to an arrow in case you want to collapse it (or use "CTRL + F1").

The remaining Ribbon tabs like Send / Receive, Folder, View and File also vary depending on the mode in use.
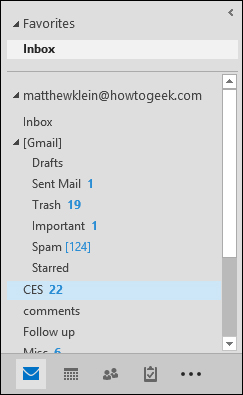
Now let's see how to switch between modes and change the view mode. On the left side, you will see a folder table, at the bottom of this table are the shortcuts for Outlook modes. In this example, you will see icons for Inbox, Calendar, People, Tasks and other icons.
If you click the arrow at the top of the navigation panel, it will expand the table and display the directory tree for the email account.
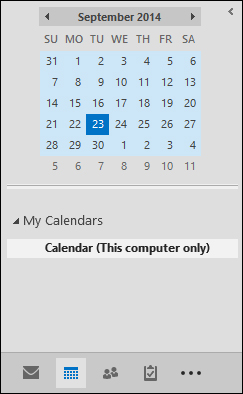
Similarly, when you switch to Calendar mode, you will see the appropriate view in the folder pane.
Click on three dots to access Outlook's other Outlook modes such as Notes , Folders and Shortcuts . Select " Navigation Options " to change the order of the modes that appear.
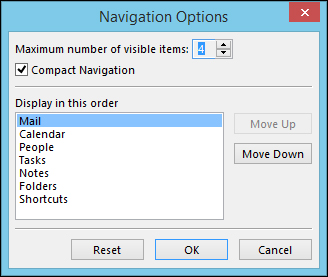
Turn off 'Compact Navigation ' to display in full screen mode. You can also increase or decrease items and their appearance order.
Send / Receive tab
The Send / Receive tab is usually for Inbox but also for other modes such as Calendar, Tasks, etc. although they don't have the same functionality.

For example, the image below shows the Send / Receive tab for Calendar , we may find the Sever section missing when compared to the image above.
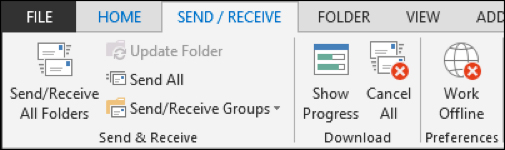
Depending on the type of mail protocol used (in the first screenshot, used with the IMAP protocol), users can download or cannot download titles, messages that have been marked / unmarked, etc. Therefore, the Send / Receive option depends on how to set up an email account.
Folder tab
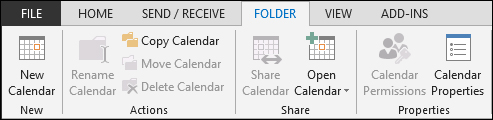
In general, the Folder tab is the same for all modes, except Calendar. In the image below, you can see the Folder tab for Inbox that allows you to do all the folder administration tasks (if you don't use an IMAP account, you won't see the IMAP tab).

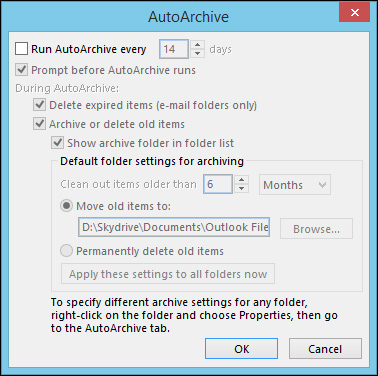
If you want to minimize the mailbox size for easy management, open Options and select ' Advanced '.
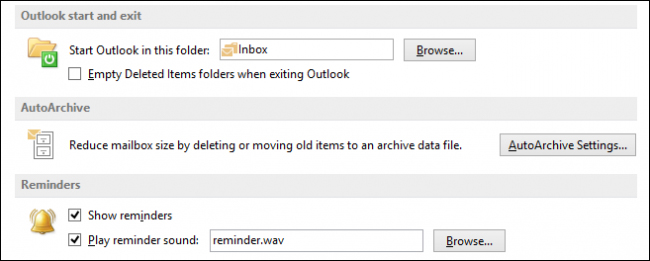
Then, find the AutoArchive option and click the ' AutoArchive Settings ' button to open the settings dialog.
As mentioned earlier, most Folder tabs are relatively similar in Outlook modes, except Calendar has specific calendar functions. For example, in other modes, you cannot copy or move folders, but you can copy or move calendars, etc.
In short, users will manage the most inbox related folders because email can quickly fill up and get messy if not arranged scientifically.
Tab View
The View option contains the following basic functions as shown in the image below.
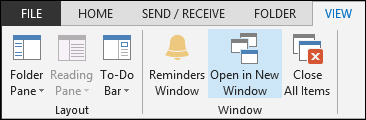
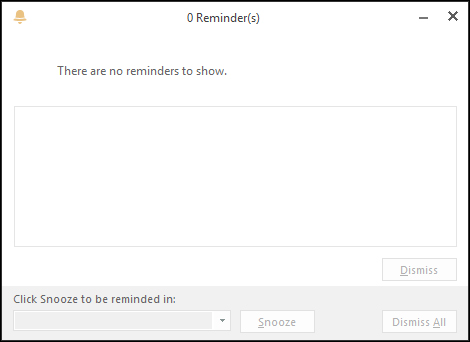
Note, the Reminders Window button is used to view reminders. If there are any prompts displayed, you can choose to delete each reminder, press the snooze button, or delete all at once.
Other View tabs will vary depending on the mode. The image below is the View tab for the Calendar mode, which includes the Current View , Arrangement , Color and Layout sections. The Layout section in the remaining modes has many of the same functions.

Here is the View tab image for Tasks mode.

Use the View tab your way to organize information quickly when the amount of information is large over time. When the calendar is dense, there are many tasks, incoming mail piles up, use different arrangements and layouts to get the best results.
Ribbon according to function
Next, let's discuss the choices that change according to the functions. The image below is the functions needed to compose a basic email with attachments, tagging and text formatting. All of these functions are very easy to use, not complicated.

Compare it with Ribbon for Task mode, accessible by starting or opening a task.

Compare this tab with the Insert tab. The Insert tab doesn't change much in Outlook, you can use the same options and functions for email content, tasks, calendar events, etc.

Email messages will add an Options tab, containing some useful features. In addition to the options in the Theme section, it also has BCC (used in case you want to hide recipients from email headers) and tracking functions. In general, there is nothing special here, unless you want to receive a delivery receipt or a read receipt.

The Format Text tab for modes is the same. This tab is similar to the Word formatting function, so if you already use Word, these functions should not be unfamiliar to you.

Finally, the Review tab is used to check spelling and grammar, count words, etc.
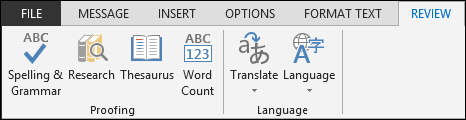
The same Review tab in Outlook applications. Note that it also contains the Language function to set the language, check and translate items in case someone sends a message or text in another language.
Set up automatic and manual email accounts
Automatic email settings
When you first start Outlook, you need to set up an account.

Here, the user will have two options, one is to set up an Outlook account now, the other is to skip this section and add the account later.
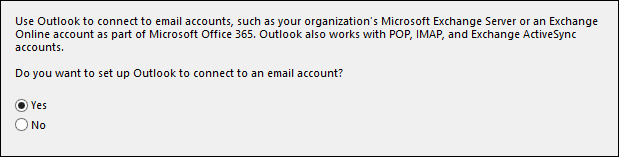
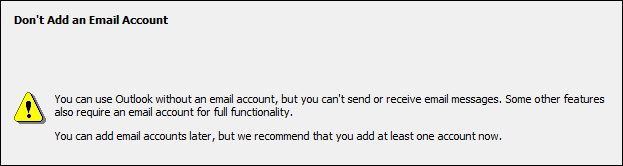
If " No " is selected, a warning message will appear indicating that if you do not have an email account you will not be able to send or receive email and some other features of Outlook. Of course, you can still use it to track jobs, take notes, keep calendars, and other things, but Outlook is really a mostly email-focused experience.
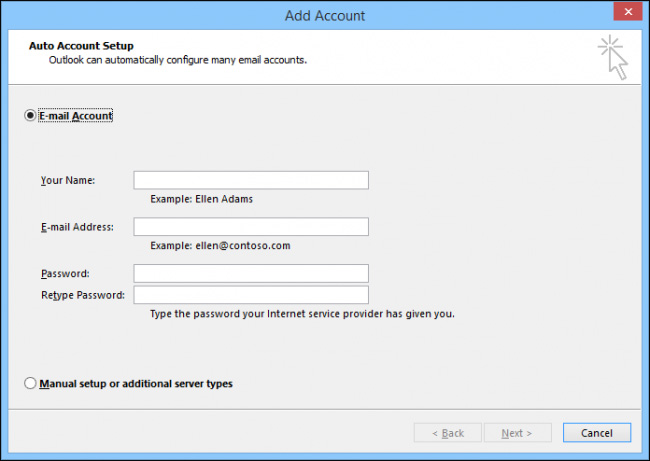
Therefore, you should set up Outlook with an email account. First, enter some information about your account and the application will automatically detect the settings.

If the application does not automatically install, you need to set up the server type, then select ' Manual setup ' and click ' Next '.
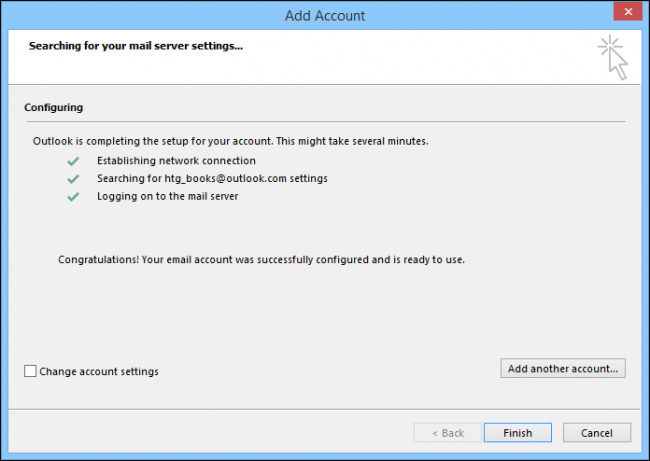
Using the Outlook.com account is the easiest way, if you want to set up a non-Microsoft mail, you will have to configure it manually. Then, click ' Finish ' to complete the setup.
Manual email account settings
Now we will set up another account. Thankfully, you can set up Outlook to work with different email accounts with POP and IMAP.
POP and IMAP?
POP or Post Office Protocol is the email protocol used to download mail. If you've ever used an email application to connect to an email provided by an ISP, or receive mail from a webmail service, you need to connect using POP.
If you set up an account to work with IMAP, Outlook will copy the online directory structure and synchronize the email. Email will not be deleted from the server, and you can simply choose to download the message headers, which is great if you have thousands of messages in your directory.
- Differentiate POP and IMAP
Add and manage email accounts
Adding and managing multiple email accounts in Outlook is simple. If you want to add a new email account, click on the " File " tab on the Ribbon and click " Add Account ", the Auto Account Setup screen will appear. If you want to set up your account yourself, select " Manual setup " and click " Next ".
As mentioned above, you can choose POP or IMAP protocols, and setting up an account with either of these protocols will cover the email service provider. That means if using Gmail or Yahoo! mail, or even an email provided by an Internet service provider, you should consult with them or search the Internet for specific instructions and settings for use with Outlook.
- How to turn on POP / IMAP Gmail to use in Outlook
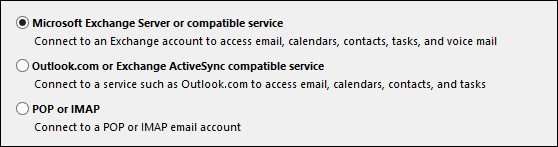
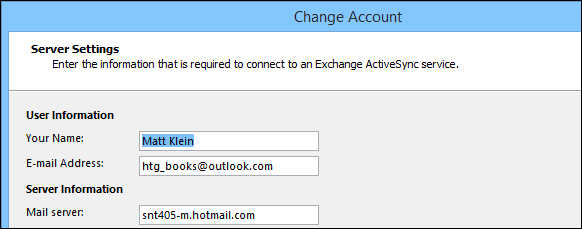
On the other hand, if you're using Outlook.com or another Exchange ActiveSync type service, the setup will be simpler.
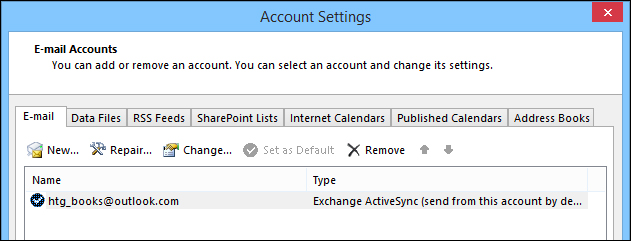
Once you have added an account, if you need to manage these accounts, you can select the account you want to use from the drop-down menu at the top of the Account Information page on the File tab, then click ' Account Settings ' and' Account Settings . From the results window, you can create a new account, change the current account, delete, set it as the default account (if there is more than one mail account), change the other settings if necessary.
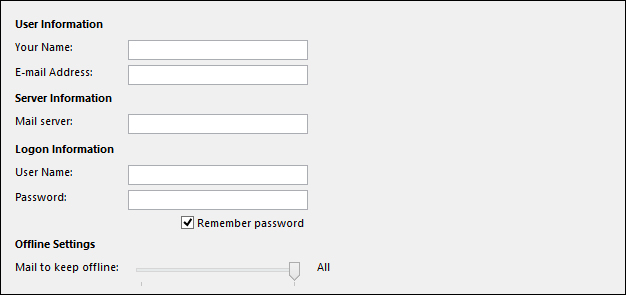
The picture below is the setting for Outlook.com account.
The following is an IMAP setting that is manually configured according to the settings provided by Google.
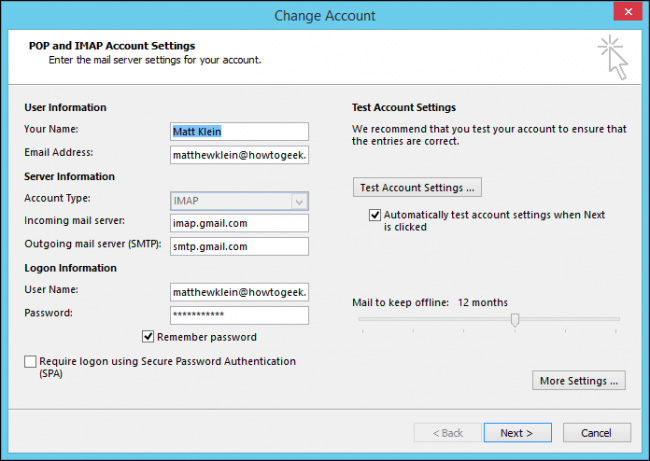
Click "More Settings ." to learn the server port settings.
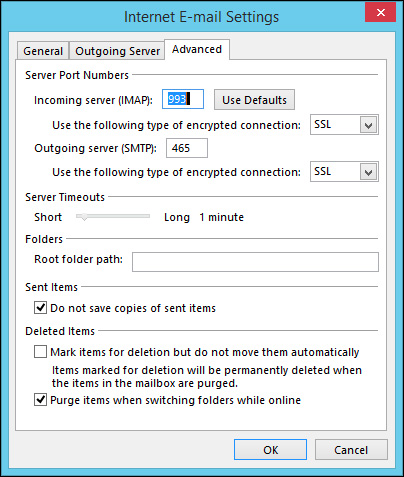
Remember, you only have to set it once and not next time unless you want to change your password or add or delete an account.
Although many people like to use Gmail or Yahoo! Mail but Outlook is convenient when there are multiple email accounts such as personal email accounts, jobs, etc. you won't have to switch between accounts every time you receive new mail, just use it on Outlook. In addition, you can schedule appointments, manage tasks, etc. This is really an effective solution, and brought back to Office by Microsoft and is an important part of the daily use habits of many users.
See more:
- Some tips for Outlook 2013
- Instructions 4 simple ways to backup Outlook data
- How to create a folder in Outlook 2013 by creating a rule
Was this article helpful?
Your feedback helps us improve.
Related Articles
 How to install and remove add-ins in Outlook2 minutes read
 Instructions on how to use Outlook from AZ for beginners3 minutes read
 Shortcuts in Outlook.com3 minutes read
 How to Schedule an Event in Outlook2 minutes read
 How to create AI theme for Outlook2 minutes read
 Instructions for basic steps to backup Outlook data9 minutes read
Reader Comments 0
Sign in with email or Google to join the discussion.