Table of Contents
Windows 7 can be installed from a licensed DVD or bootable USB; after the computer boots from the media, the Setup steps are essentially the same. Installing from files stored on the internal hard drive is a limited legacy method and is not suitable for a blank disk or for safely replacing the running system.
Windows 7 support ended on January 14, 2020. Microsoft lists the product as out of support on the Windows 7 lifecycle page. Reinstall it only for a genuine legacy requirement, and keep it isolated from the public internet where possible.
Before you install
- Back up all personal files, application data, and license records to a separate drive. A custom installation can erase the target disk.
- Use original licensed media or an ISO from an authorized source and a valid license for the edition you install.
- Download storage, chipset, USB, network, and graphics drivers for the exact PC model before erasing the current system.
- Check that the hardware actually supports Windows 7. Many newer PCs lack Windows 7 drivers and may use UEFI, NVMe, or USB controllers that the installer cannot handle.
- Disconnect nonessential external drives and, when practical, other internal drives so they cannot be selected accidentally.
Choose DVD, USB, or a virtual machine
| Method | Best for | Important limitation |
|---|---|---|
| DVD | Older PCs with a working optical drive | Disc and drive must be reliable; many newer PCs lack optical drives |
| Bootable USB | Most physical installations | The USB is erased during creation and must match the PC's boot mode |
| Virtual machine | Running a legacy application on a supported host | Still requires a Windows license and does not make the guest inherently secure |
| Mounted/internal ISO | Limited compatible setup scenarios | Cannot install to a blank disk and is unsuitable for erasing the active Windows partition |
For USB media, compare the tools in our bootable USB guide and test the USB before installation.
Boot from the Windows 7 media
- Insert the DVD or connect the bootable USB.
- Restart the PC and open its one-time boot menu using the key documented by the manufacturer.
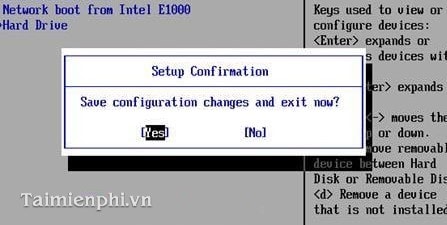
- Select the optical drive or the correct USB entry. If both UEFI and legacy entries appear, use the mode compatible with the target disk and hardware.
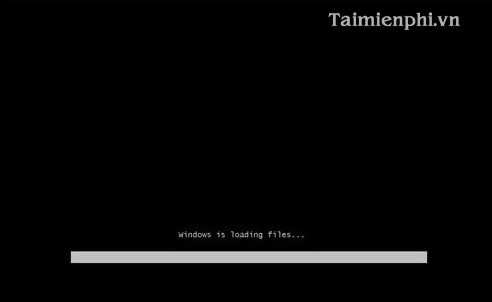
- If prompted, press a key to boot from the media. Setup will load files.
Complete Windows Setup
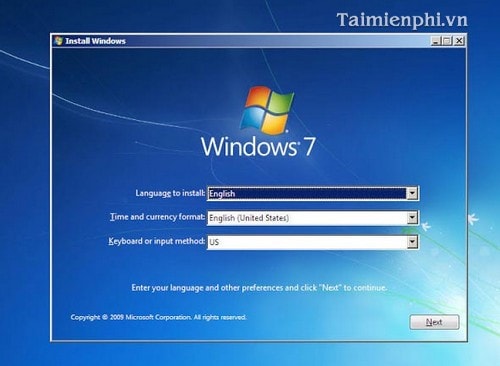
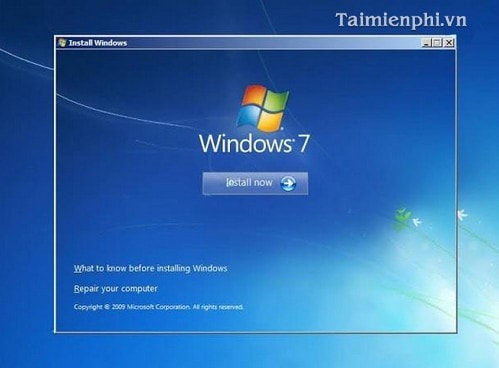
- Select language and keyboard settings. Verify each value, choose Next, and then select Install now.
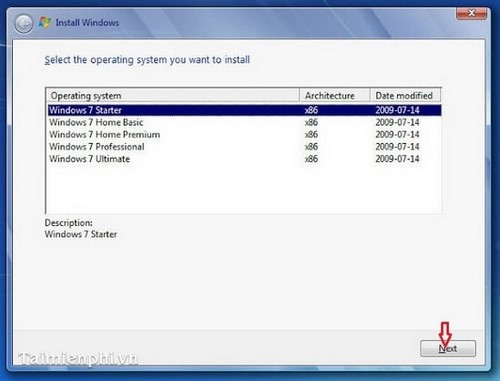
- Choose the licensed edition. Select only the edition covered by the product key or digital entitlement associated with the computer. A key for Home Premium, for example, does not normally activate Professional.
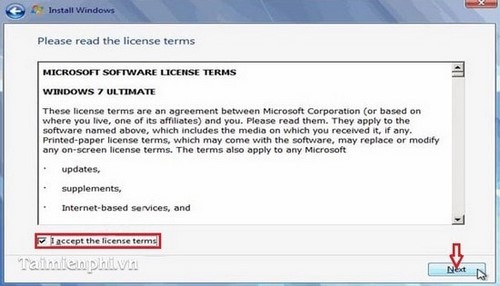
- Review the license terms. Continue only if you accept them and have the right to install that copy.
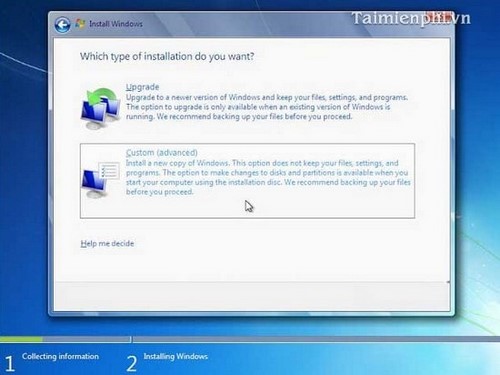
- Select the installation type. Choose Custom (advanced) for a clean installation. This option does not preserve installed applications and can overwrite data.
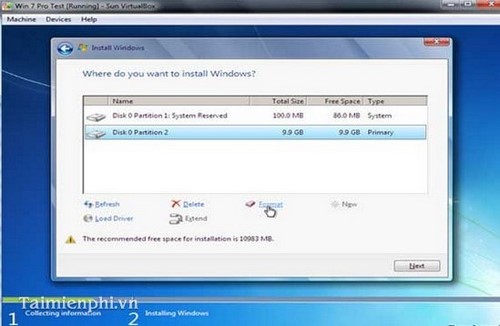
- Choose the destination carefully. Identify the disk and partition by size and existing labels. Drive letters in Setup may differ from those in the old Windows installation. Format or delete a partition only after confirming the backup and exact target.
- Let Setup copy and expand files. Keep the computer connected to power. It may restart several times.
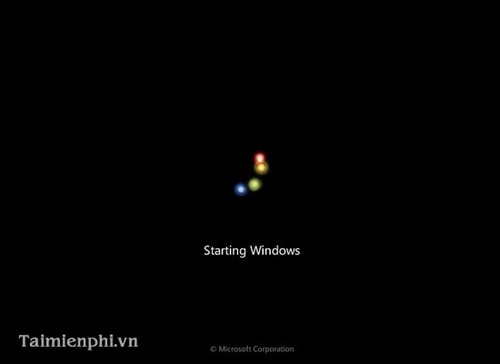
After the first restart, do not press a key to boot from the DVD again. If the installer starts over, remove the disc or select the internal drive in the boot menu.
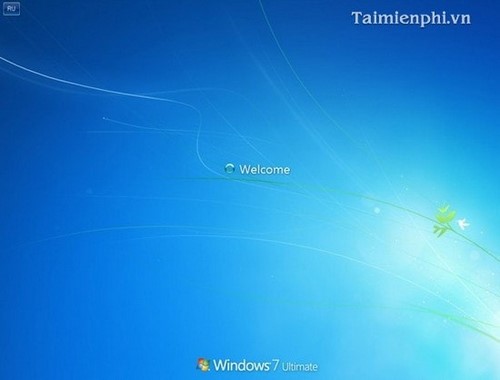
- Finish initial configuration. Set the user name, computer name, password, time zone, and network location. Enter a valid product key for the installed edition when requested or complete legitimate activation afterward.
If Setup cannot continue
No disk is shown
The installer may lack a storage-controller driver. Obtain the Windows 7 driver from the PC or motherboard manufacturer and load it from removable media. Do not randomly switch RAID/AHCI settings on a disk that contains an existing system.
USB keyboard or mouse stops working
Windows 7 media may lack drivers for a modern USB controller. Try a compatible port documented by the manufacturer or use model-specific installation guidance. If the manufacturer never supported Windows 7, a virtual machine is the safer route.
The PC will not boot the media
Verify the DVD or USB on another system, check whether the ISO supports the selected firmware mode, and review the manufacturer's Secure Boot instructions. Do not disable firmware protections without understanding the effect on the existing system.
After installation
- Install only manufacturer-provided drivers and confirm that Device Manager has no unknown devices.
- Activate Windows with the valid license for the installed edition; skipping key entry during Setup does not provide a free license.
- Restore personal files only after the system is stable.
- Do not use an unsupported Windows 7 system for email, banking, password storage, or everyday web browsing.
- Keep a complete backup or VM snapshot so the legacy environment can be restored without downloading an untrusted prebuilt image.
If the purpose is one old program, consider a virtual machine instead of changing the physical PC. TipsMake's VirtualBox and VMware comparison outlines the main choices.
Related Articles
 Install Win 7 from Your Hard Drive, No Need for USB, Install Win7 minutes read
 How to Install SSD Hard Drive NVMe M. 2?4 minutes read
 Tips for Using Bootice to Install Windows from the Hard5 minutes read
 Instructions to Mount the Hard Drive Into a Folder on Windows 106 minutes read
 How to Install an Additional HDD for Your PC: Step-by-Step Guide8 minutes read
 Instructions for Using Clonezilla to Copy Windows Hard Drives9 minutes read
Reader Comments 0
Sign in with email or Google to join the discussion.