Table of Contents
To create a useful mind map with Gemini, first turn the source material into a checked outline, then ask for a diagram. This separates the factual work from the visual layout and makes missing ideas easier to spot.
Create a mind map from lesson notes
1. Upload readable source material
Prepare clear photos of the relevant pages or a PDF. Start with one lesson or a short section so the map stays focused; five pages is a practical starting point, not a file-upload limit. Include the page order and avoid cropped sentences, glare, or blurred text.
Upload the material to Gemini and ask for an outline:
Summarize this lesson for students in [grade]. Use only the supplied material. Identify the central topic, main branches, and supporting details for a mind map. Flag any text you cannot read instead of guessing.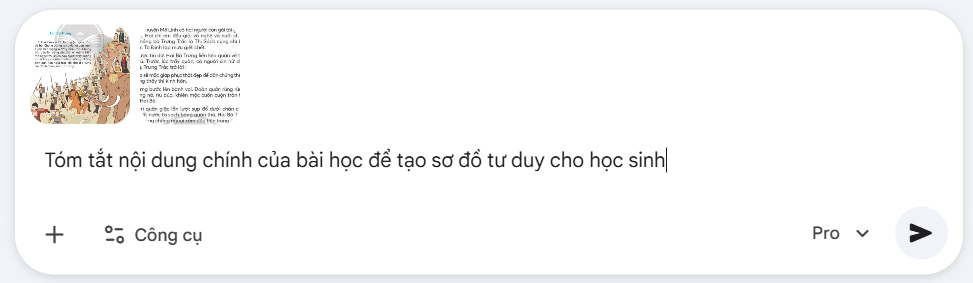
2. Check the outline
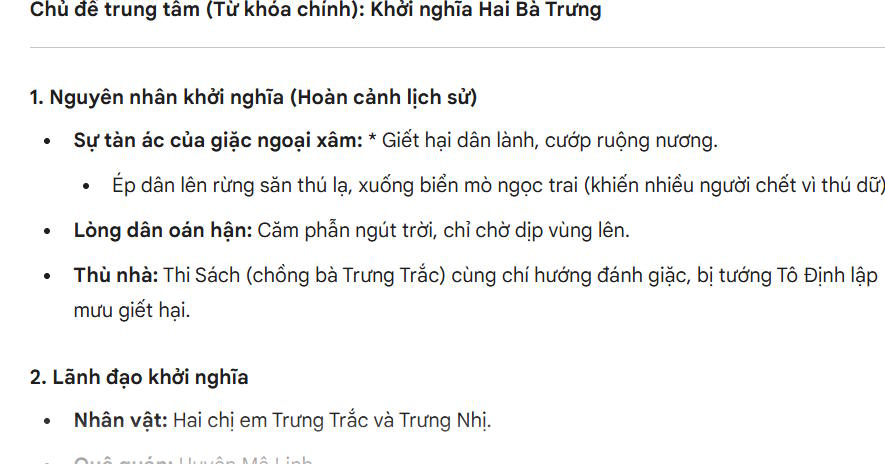
Compare the summary with the lesson. Confirm definitions, names, dates, formulas, and the relationships between ideas. Remove repeated points and restore important qualifications. Keep a short heading for each branch and only the details students need.
3. Request the diagram
Copy the corrected outline into a new conversation if you want to keep the diagram request separate. Ask Gemini to create an image of the map using its image-generation tool, where available:
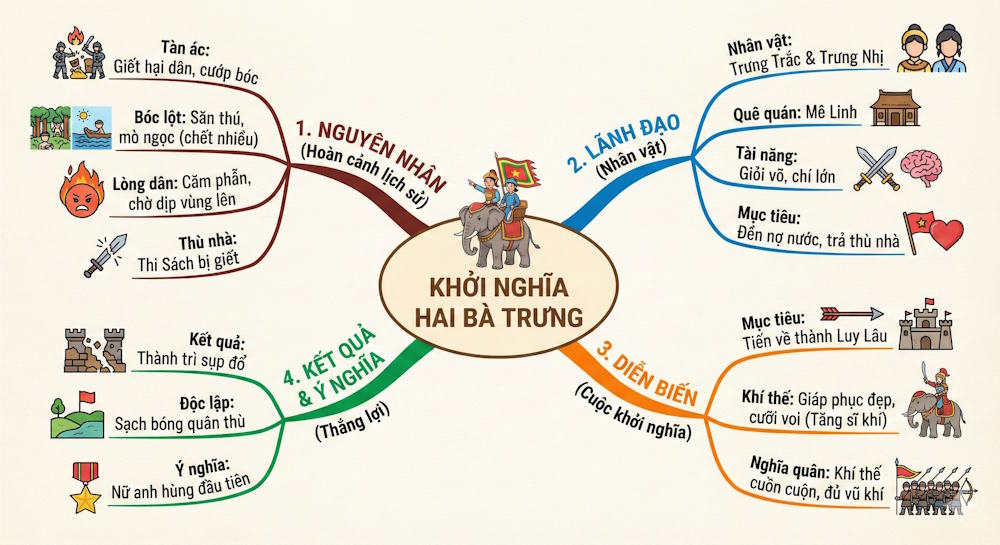
Create a mind map for students in [grade] using this checked outline: [paste outline]. Put [topic] at the center. Use clearly separated main branches and smaller supporting branches, short readable labels, and a different color for each main branch. Use chronological branches only if time order matters. Include 3–5 points per branch where the source supports them; do not add facts to fill space.
Check the generated map against the outline. If labels overlap or the text is too small, request fewer details or split it into two maps.
Create a mind map from a story
1. Build an accurate story outline
The original workflow uses ChatGPT to outline the story before moving the result to Gemini. You can follow that approach or ask Gemini for the outline directly. Paste the story and request:
Outline this story for students in [grade]. List the setting, main characters, and events in numbered order. Include the problem, important turning points, and ending. Use only events in the story and distinguish what happens from your interpretation.
Read the outline beside the story. Correct the order of events and make sure it does not invent motives or leave out an event needed to understand the ending. Copy the checked outline into Gemini.

2. Generate the story map
Use Gemini's image tool if it is available in your account. The screenshots show the tool and model used for the original example; your interface may differ.
Create a readable mind map from this checked story outline: [paste outline]. Put the story title at the center. Show the setting and characters on separate branches, then number the event branches in story order. Use bright, distinct colors and short labels. Preserve the names and events exactly; do not invent scenes.
Inspect every label before downloading the image. Generated text can be misspelled or incomplete, so ask for corrections when needed. Open the downloaded file at the size you will project or print to confirm that students can read it.

When you need an editable map
An image is convenient for display, but individual nodes may be difficult to edit. For a map you can rearrange, use the checked outline in one of these online mind-mapping tools. For a source-focused alternative, see TipsMake's NotebookLM mind-map tips.
Related Articles
 How to Create Mind Maps for Lessons Using Gemini5 minutes read
 How to Create Mind Maps Using AI4 minutes read
 Transform Lesson Content into Catchy Songs Using Gemini: Explained4 minutes read
 Tips for Quickly Creating Automated Tests on Gemini4 minutes read
 A Guide to Creating Presentation Slides Quickly Using Gemini4 minutes read
 Guide to Designing Lecture Slides Using Gemini4 minutes read
Reader Comments 0
Sign in with email or Google to join the discussion.