Instructions for installing PostgreSQL on Windows operating systems
Instructions on how to install PostgreSQL database management system on Windows operating system. Link to download the latest PostgreSQL version for database administration ..
Table of Contents
Working with data is becoming more and more of an essential skill that you should equip in order to gain more career opportunities in your career. Yes, and when working with data, we can't help but mention database management systems. Some typical names such as: MySQL, SQL Server, Oracle, PostgreSQL .
Most of you have heard or worked with the first three names. But PostgreSQL is also a very interesting database management system.
Therefore, in this article, I will guide you how to install PostgreSQL on Windows operating system in the most detailed and complete way.
Instructions for installing PostgreSQL on Windows
+ Step 1: First, download the installation file of PostgreSQL from this link here!
You can choose the latest version at the time you access the download page.
But I recommend that you choose the versions that are not too new to avoid incompatibility and instability. At this point I will download version 12.4.

+ Step 2: This is the file after downloading.

Double-click the downloaded file to install. The interface will appear as shown below => and you click Next to continue.

+ Step 3: Next to the section you choose the installation directory. You can leave the default as link (1) or if you want to change, select the icon (2) => Finally click Next to continue.

Step 4: Next to the installation of components. Here you uncheck the Stack Builder box because we can install it later and it is not really necessary => Then click Next to continue.

In this step you will choose the location to save the Database. By default, the file location will be shown as number (1) in the picture. You can choose the icon (2) to change the location to save Database if you want.
=> Continue to click Next to move to the next step.

+ Step 5: At this point you choose a easy to remember password to use to log into the data management system => then Next to continue.

+ Step 6: Continue, you will choose a Port for PostgreSQL server to run. The default is 5432 and I recommend that you choose to leave it as such.

In this step you also leave the default and then select Next.

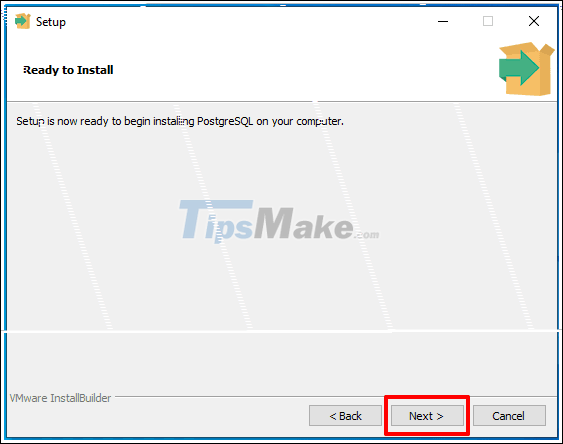
This is the screen to confirm the choices you have made just now. Click Next to confirm the installation begins.

Click Next and the installation will begin.
The installation is in progress (about 2-4 minutes depending on your machine configuration and network speed).

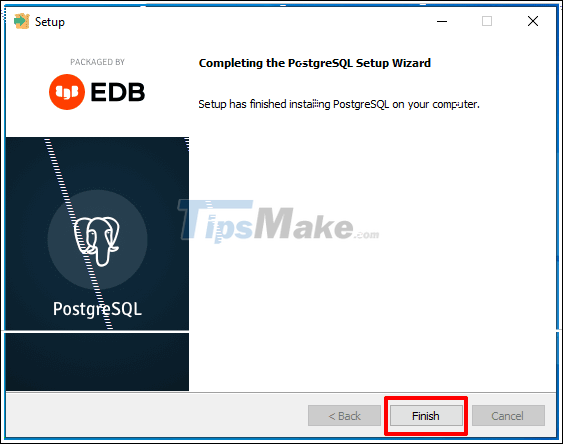
+ Step 7: After installing in this screen, click Finish and the installation is successful.
And this is the initial interface after you log in and the Server.

Epilogue
Ok, so I showed you how to install PostgreSQL database management system on Windows operating system. You can read more about this database management system here.
Hopefully the article will be useful to you, wish you success!
Was this article helpful?
Your feedback helps us improve.
Related Articles
 How to Install and Configure PostgreSQL in Django8 minutes read
 Instructions for installing two Windows operating systems on one computer10 minutes read
 Instructions for installing screensavers on Windows6 minutes read
 These operating systems can be installed on Macs3 minutes read
 Interesting operating systems may be unknown to you8 minutes read
 Video for trial Windows 8 RTM2 minutes read
Reader Comments 0
Sign in with email or Google to join the discussion.