Instructions for grouping contacts on iPhone
Dividing contacts on iPhone will help you easily contact each group, such as groups of relatives, friends or work contacts..
Grouping contacts on iPhone will help you easily contact each object, such as groups of relatives, friends or work contacts. This also helps you quickly find contacts, or send mass messages on iPhone faster. Below are instructions for grouping contacts on iPhone.
How to group contacts on iPhone
Step 1:
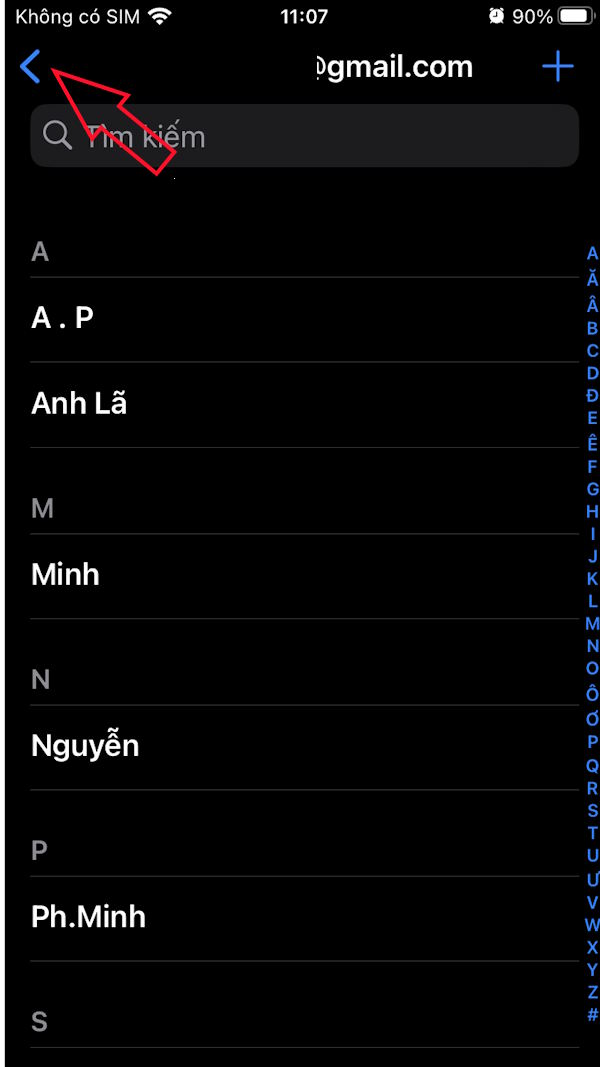
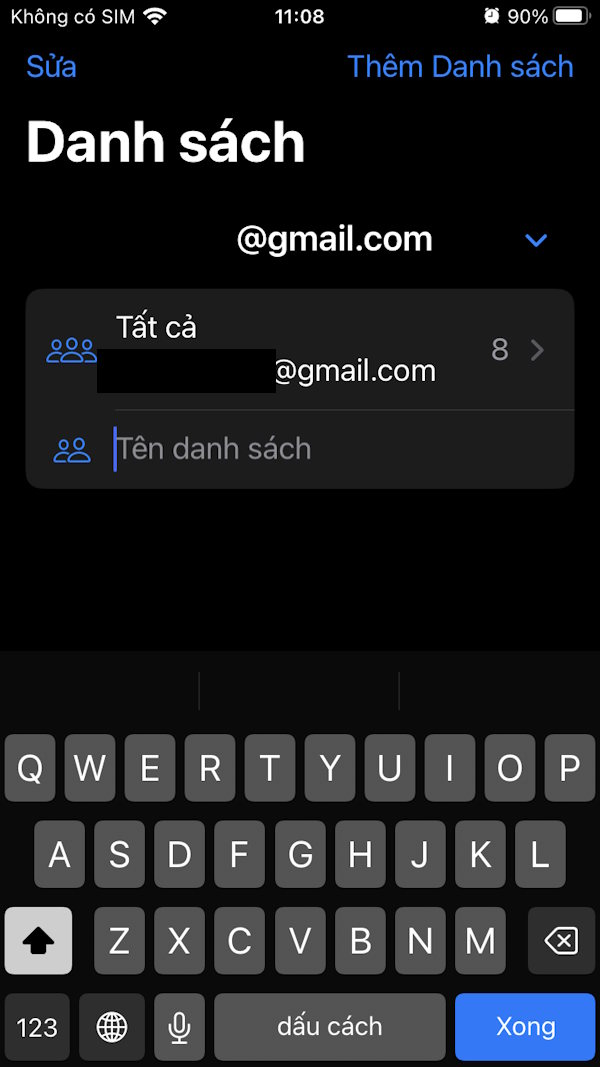
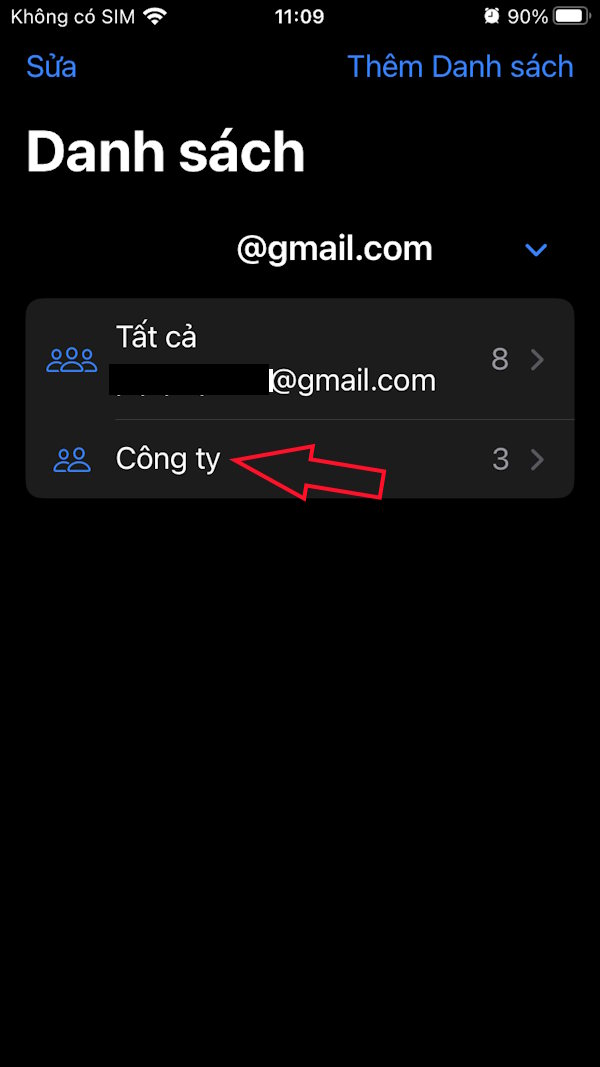
In the contacts interface on iPhone, click on the arrow icon to open the List interface. Now the user selects Add List in the top right corner.

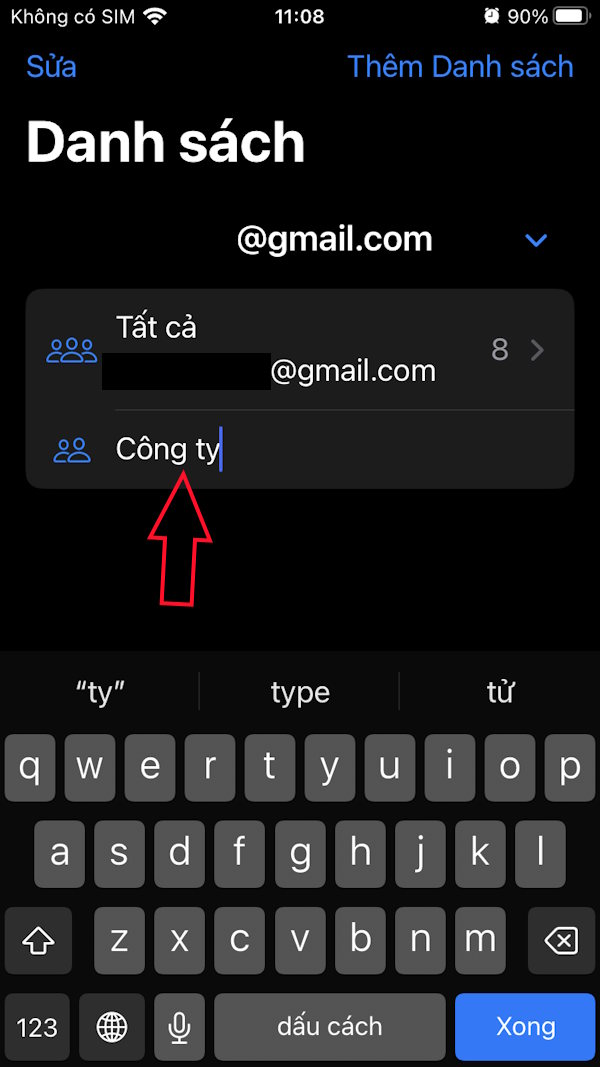
Step 2:
You enter the name for the contact group you want to add contacts to this group.
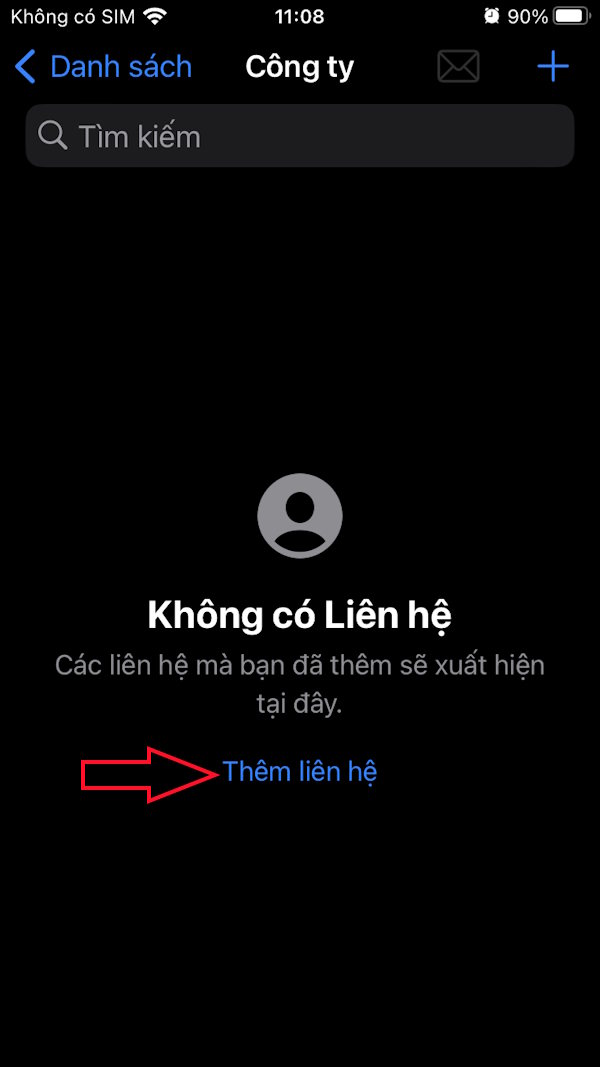
Step 3:
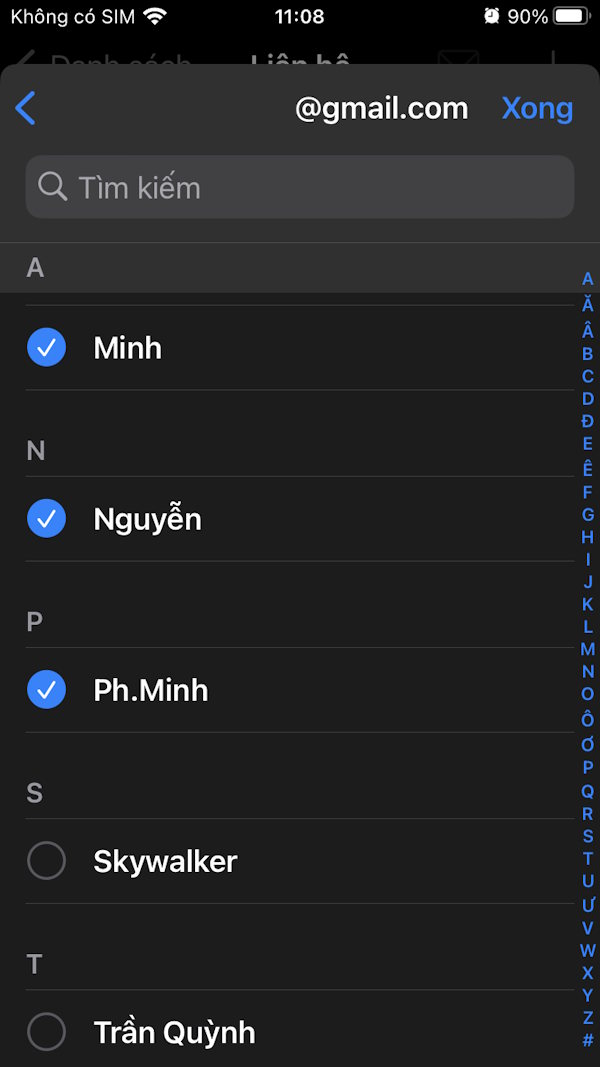
Users click Add contact to select contacts to this group. You select the contacts to add to this contact group .
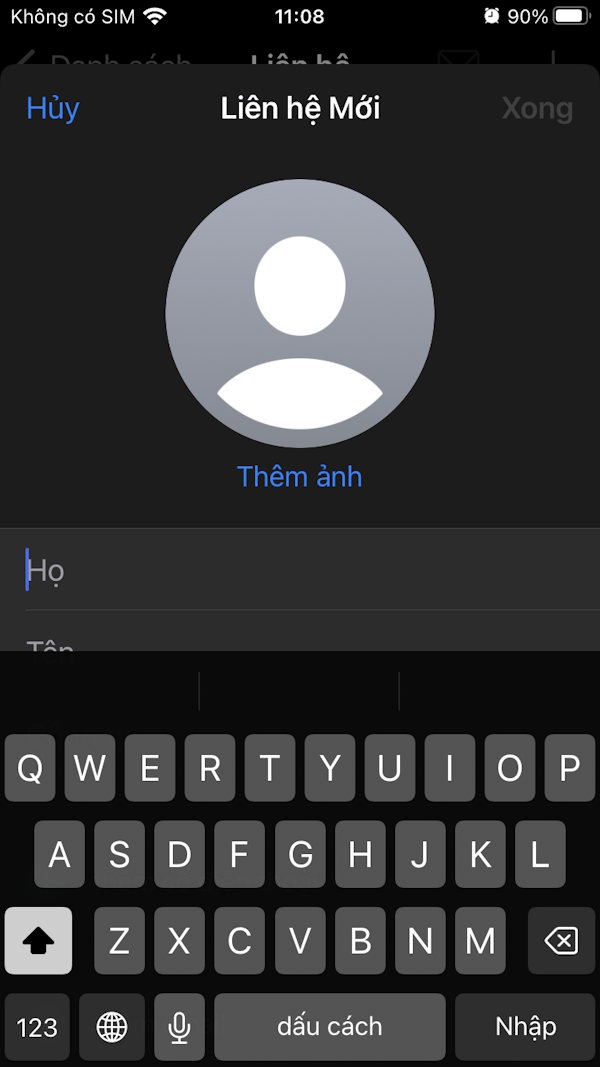
Or you can add new contacts to this contact group if you want.

Step 4:
So you have completed grouping contacts on iPhone with different contact groups.
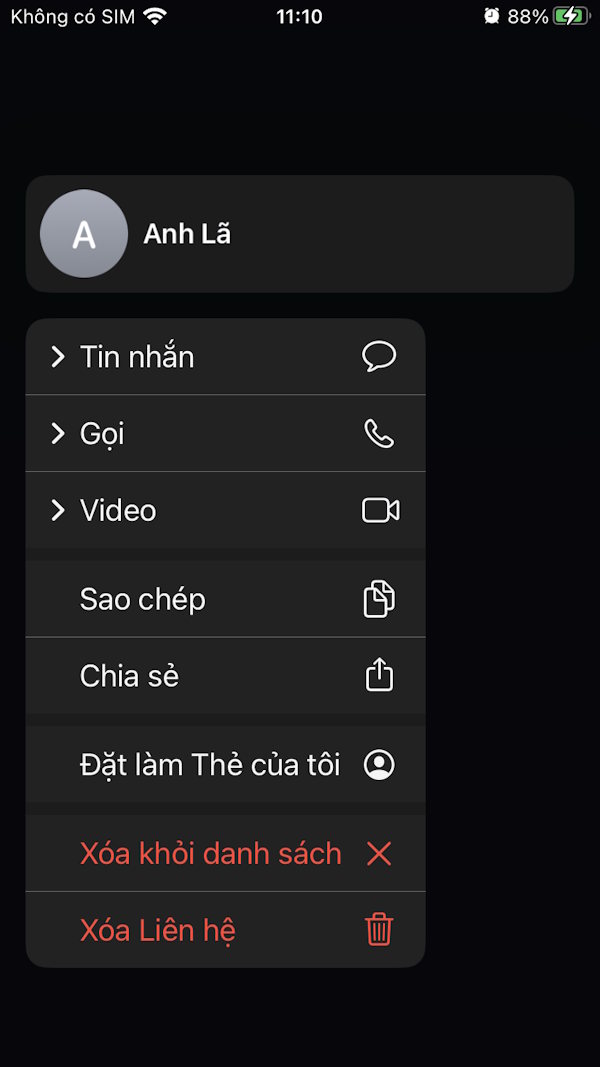
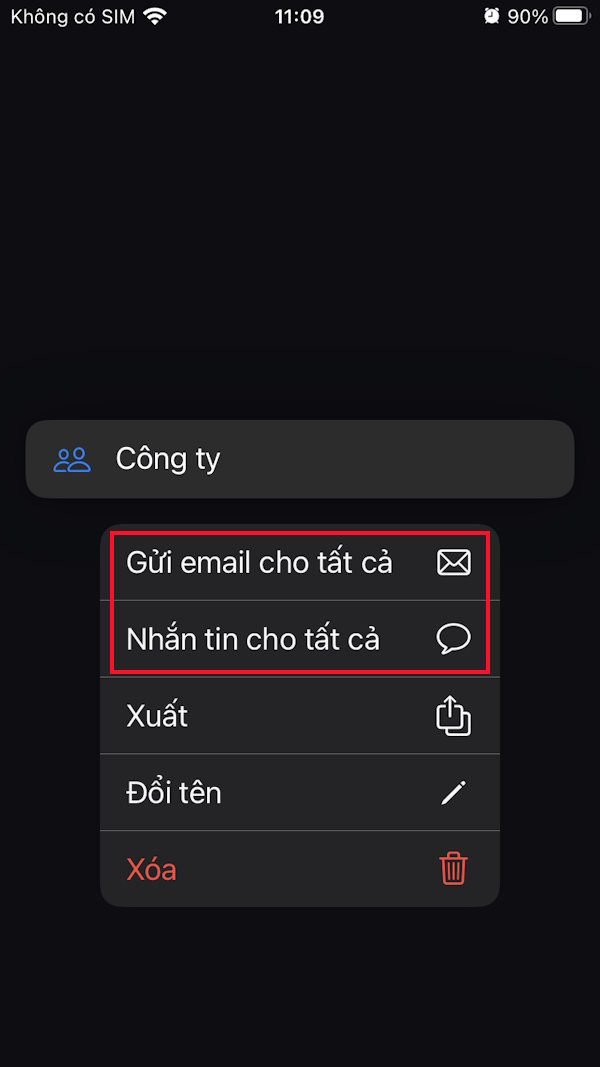
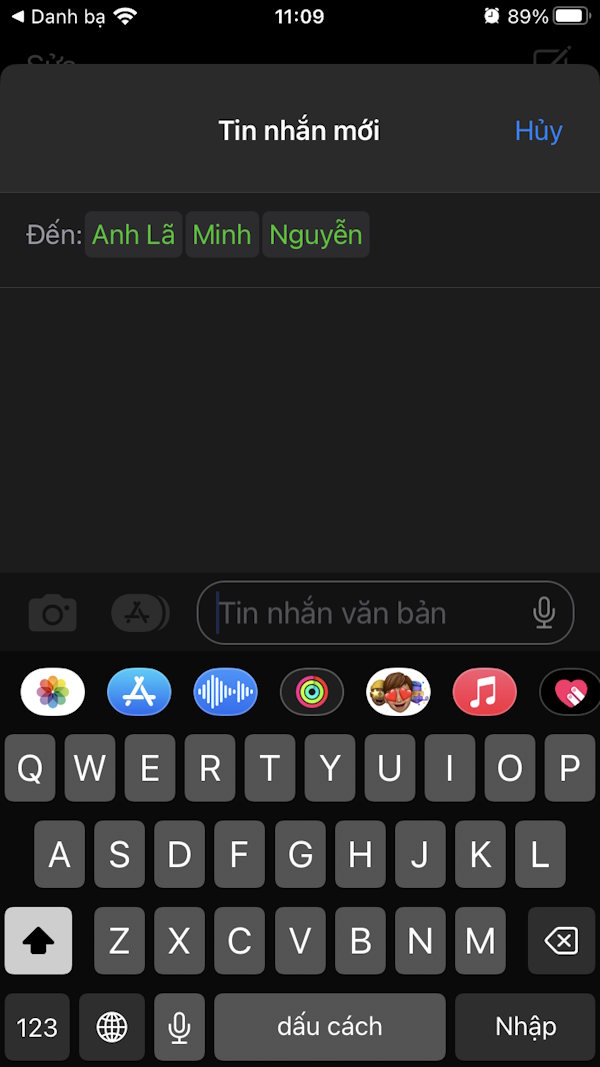
When you press and hold on a contact group, options will appear as shown, you can send messages to all contacts in this contact group at the same time.
Step 5:
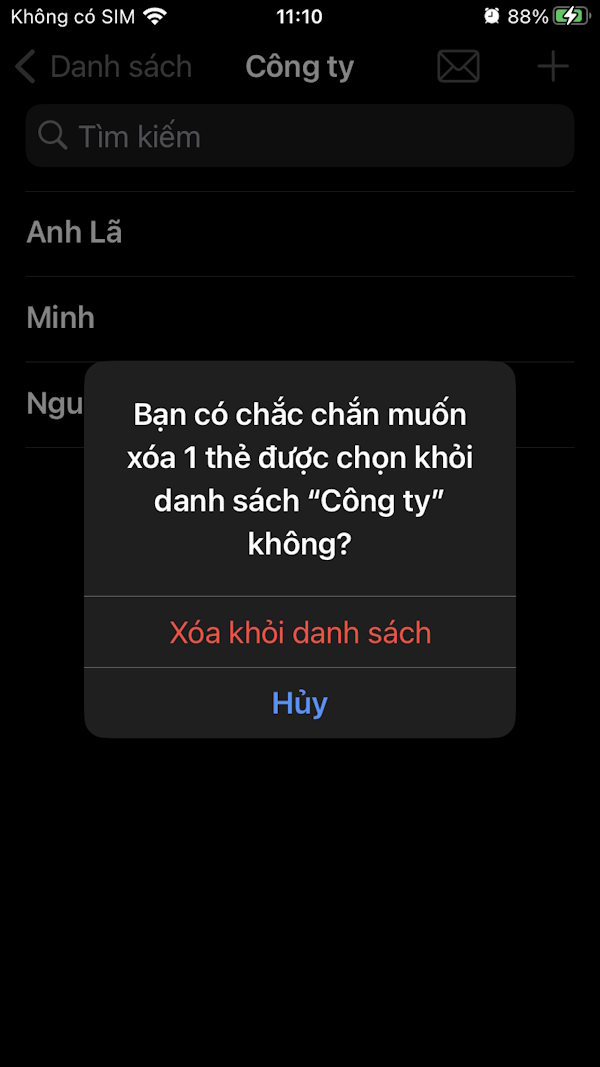
Tap and hold on a phone number in this contact group and you can delete the contact asking this contact group.