Table of Contents
Overview
This guide covers for computer screen recording in clear, practical terms. It covers the key concepts, recommended steps, common limitations, and useful checks so you can make a better-informed decision.
Recording your computer screen is now straightforward and easy to do. If your computer has Windows 10 pre-installed, this is even simpler. Let's explore how to record your computer screen extremely simply without installing any additional software.
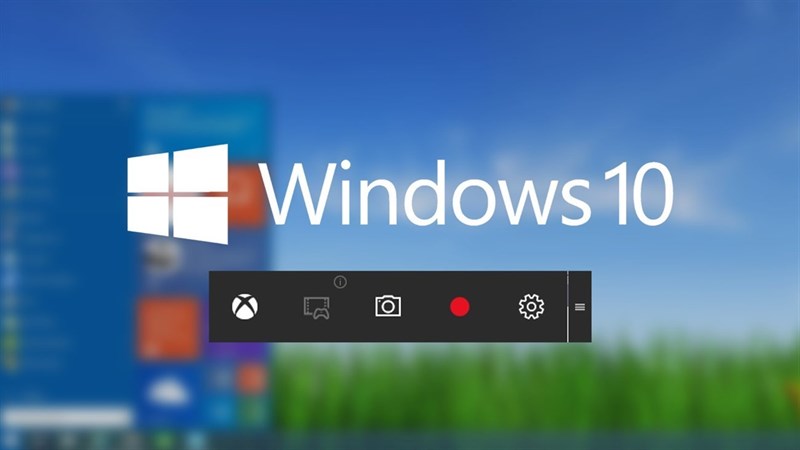
1. Instructions to enable the computer screen quick recording tool
On the computer screen (can be a laptop or PC) with Windows 10 operating system installed, you can press the key combination Windows + Alt + R to quickly turn on the screen recording tool from the Game Bar pre-installed in Windows 10.

Once completed. Once completed, you can click the Stop button to stop recording and click on the Game Bar Menu that appears to go to the folder containing the completed file.
2. Instructions to enable the Game Bar menu, customize computer screen recording parameters easily
If you want to set up additional parameters, features or adjust the sound or recording area, you can do the following to open the Game Bar

Step 1: On the display screen, press the Windows + G key combination to display the Game Bar interface.

Step 2: You can click on the gear button to select parameters and adjust to your liking.
Step 3: After completing the options, click the Capture button to easily record your computer screen.

Step 4: After completing, click the Stop button and the Game clip recorded notification bar will appear, indicating that the video has been saved to the system.

Step 5: Go to My Computer> Video to review your recorded videos.

3. Disadvantages of using Game Bar to record computer screen
- The exported videos have large capacity.
- Difficult to capture additional sound from the microphone.
- No flexibility when recording screen videos on different tasks. Cannot record when changing work tasks.
- When selecting the function tabs of a software window, the drop-down options will not be collapsed.
Although there are many disadvantages that are not suitable and flexible, using Game Bar is a quick and easy method to quickly record the computer screen. So through this article, this guide has guided you to record the computer screen easily. Wish you success.
Key Takeaways
Use the guidance above as a practical reference for for computer screen recording. Check compatibility, follow the steps carefully, and verify important details with official documentation when software, security, accounts, health, or purchases are involved.
FAQ
What is the main point of this article?
This article explains instructions for easy computer screen recording, including the central facts, context, practical implications, and details needed to understand the topic.
Why does this topic matter?
It may affect performance, cost, safety, convenience, purchasing decisions, or how people understand a broader development.
Could the information change over time?
Yes. Product details, software features, prices, policies, codes, and news developments can change, so verify time-sensitive information with official sources.
Related Articles
 Video Recording Application: The Best Video Recording Apps for5 minutes read
 Instructions for Filming the Screen with Cyberlink Youcam4 minutes read
 TOP 11 Computer Screen Recording Software That Is Light18 minutes read
 Top 10 HOTTEST Computer Screen Recording Software7 minutes read
 How to Record Windows 10 Computer Screen Videos Quickly5 minutes read
 How to Record Your iPhone Screen and Audio Is Super Easy6 minutes read
Reader Comments 0
Sign in with email or Google to join the discussion.