Instructions for downloading and installing EasyBCD on your computer
EasyBCD is software that allows users to create multiboot environments to run multiple operating systems on the same computer. How to download and install EasyBCD is quite simple, the software is compact and compatible with many Windows versions.
With EasyBCD, users can easily set up and edit operating system boot menus. The software has a quite scientific interface design, each function has its own area. The article below will guide you to download and install EasyBCD on your computer running Windows operating system.
How to download and install EasyBCD
System requirements:
- Windows computers, supporting both 32 and 64 bit machines: Windows 10, 8.1, 8, 7 or Vista installed on the same machine (but you can use it with Windows XP too!).
- Microsoft .NET 2.0 - 3.5 Framework or Microsoft .NET 4.0 - 4.6 Framework (automatically installed during setup)
Step 1 : Download the latest EasyBCD software here:

Step 2 : Open the folder containing the downloaded file, double click on the file (or right click and select Open ) to start the installation.

Step 3 : Select Yes to continue.

Step 4 : Select Next to go to the next step.

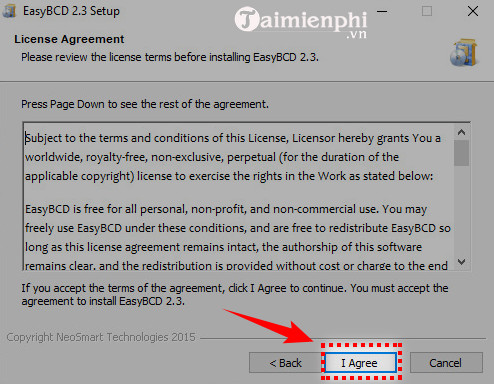
Step 5 : Click I Agree to agree to the terms of software use.
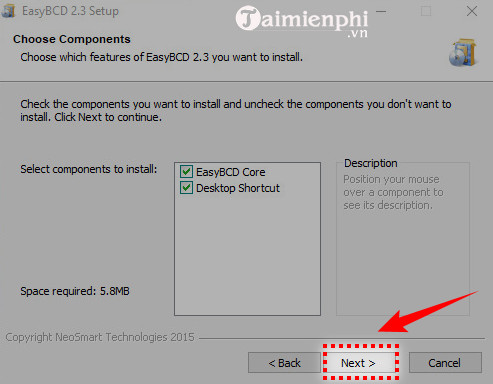
Step 6: Click Next to continue
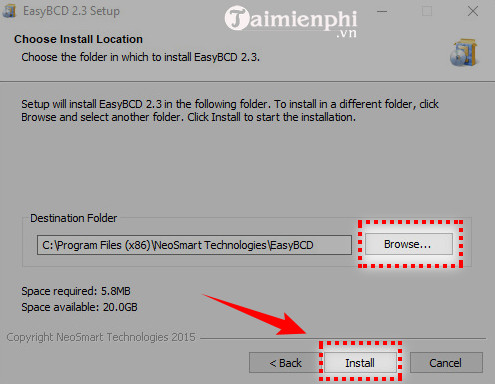
Step 7 : Click on Browe to select the installation drive. Or not, leave it as default and click Install .
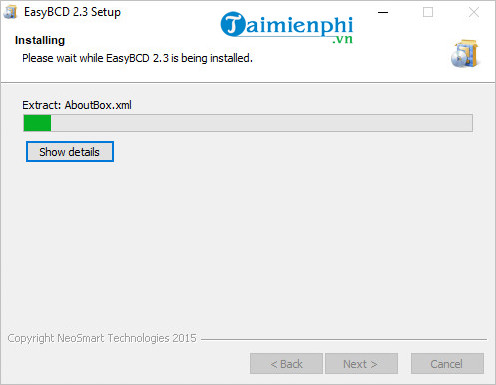
Step 8 : The installation process takes place quickly.
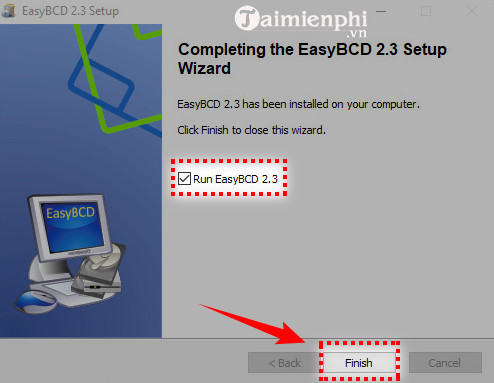
Step 9 : Check or uncheck Run EasyBCD to choose to start the software after installation. Then click Finish to finish.
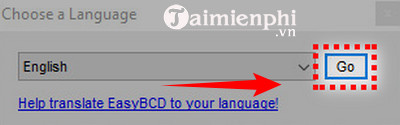
Step 10 : The first time you use the software you will be asked to choose a language. After selecting, click Go.
Step 11 : Click OK to continue.

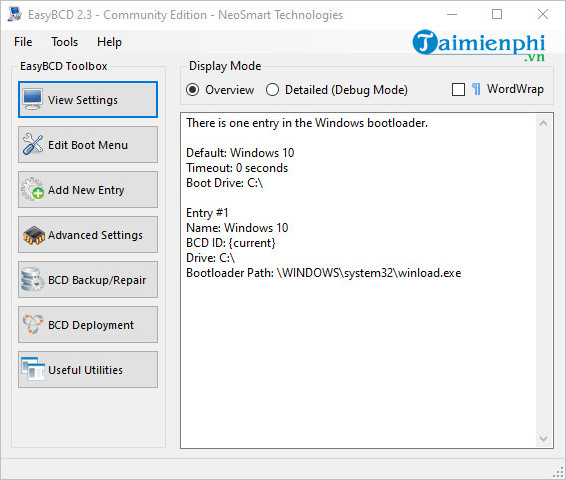
This is the interface of the software after successful installation.
Above are instructions for downloading and installing EasyBCD on your computer. One of the outstanding features of the software is that it allows users to create a bootable USB without having to perform the formatting step. For detailed steps, please follow the article that TipsMake shared.
Was this article helpful?
Your feedback helps us improve.
Related Articles
 EasyBCD - Download the latest EasyBCD4 minutes read
 Instructions for downloading and installing AutoCAD 2021 on PC and Laptop computers4 minutes read
 What is UltraISO? Instructions for downloading, installing and using UltraISO5 minutes read
 Instructions for Downloading .Net Framework and Installing it on Your Computer6 minutes read
 Instructions for installing SPSS on your computer are simple and easy to follow3 minutes read
 Instructions for downloading and installing Zoom Meetings on your computer5 minutes read
Reader Comments 0
Sign in with email or Google to join the discussion.