Instructions for creating a chat group on Threads
Threads now has a group chat option so you can message more people, instead of just messaging with one account like before..
The Threads app now has the option to create a group chat so you can message more people, instead of just messaging with 1 account like before. The group chat interface on Threads is as simple as other apps, features such as deleting members, adding admins are also available when chatting in groups on Threads. Below are instructions for creating a group chat on Threads.
How to create a chat group on Threads
Step 1:
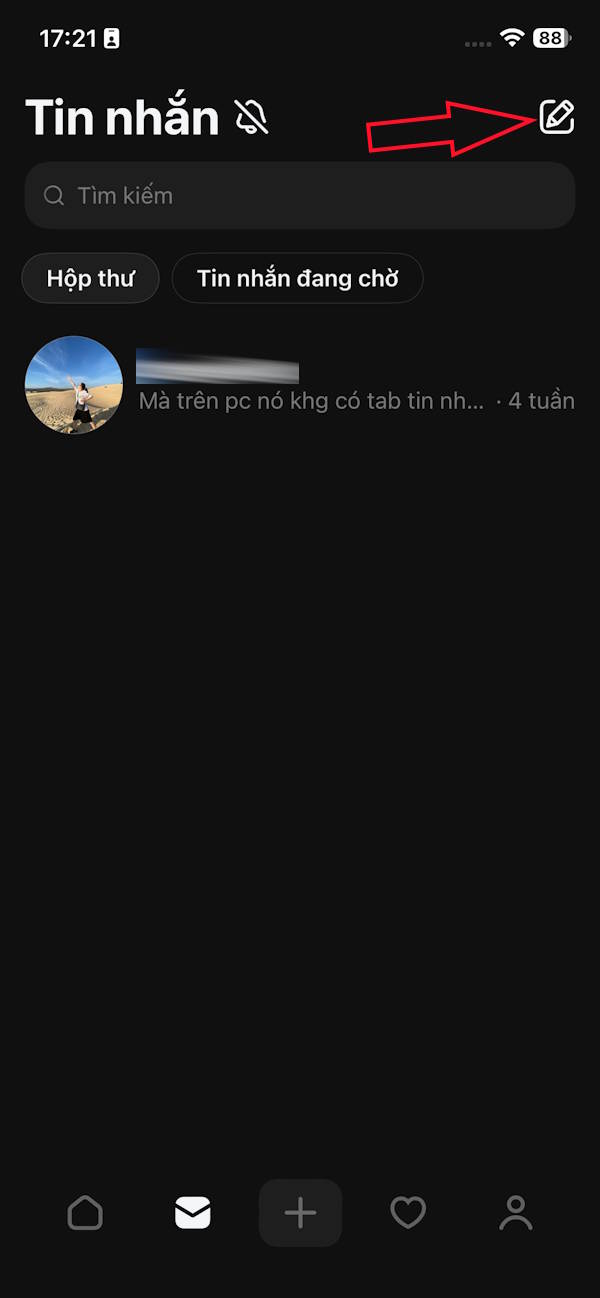
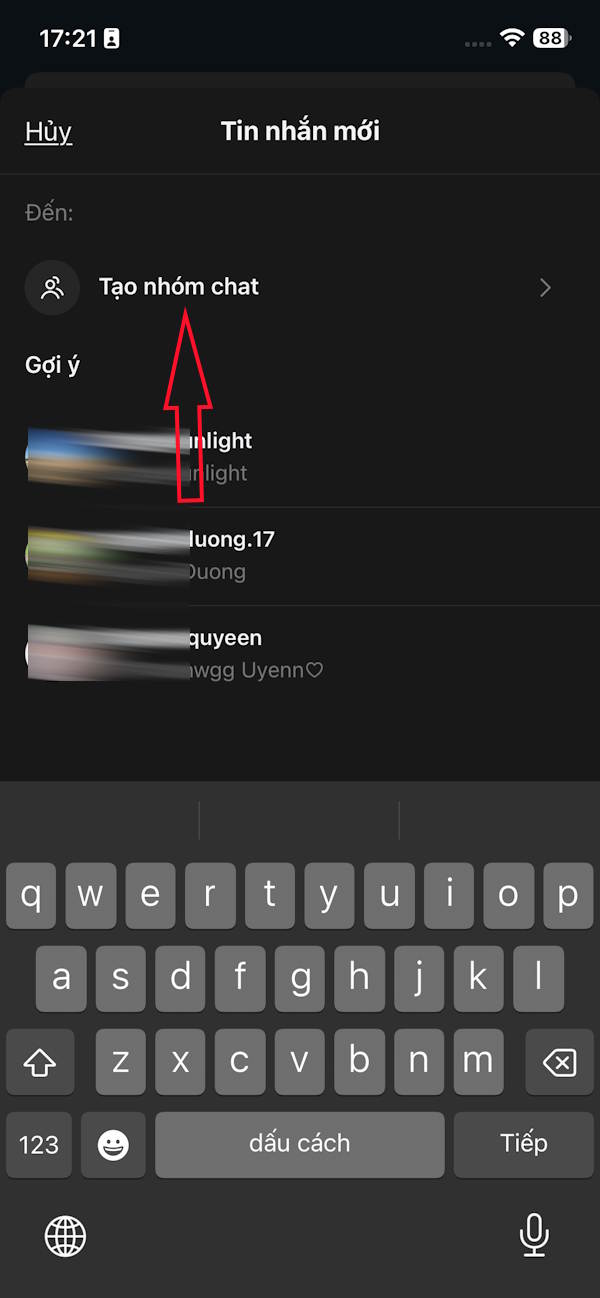
At the interface on the Threads application, you click on the messaging icon below. Switch to the messaging interface, you click on the icon to create a new message . At this time, the user clicks on Create a chat group to perform.

Step 2:
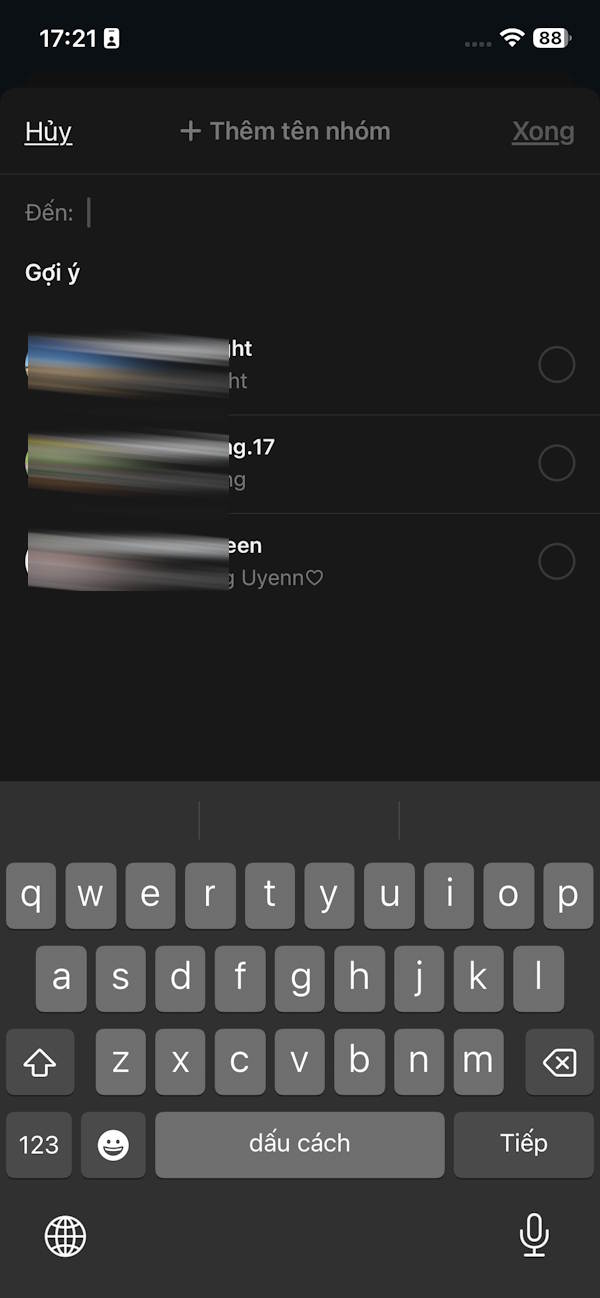
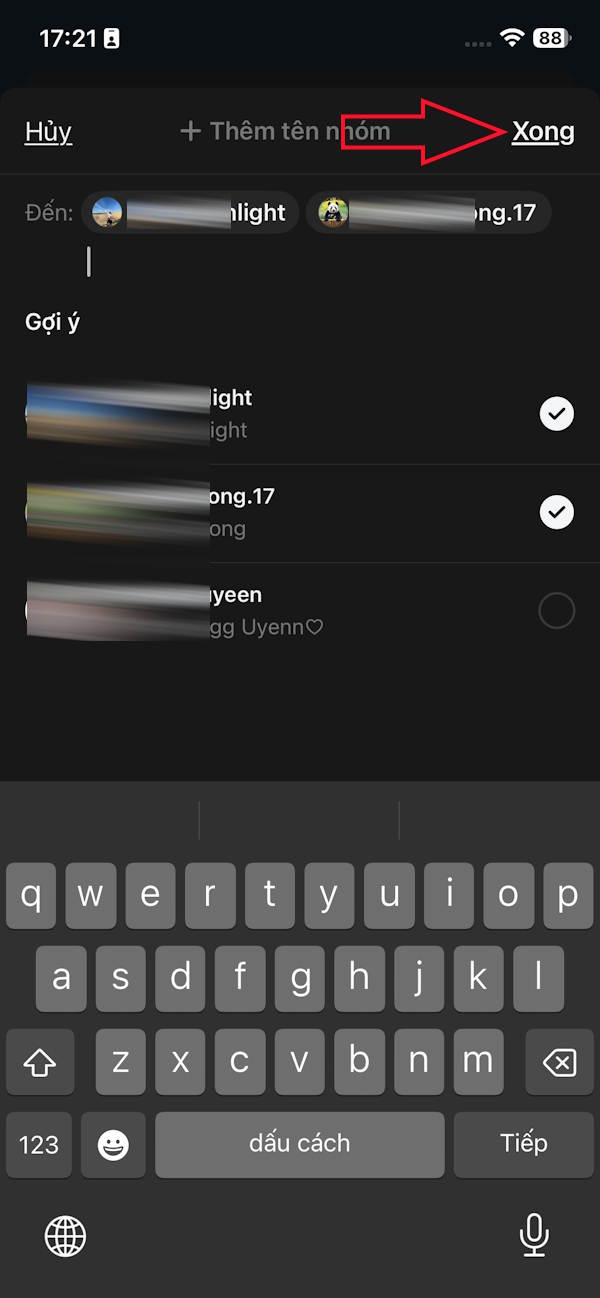
Shows the list of friends on Threads. Here you click to select the account you want to create a group and then click Done in the right corner to proceed to create the chat group.
Step 3:
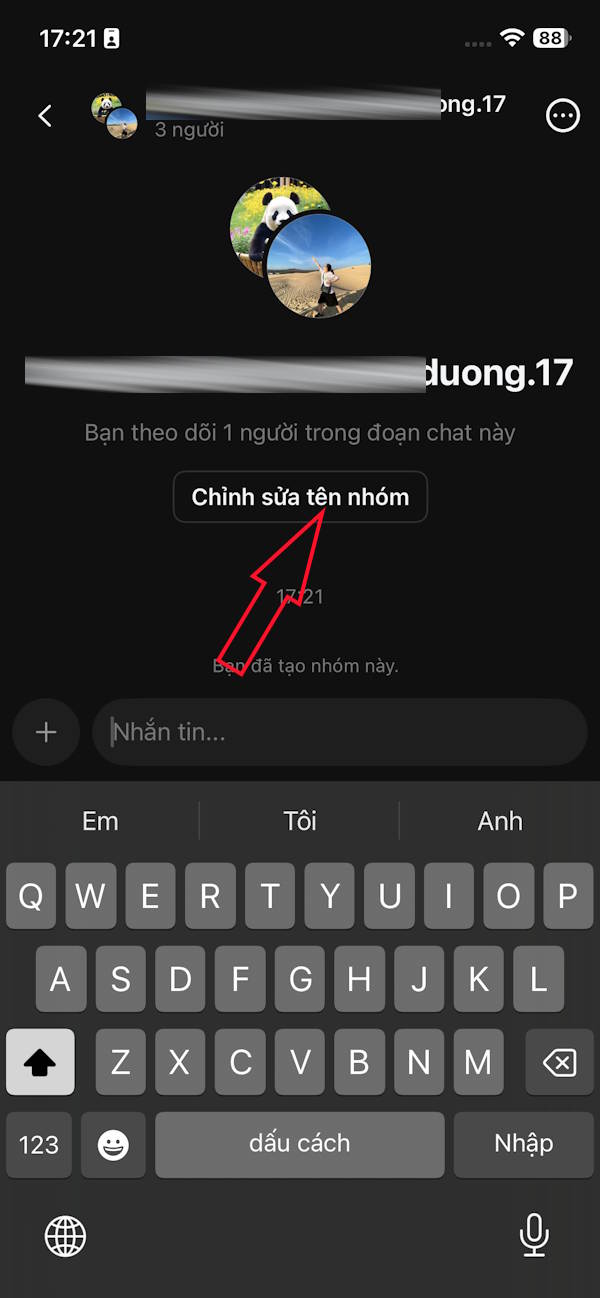
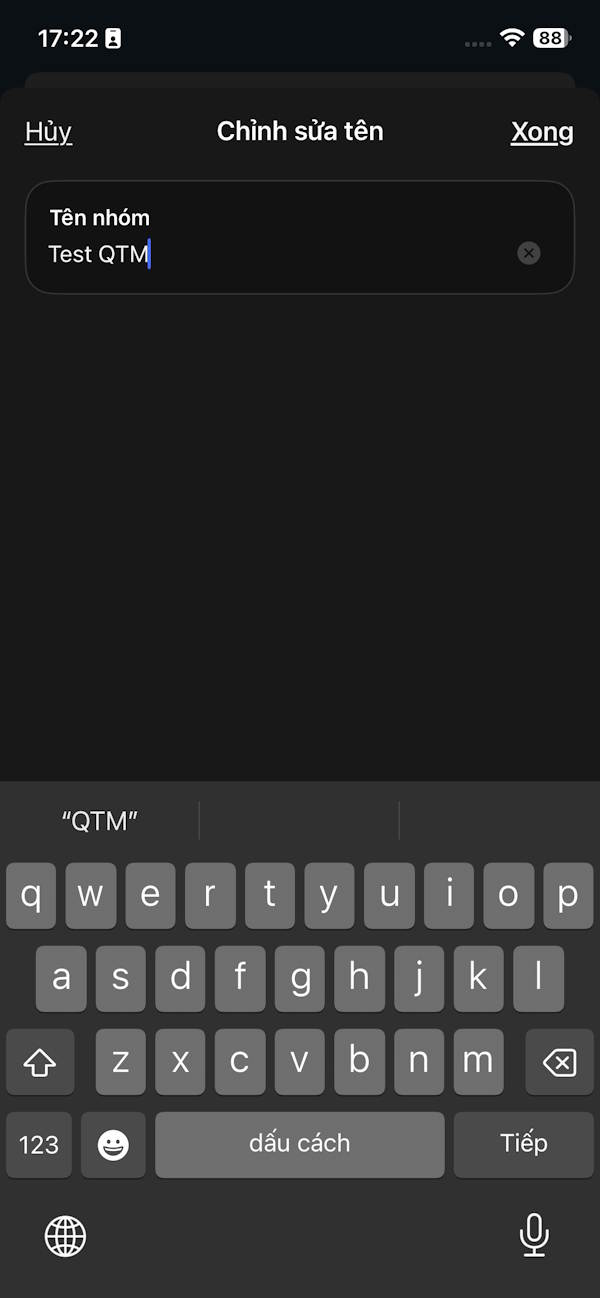
Immediately after that, the user will see the Threads chat group created as shown. Click Edit group name if you have not named the group. Enter the group name and click Done to save .
Step 4:
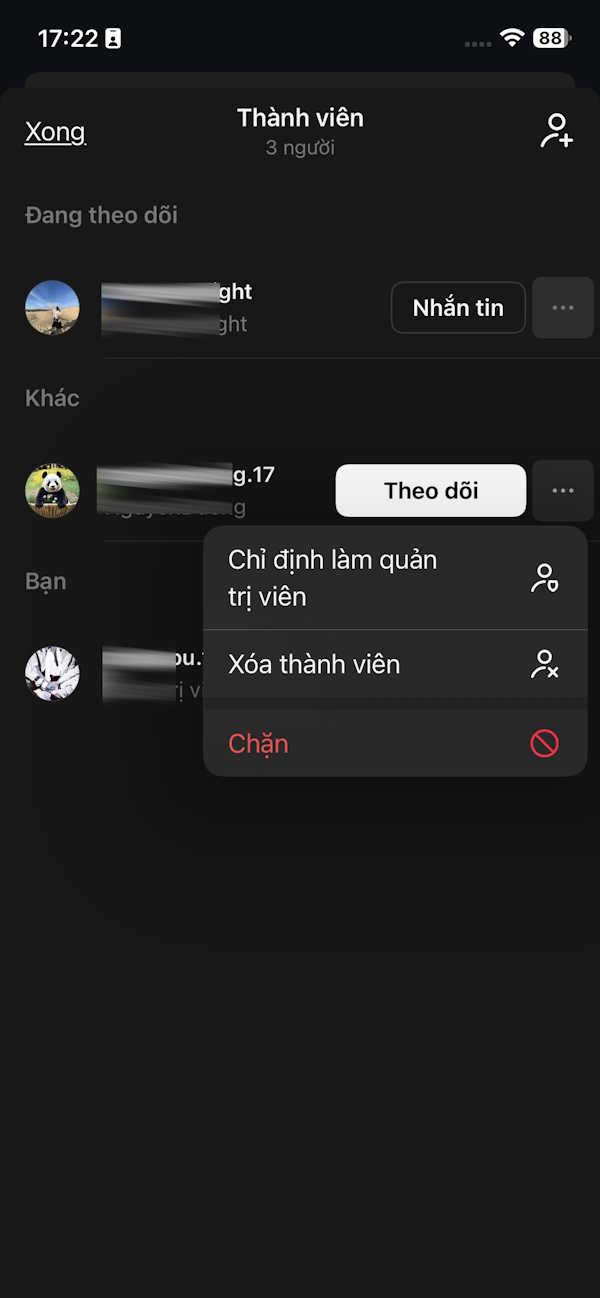
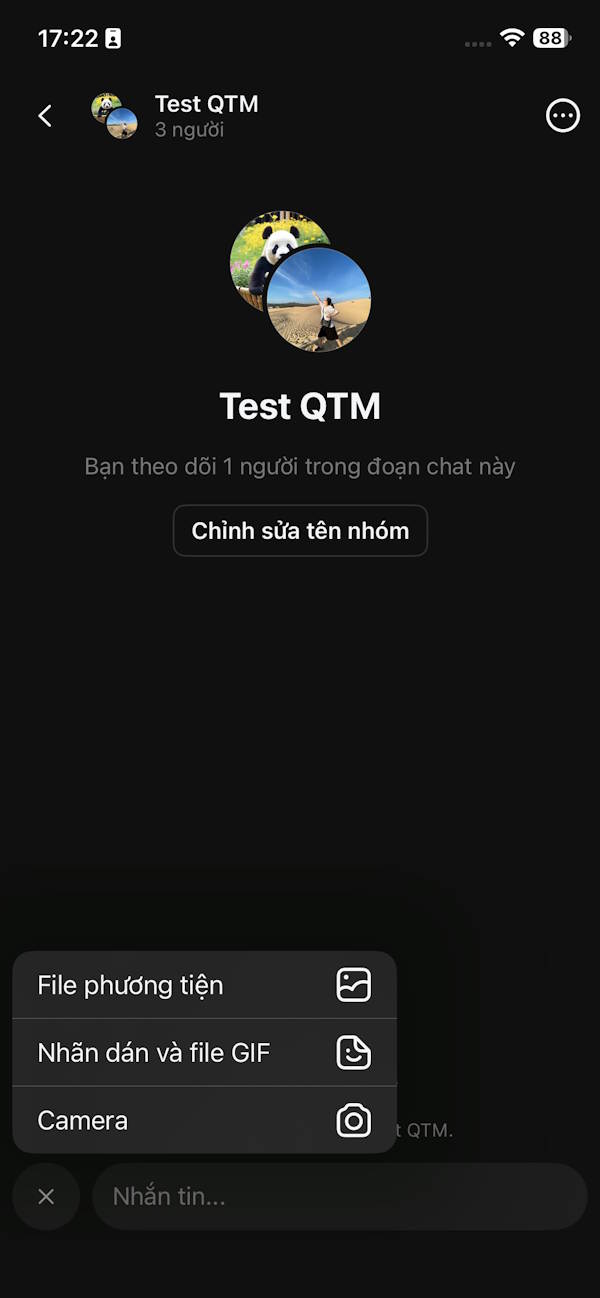
Return to the Threads chat group interface with the basic interface. Click the plus sign to send multimedia files . Click the 3-dot icon to display the Threads chat group management options .
Step 5:
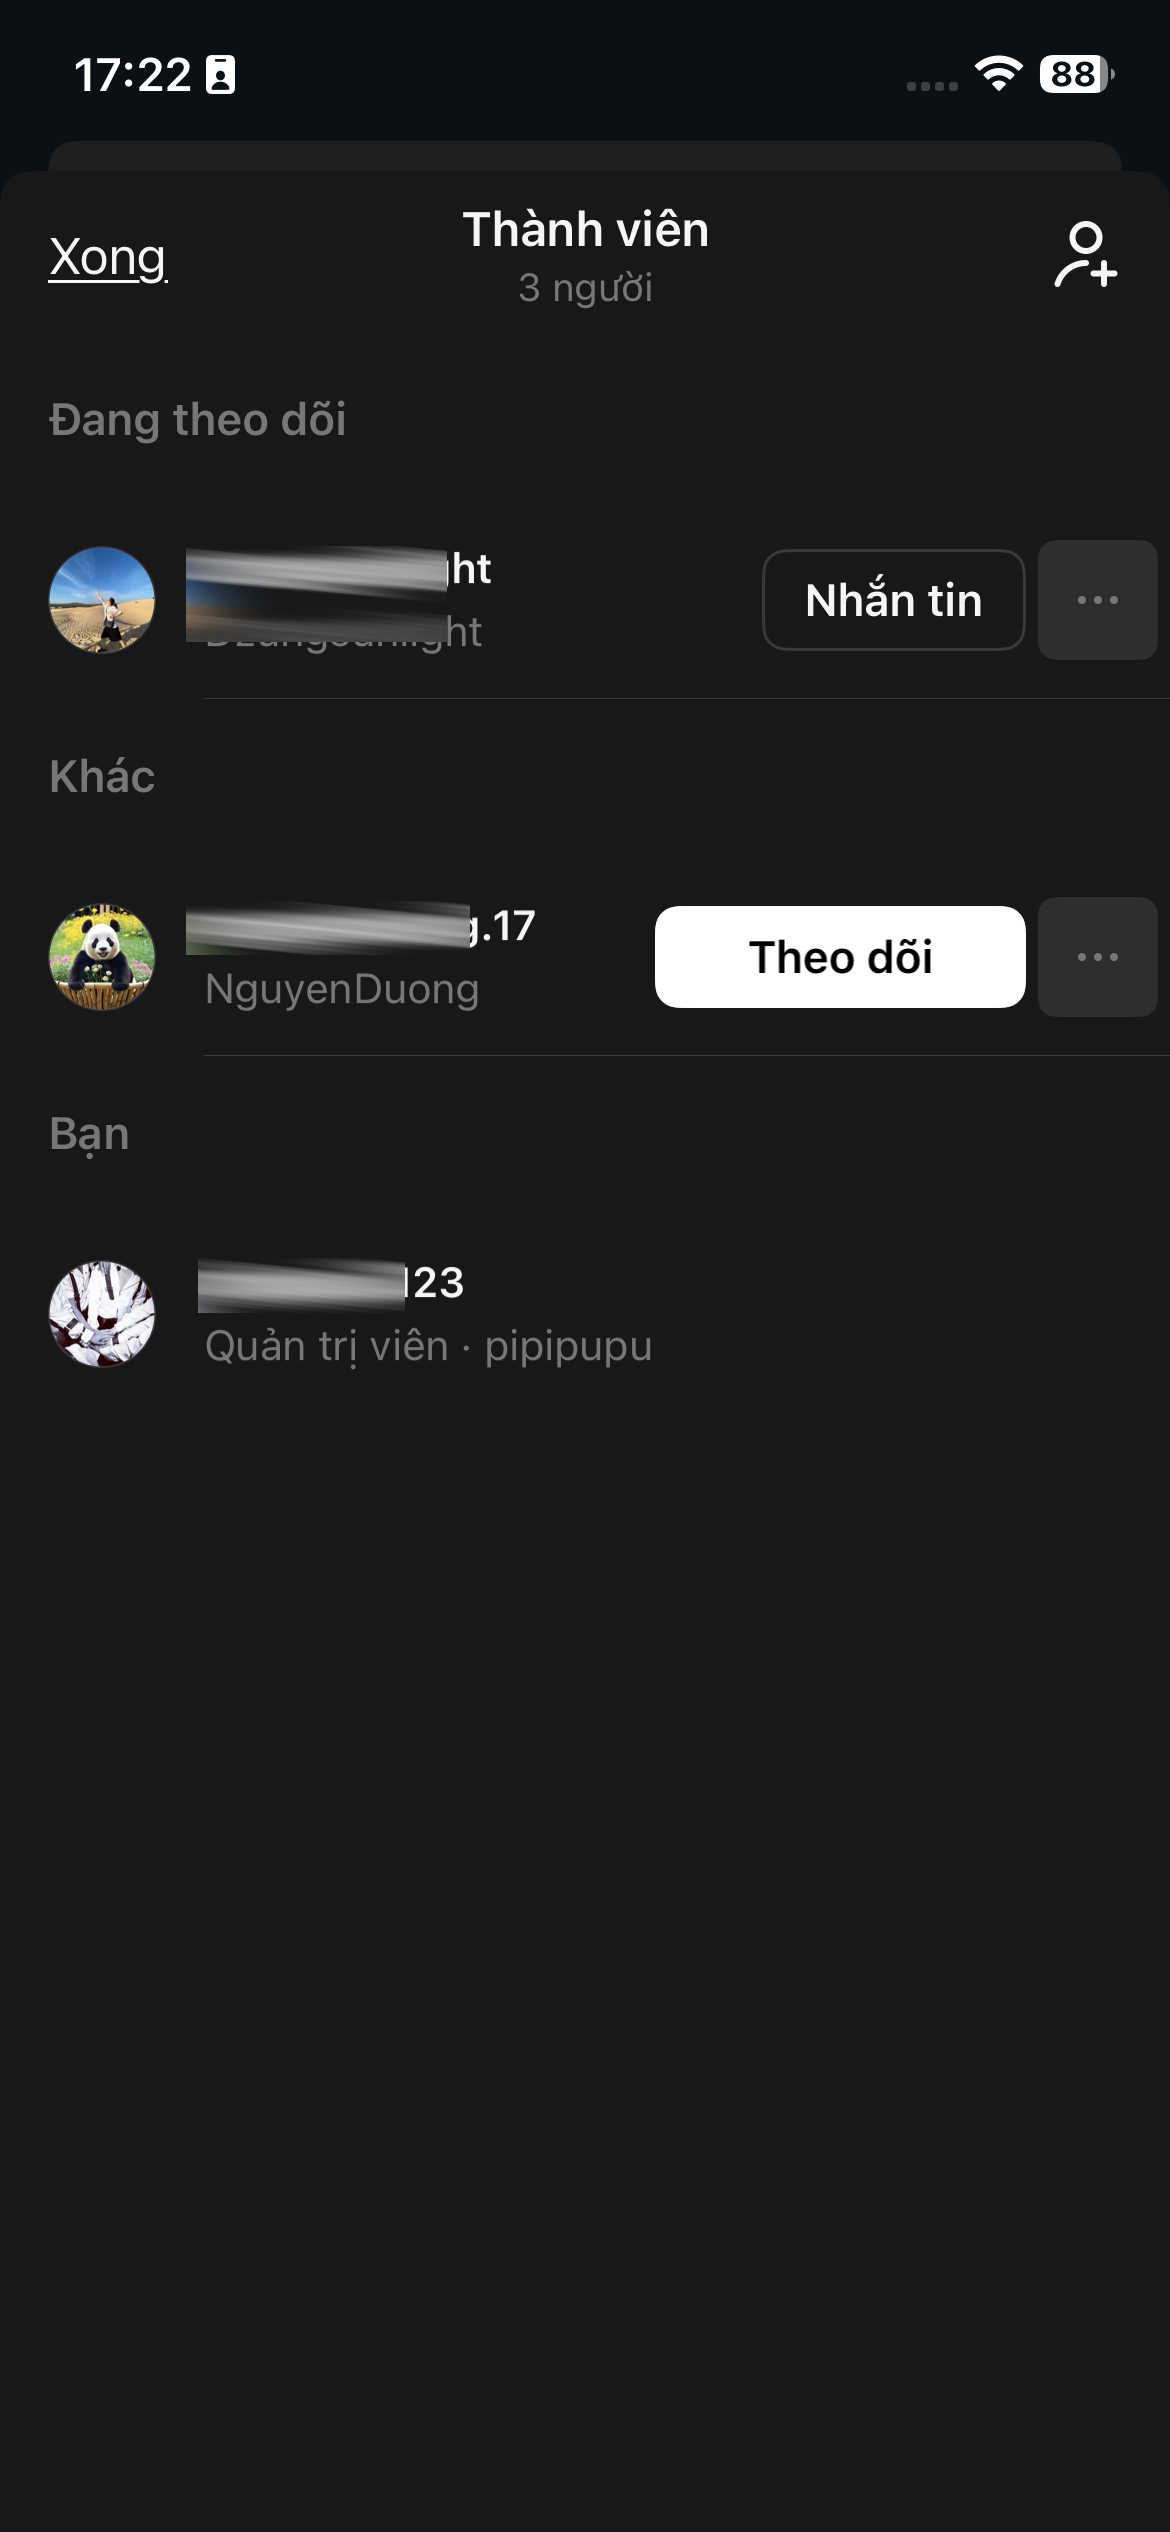
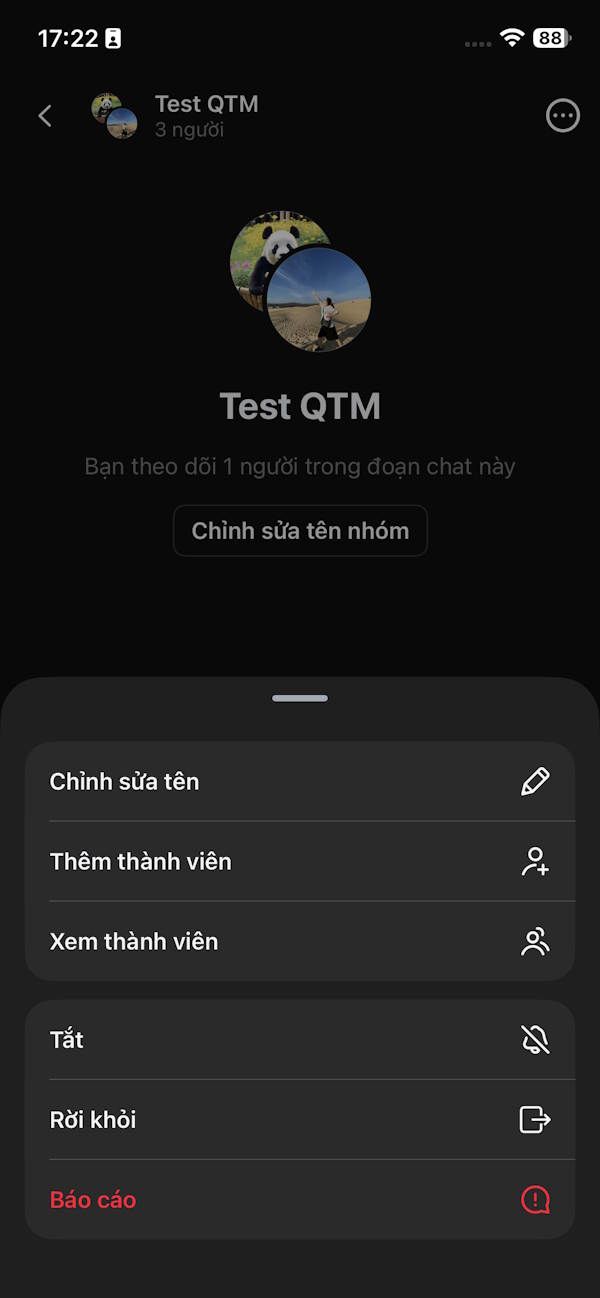
In the member management section you can remove any member from the group , or designate someone as an admin of the Threads chat group.